As another year draws to a close, it's high time I look back and take stock of what has, or has not, happened on the gaming front. Thankfully Covid reached manageable levels, so more or less normal social contact was able to resume. Sod's Law on the first proper outing to see friends I caught the damned virus, which knocked me for 6 and took around 3 weeks to recover. Since then I've naturally been somewhat wary as I don't fancy a 'Second Dose'. Then we had the intense heat of the Summer, which meant that it was simply too hot to do anything, other than try to keep cool.
Aside from the above, I would say the year was a 'game of two halves', with a relatively good Spring and then a 'surge' of activity come late Autumn. In the middle the bout of Covid and weather put pay to all thoughts of gaming activity, other than reading books now and then. Like quite a few gamers I had a complete loss of mojo around the end of October and early November, which thankfully has returned.
With the broad overview of the year, time to dig a little deeper into some detail and so without further ado:
Rules Bought
Live Free or Die by Little Wars TV
Cold War Commander II
Hail Caesar 2nd Edition (pre-order)
Over the past few years I has become very obvious to me that, rather like an old dog, 'new' rules are hard to teach to me. This is not to say that the rules are not good, but that I find I'm much more comfortable playing with a core set of rules, all of which share a very similar C&C structure. This makes it much easier to chop and change between periods, without having to to try to remember which rules are 'in force', thus allowing one to focus on the game at hand, rather than the rulebook.
With this in mind I bought very few rules this year. The LFoD was a purchase more to do with supporting the American Battlefields Trust and gaining a whole load of excellent scenarios to boot, rather than for the rules themselves. These are perfectly fine, but the number of bases required for many scenarios is daunting, so some bath tubbing may be required in the future. Still worth getting for the scenarios alone.
Cold War Commander II was more of a treat and a long term project as back in the day I used to play a lot of games with the original rules. Whilst these were fine they did have issues and the current rules appear to address these plus have brought them into line with the split AT & AP stats as seen from BKCII onwards. The long term plan is to do some 'classic' Cold War Gone Hot games set in Germany circa 1985, using 6mm miniatures, which I feel work better for the bigger battles of this 'period'.
Hail Caesar II I had hoped to be released before Xmas, but it now looks likely to be a Spring 2023 release. I freely admit that I've struggled to get to grips with Ancient & Medieval games, aside from skirmish level action such as those fought with 'Lion Rampant'. None of the rules I've tried have ticked many of the boxes for me. A lot of this is largely down to current solo games and the fact that this 'old dog' is not up to learning any new tricks. So as per the above, the familiarity of the core engine and C&C should hopefully push me towards more games and painting some armies, given that I have a load based and primed already. Time will tell of course!
Wargaming Books Bought
Normandy '44 by James HollandBrothers in Arms by James Holland
The Art of Warfare in the Middle Ages by Charles Oman (gift)
The Art of Warfare in the 16th Century by Chalres Oman
Duffy's The Army of Maria Theresa
Duffy's The Army of Frederick The Great
Crete, the Battle and the Resistance by Beevor
Russian Against Napoleon by Dominic Lieven (Father's Day gift)
Red Storm Rising by Clancy
Third World War by Hackett
Waterloo by Tim Clayton
Redcoat by Richard Holmes
Blandfords WWI Aircraft Guides
Vanished Kingdoms by Norman Davies
The Burma Campaign by Louis Allen
Osprey Japanese Tanks 1939-45 by S J Zaloga
Bloody Big Battles 1848 Scenario Book by Chris Pringle
As always I tend to buy and be given books as presents throughout the year and this past year is no exception. At first sight a rather eclectic mix, but looking at them they broadly fit into WWII, the SYW, Napoleonic and Cold War, all of which are part of my core periods these days. Not all have been read ( I have a book mountain to go alongside the lead one) but those that have have been superb, namely Waterloo, Vanished Kingdoms and the Burma Campaign. I'm trying to work my way through the aforementioned mountain alongside trying to remeber which ones I have yet to read! It can be hard to keep focus when a cursory glance at the bookshelf or pile will lead to a book being picked up, started and then I'm going down a completely different path! Honestly this is something that I enjoy and is one of the pleasures of owning physical books as it allows one to do this, something that I imagine is much harder to do on a Kindle for example.
Will there be more purchases for next year? Without a shadow of a doubt and I expect them to be along similar lines to the periods outlined above. However you never know and maybe some Medieval titles might appear once I have my grubby mits on HCII.
Miniatures Bought
WWII AFVs
Late Medieval Infantry
WWI vehicles
19thC ImagiNations additions
WWII Campaign Japanese
Given my already substantial lead pile, I have been quite reserved in my purchase this year, although SWMBO might disagree with me on this! Most have been additions to existing forces to flesh them out or to add bits and pieces for a new campaign etc. The only completely new force are the WWII Japanese, given my sudden interest in the Burma Campaign, that did come rather unexpectedly out of the left field.
I expect next year to move along similar lines, with additions rather than whole new forces or Armies being bought. The only exception might be for the Cold War, but in all honesty I have current projects that I really should focus on. A provisional Cold War list has been drawn up, so you never know...
Miniatures Painted
WWII British AFVs - Shermans, A13 Mk II
WWII German AFVs - Tiger II, Panther, Jagdpanther
Commission Figurines MDF Figures - Imagi-Nations
Pendraken Afghans for 19thC ImagiNations
Even by my standards, this has been a poor year on the painting front. The hot Summer weather certainly played its part, but at that time of year I paint very little anyway. My painting mojo was low until a mini-surge to get some units finished ready for the game I was playing at the Cotswold Wargames Day. A lack of deadlines, which is not an issue for the solo gamer, certainly played its part to: a forthcoming game certainly focuses the mind for sure. The butterfly nature of my gaming played its part too I'm sure, as I flitted between projects that often only required miniatures I already had painted.
Will next year be any better? I hope so but as others have mentioned in the past, this is a hobby afterall, so I suppose we should not worry too much if things don't get done, but some progress would be nice. Afterall I do enjoy painting when the muse is upon me.
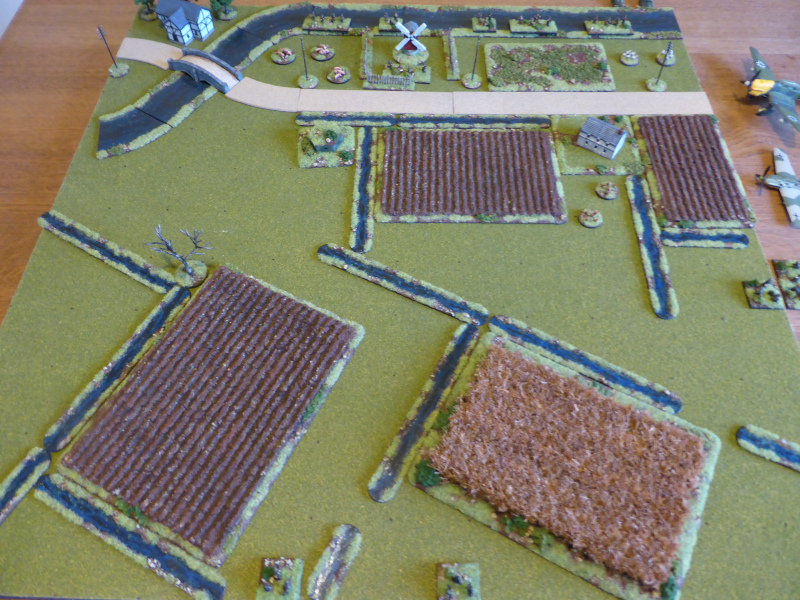
Terrain Made
BUA's
For once a really quiet year on the terrain front! Not much to report as I have pretty much everything I need as it is. I do have a few things I would like to make for next year to go alongside some planned projects, but again nothing major, just some nice bits'n'pieces that will enhance the table rather than being major projects in their own right.
Projects
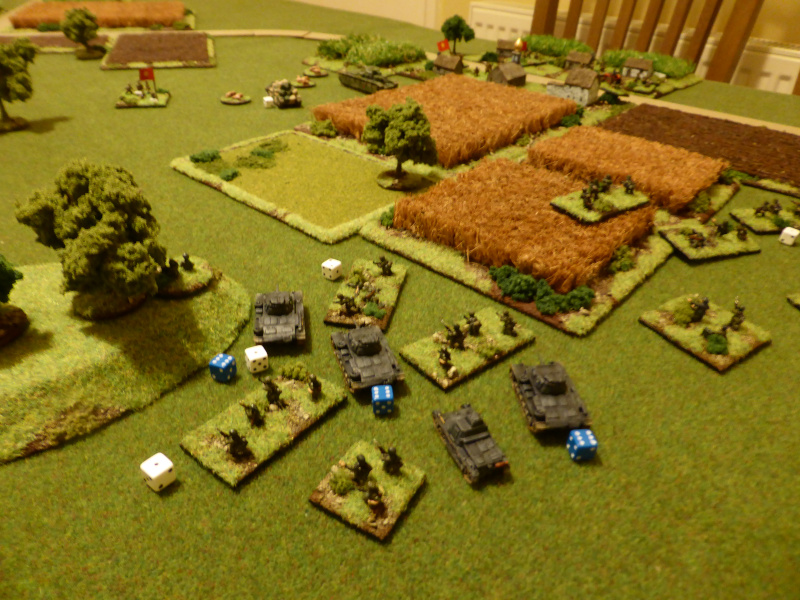
BKCII campaign
The start of the year went really well with my Operation Cygnet campaign, loosely based around Operation Market-Garden, which I enjoyed playing, both the campaigns and the games themselves. And then nothing! Ideas came and went but looking back real life issues prevented me from being able to maintain enough focus and momentum to move things forward. I had planned either a campaign based upon the Invasion of Crete or something focussed on the AVBCW, but nothing came of those.
So for next year once again I have plans for another BKCII Campaign, this time based upon the Invasion of France 1940. I would like to do something along the lines of the SYW, as it is nice to have different challenges etc when playing Campaigns. Time will tell but the former is already being planned as I type...
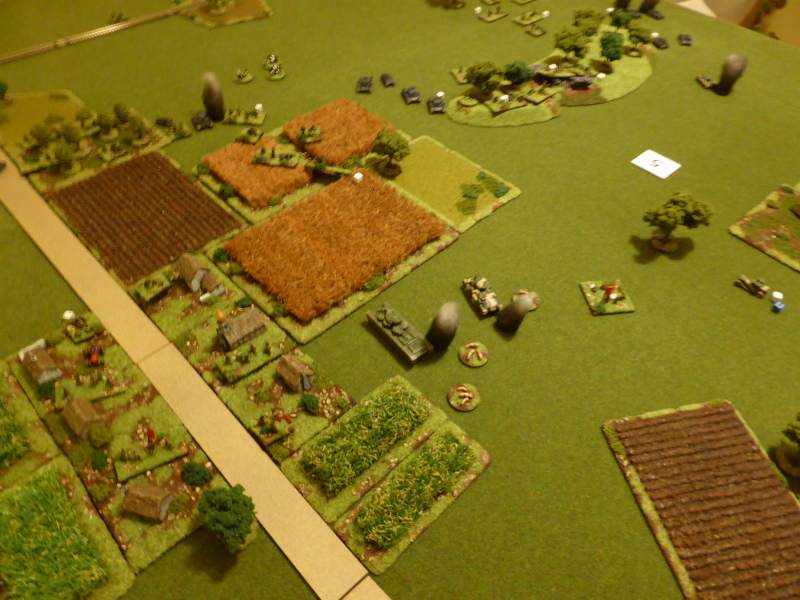
Games Played
Practical Wargaming - 1BKCII - 9
Live Free or Die - 1
Honours of War - 3
Shadow of the Eagles - 4
Black Powder II - 4
Lion Rampant - 2
Not a bad year of games, but as mentioned above, split roughly into two halves of the year. Roughly two games a month is not bad and probably about as much as I can manage given my role as a full-time parent carer. Most games were solo affairs, but I did have some great FtF games, both home and away, which was nice. You do realise that half the fun of our wonderful hobby is the social aspect of it, especially the in-game banter and the post-game chat on what worked, what didn't etc. One highlight for me was how easy I found it to set up my 2' x 2' games and how much fun could be had playing in this small area, whether at a 'Lion Rampant' skirmish level, or bigger games such as those played with Honours of War or even BKCII. One of the advantages of knowing and being very comfortable with sets of rules is that it is pretty easy to scale them up or down as required to suit the space available.
Next year I can see these 2' x 2' games featuring more often and ideally some linked Campaign games too, as the latter are much more satisfying. I'd like to think that there might be more FtF games, but with the current cost of living crisis, driving to play games might be something we have to think about before doing, due to the cost of fuel. Still one can but hope!
Wargames Shows Attended
Colours 2022
Cotswold Wargames Day
Reveille
It was nice to attend most of the shows that I would normally do pre-Covid this year. The highlight was the CWD as it has such a nice atmosphere, a great mix of games and a brilliant bunch of gamers. As always thanks to Keith Flint for organising this and to all the other gamers who make it such a wonderful day out.
Colours this year was a bit hit and miss to be honest. A couple of the games ticked all the boxes for me, but overall the standard and variety was not as good as previous years, not helped by some no-shows on the day itself. I know how much effort is required to put on a game, having done it over a number of years, but from my perspective, I go to game shows to see games, rather than shop. Being a dedicated 10mm gamer there is little there for me that I couldn't order online. I will certainly go next year and hopefully with my friend Keith too, as it's always better walking a show in company rather than on your own.
End of Year Thoughts
Not a bad year for me overall, but it could have been better if I'm honest. As mentioned above, one of the biggest issues for me as a full-time parent carer is actually finding the time and the mental energy to do stuff. Dealing with all the various people I have to on behalf of our son can drain one mentally and emotionally, leaving little left in the tank for gaming in all its shapes and forms.
Whilst I enjoy solo gaming, the only downside is the lack of deadlines to help focus the mind on painting etc, which is one of the advantages when playing FtF games. A case in point was the CWD when I was knocking out about a unit a day. It did feel a bit like work at times but the effort put in was very rewarding at the end.
Blogging has continued to be a pleasure to do and to be part of a wider community across the World. Reading other Bloggers posts at the start of the day is a nice way to kick things off and can often spur me on to paint, game, introduce me to new periods, ideas and books etc. So a big THANKYOU to all of you for your efforts and those that have taken the time to comment on my posts, it is truly appreciated.
Looking Forward to 2023
Well what will the New Year hold for me? I imagine much the same as this year just gone by if I'm honest. I never set targets or plan too much as I know from experience that I will fail to meet them! Having said that, I aim to play more narrative Campaigns as mentioned above and ideally boost the painting numbers somewhat. A dedicated space for the latter would help immeasurably, but as I don't have one the kitchen table will have to suffice until then.
So it just remains for me to wish you all a very Happy New Year and I sincerely hope it brings you all health and happiness!