Well another week and another Austro-Prussian War frontier battle as planned. Yet it was almost a 'Groundhog Day' feeling as once again real work and life meant that it was all a bit rushed in the run up to the game and the forces were virtually indentical; a Corps facing off against another Corps. So as per last week, we used the scenario that Dave wrote for Volley & Bayonet as a guideline for our game.
The scenario was quite simple in that the Austrians had to block the Prussian advance along the road at Trautenau, whilst the Prussians had to prevent this, mainly by holding the heights that over looked Trautenau along with trying to render the Austrian Corps hors de combat. Simples. So with the table set it was time to get on with the game...
 |
| Two Austrian Corps have deployed, ready to advance towards the heights above Trautenau and the Prussian Brigades in column of march. |
 |
| The Austrians move off quickly and occupy the heights, but are unable to deploy their artillery. |
 |
| The Prussians respond quickly to the threat and immediately attack the Austrians. |
 |
| The Austrian Corps artillery takes the brunt of the attack, whilst the Austrian left wing goes low on ammo, but is only able to Suppress a Prussian Brigade. |
 |
| The rest of the Prussian Corps arrives along the road, forcing the Austrian right flank to shake out into line to try to bring as much fire to bear as they can on the Prussian left wing... |
 |
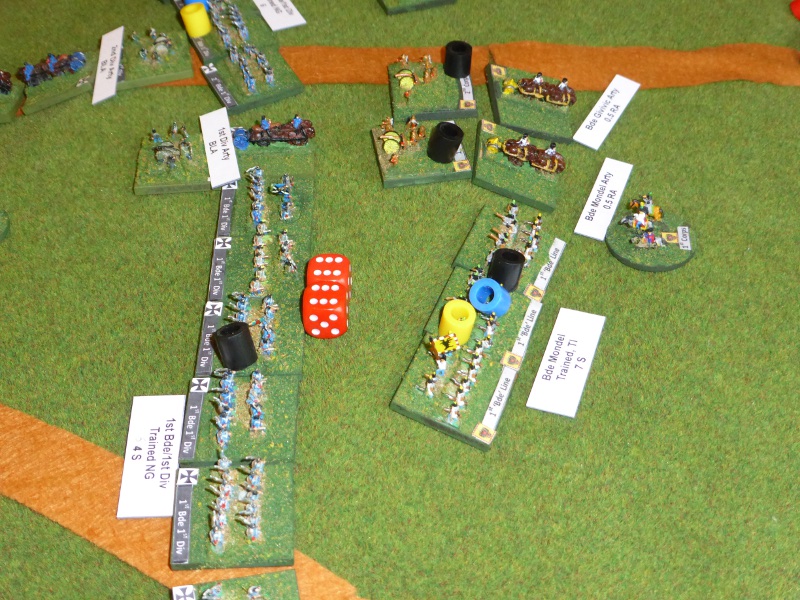
| ... but a shocking die roll leaves the Austrian commander almost speechless, but the Prussian commander extremely happy as can be seen from his hand gesture. |
 |
| The battle rages across the crest of the hill... |
 |
| ... with the Austrian left wing now Spent and Suppressed and Prussian cavalry in their rear. |
 |
| Things carry on in the Prussians favour... |
 |
| ... as the Austrian right wing also goes to Spent and Suppressed. |
 |
| With the Austrians collecting as many markers as they can (in fact they are maxed out!) the Prussians add insult to injury with a telling die roll... |
 |
| ... which sees the loss of the Austrian left wing. There is little consolation to be had in the fact that the Prussians have also gone Low on Ammo. |
 |
| The Austrian position doesn't look great to be honest. |
 |
| The Austrian left wing ready to be rolled up like a worn out carpet. |
 |
| The Prussians duly roll up said carpet leaving the remnants of the Austrian right wing isolated and almost surrounded. |
 |
| The Prussian forces, close to complete victory are, however, extremely spread out and vulnerable to a counter-attack. |
 |
| The roll call of lost Austrian units... |
 |
| Maybe victory can be snatched from the jaws of defeat as the rest of the Austrian Brigade arrives, deployed and ready for battle. The Prussians quickly redress their lines but are still spread out. |
 |
| The Prussian commander does not look unduly concerned. |
 |
| The battle takes on a completely different, almost SYW feel, as both sides decide to have a go at linear warfare. Maybe it's time to get out 'Honours of War'... |
 |
| Is this concern on the face of the Prussian commander, or merely practice for a gurning competition? |
 |
| Both sides make for the town of Hohenbruck, whilst the Austrian artillery on the right flank starts to get fire ascendency over their Prussian rivals. |
 |
| Wimpffen's Bde manages to enter Hohenbruck ahead of the Prussians, but only just. |
 |
| As the battle develops, the Prussians once again get the better of the firefights... |
 |
| ... with them being pushed back and Wimpffen's Brigade in danger of becoming isolated. Yet another Austrian Brigade collects as many markers as it can. |
 |
| The beginning of the end as the Austrians are under severe pressure and losing units hour by hour... |
 |
| ... and with no chance of pushing the Prussinas back, concede the game. |
Despite the Austrians getting hammered, they had managed to delay the Prussian advance by a day, yet at a fearful cost.
Post Game Thoughts
Well what a game that was! So full of action, manouevre and it almost felt like two games in one, as the arrival of the rest of the Austrian Corps completely changed the feel of the game. So as always, in no particular order, some points with regards to the game:
- For this scenario we decided to have two Austrian Brigades on the table at the start, rather than one as happened in reality. We felt that one would simply have been overwhelmed early on and would not have given an interesting game. This is certainly a scenario that would bear replaying several times just to see what would have happened with slightly different set ups etc. Something to certainly think about for the future.
- Due to being in a rush again, we forgot to make the Prussian Corps Passive as per the Bloody Big European Battles scenario guidelines. Ditto the Prussian cavalry being Agressive. This may have slowed the Prussians down, but I don't think would have changed the outcome.
- The Double 1's rolled by the Austrians early on in the game, when in a great position, really hurt them and we both felt they were never able to recover from this. Add in the Prussians Double 6's a Turn later and it became an almost Herculean task to win the game.
- We actually managed to have a bit of a cavalry engagement in the second half of the game. All they did was bounce off each other. Their main use, as the Prussians were able to show, is in attacking isolated artillery units, supporting assaults and generally causing problems in the rear.
- For this game we dropped the Austrians having Skirmishers and changed them to being Agressive, to try and replicate their Stosstaktik. This was something that Chris Pringle commented upon in our last game and on the Pendraken forum. It certainly changed the feel of the Austrians from a game point of view. Without the Skirmishers off-setting their Tactically Inept status, they automatically had one column shift to the right. This made them more vulnerable in the firefight but encouraged them to get into the assualt, which felt historically right. I think this needs thinking about to make sure that it gives a good game balance. Again Chris has made some suggestions on the Pendraken forum and I await with interest his comments on this game.
- Despite getting my butt kicked, I really, really enjoyed this game. For a game with so few units, played on a 4'x4' table, it had so much action and plenty of challenges throughout the game. The game lasted nearly 3 hours and yet it flew by as we were so engrossed in things. Also as this is part of a campaign, we are able to think about how the outcome will affect the next games and the overall course of the campaign to date. Much more fun than a simple line up and bash 'em game and it gives us plenty to talk about.
- I think the Austro-Prussian War is more enjoyable to wargame than the Franco-Prussian War. The Prussians haven't learnt how best to use their artillery yet and the Krupp guns are few and far between. The battles have plenty of interest and of course there is the Italian theatre to give a completely different challenge. I can see this becoming a favourite period to game and research.
- Once again I cannot stress too much how much fun these rules are to play. 95% of the time we are just using the QRS and referring to the book to clarify certain points. They give a cracking game and you really feel that you are learning something about the battles as you play. What's not to like?
Next week we will return to the Baltic Crusades and Lion Rampant as once again work etc means that we will not have time to sort out the next game in this campaign. We may stay on the frontier but are more likely to look at one of the battles from the Italian theatre, which should be fun. So until next time...