Whilst sitting in my armchair watching the world go by and wondering what game to play next, my mind turned to the Balkans in 1941 and the Italians vs the Greeks. I've played this before and enjoyed it. So with some scribbling and sketching, I quickly came up with the following:
Background
The Italians have broken through the Greek defences in the mountains, aided by the Germans turning the Greek flank. As a result of this, the Greeks are performing a fighting withdrawl as they leave the mountains and enter the plains. The British have sent some Vickers MkVI tanks to support them.
Scenario 7: Pursuit
As per the standard scenario in the rulebook.
First Turn counts as Dawn ( -1 CV, visibility 50cm).
Vehicles, ATGs & IGs may only cross the rivers by the bridge or fords.
Vehicles, ATGs & IGs may not cross the mountains.
Infantry may cross the rivers, counting them as Linear Obstacles for movement.
The Italian air support is to randomly roll which aircraft will target which areas (select the most likely ones) and on which Turn.
Italians
1 x CO (CV8)
3 x HQ (CV8)
1 x FAO (CV6)
1 x M/C Recce
9 x Regular Infantry
2 x MG
1 x Mortar
2 x ATG + Tow
1 x IG + Tow
6 x L3/35
3 x 75mm Artillery
1 x Cant Z Alcione Bomber
1 x Stuka
Greece
1 x Co (CV8)
2 x HQ (CV8)
9 x Regular Infantry
1 x MG
1 x Mortar
1 x ATG + Tow
1 x IG + Tow
3 x Vickers Mk VI
Table Layout
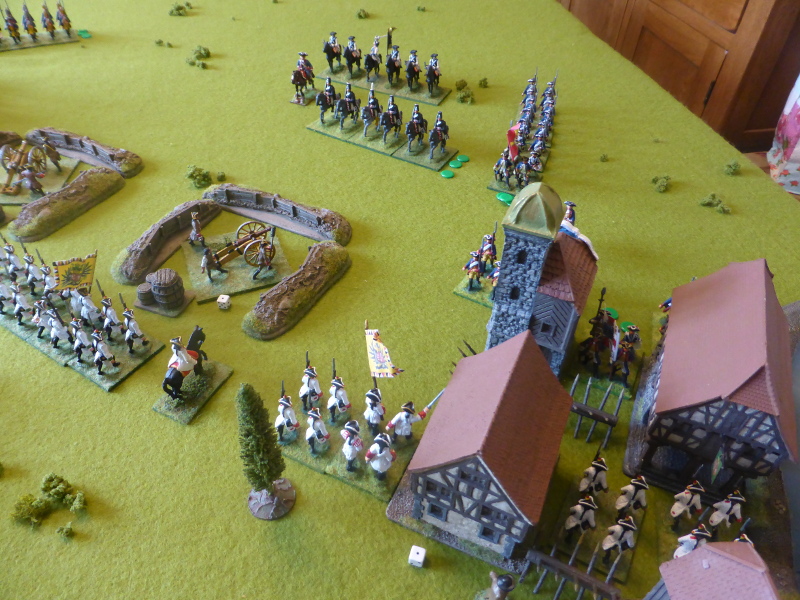
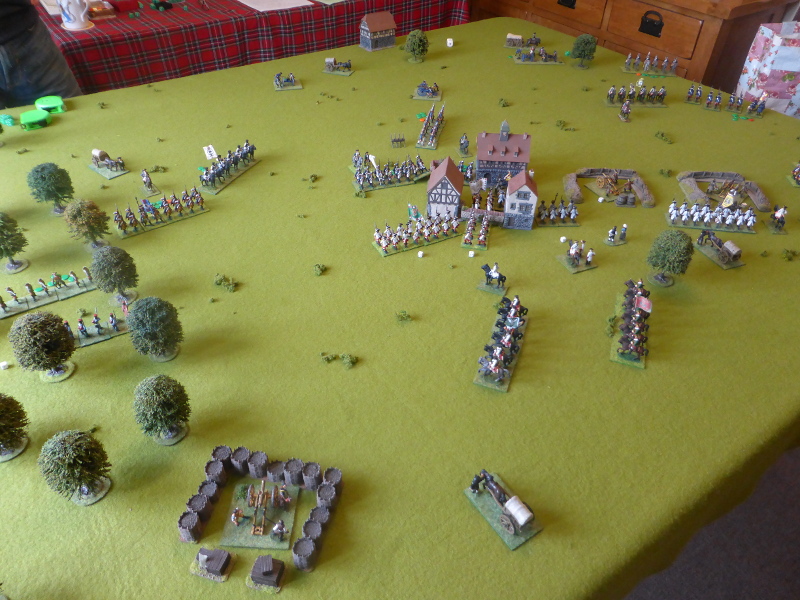
The Italians would be entering via the Northern table edge, with the Greeks deployed roughly in the middle of the table, between the bridge and the town.
 |
| Despite the blurry shot, I hope you can see the Greeks deployed amongst the rocky outcrops and the wood. |
 |
| The Greek left flank. |
 |
| The Italians ready for battle (or not...) |
Turn 1
As dawn broke, the Italians got off to a shocking start, with their right flank Blundering (they would arrive next Turn) and the rest all failing their command rolls. Not exactly the ideal start. The Greeks didn't fare much better, with their left flank failing, but the centre and the armour starting to move back.
 |
| The end of Turn 1. |
 |
| The Greeks start to move back towards the town for an orderly withdrawl. |
Turn 2
The sound of engines could be heard in the distance, which heralded the arrival of the Italian bombers. They managed to avoid the flak that was thrown at them, then caused complete devastation as their payload rained down around the Greeks, destroying one tank and leaving eight units suppressed, some with 4 hits. To add insult to injury, the Italian FAO managed to call down an artillery strike, which destroyed and MG and Infantry unit as well as suppressing two others.
After such a good start, the Italian ground troops were frankly pretty poor, with only the Blundered unit from last Turn arriving automatically and the L3/35 tankettes moving on, only to Blunder, but at least they suffered no hits from the fire they received. Everyone else appeared to still be having early morning coffee.
The Greek left flank failed again and there was little else that could be commanded, as most units or HQs were suppressed.
 |
| The Italian bomber arrives, with its snazzy camo scheme... |
 |
| ... and leaves devastation in its wake. |
Turn 3
As the drone of the bomber disappeared, the Jericho siren of a Stuka could be heard. Once again the flak was ineffective, but the ATG &tow on the rocks managed to avoid being destroyed, but was at least suppressed. The Italian FAO was on a bit of a mission, as once again he called in his artillery, resulting in the loss of a tank, mortar unit, two infantry units and the CO suppressed. Ouch! It was only half way through Turn 2 and the Greeks were already 1 point away from their Breakpoint.
The L3/35 tankettes pushed forward, taking some hits from opportunity fire, but once again the rest of the Italian ground troops failed their command rolls. What are the chances...
The Greek left flank Blundered, leaving the HQ retreating, which was probably a wise move given all that they had suffered so far. Again, there was little, if anything, left to command as most other units were suppressed.
 |
| The Stuka arrives but fails to cause significant damage to the ATG unit. |
 |
| The end of Turn 3. |
 |
| Not much left of the greek centre of armour. |
 |
| The beleagured Greek left flank. |
 |
| Limbered up, the ATG unit doesn't fancy their chances against all those tankettes. |
 |
| The L3/35s are across the bridge. |
Turn 4
The Italian FAO once again caused misery and mayhem for the Greeks, as he switched his target to their left flank, suppressing three infantry units, the IG, MG unit and HQ. Things really look bleak for the Greeks now. The Italian ground troops are a pretty rum bunch, as once again they fail their command rolls. At least the tankettes attack, but fail to finish of the ATG amongst the rocks.
From bad to worse for the Greeks, as with their left flank suppressed, the centre HQ Blunders, leaving their CO on -2CV for this Turn and the next! What can one say...
 |
| The end of Turn 4 |
 |
| The suppressed Greek left flank. |
 |
| A pretty hopeless situation on the Greek right flank. |
End of the Game
The inevitable happened at the start of the Turn 5, with the ATG in the rocks destroyed by fire from the tankettes, which put the Greeks on their breakpoint, which the CO promptly failed. Frankly it was only a matter of time given the casualties they suffered in Turns 2 & 3.
Post Game Thoughts
Well, what can one say after a game like that? I'm not sure really, but I'll try:
- I can't remember a game with so many Blunders and failed command rolls, alongside such devastating artillery and air support. Sometimes the die rolls just create these bizarre games.
- Despite it being somewhat one sided, I did enjoy it, as it was an interesting scenario and I do enjoy playing the Italians, as I love their armour and aircraft. I did think it would be a tough call for the Italians, but how wrong I was. I might try and replay this scenario in the future just to see how it compares with this game.
- The Italian bomber and off board artillery really were the stars of the show. They simply knocked the stuffing out of the Greeks in two Turns, from which they were never able to recover.
- The Italian ground troops in contrast were shocking and they never fired a single shot!
- The random target and turn selection worked well and this is something I've used before. For solo games it's always tricky with pre-planned strikes, but this seems to work sell enough for me.
So what's next? Well Adam and I are trying to get a mini-campaign underway, once we are able to meet up that is. I'm hoping it will be loosely based around the Allied invasion of Sicily, so that I can use some more of my Italian armour. This will also spur me on to actually paint said armour.
I'm also continuing with my Portable Wargames stuff and have a board in progress, but the figures haven't seen any progress of late due to the usual factors. So until next time...