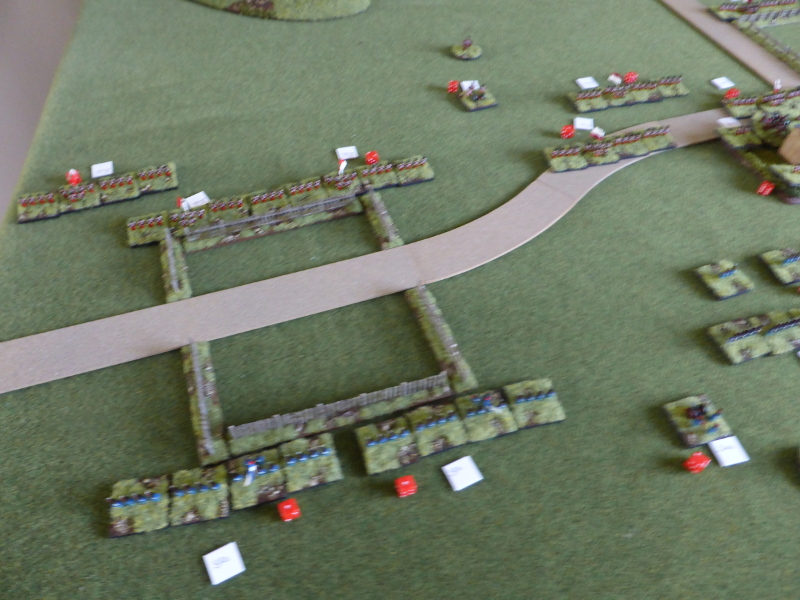
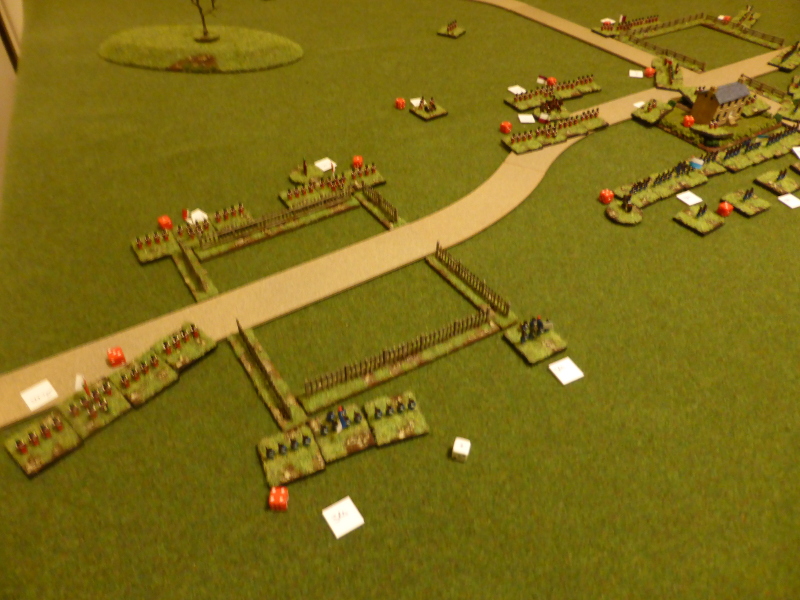
After quite a hiatus on the campaign front, I felt in the mood to get this back up and running, so after re-acquainting myself with where the campaign had finished on Day Two, it was time to decide upon which scenario to play. So after a bit of thought I plumped for the combined Fallschirmjager, Volkstuurm and Panzerschule attack towards the bridge, with the aim of cutting and/or disrupting Club Route.
German OOB
1 x CO (CV9)
1 x FJ HQ (CV8)
3 x FJ
1 x MG
1 x 81mm Mortar
1 x Volkstuurm HQ (CV7)
3 x Volkstuurm
1 x MG
1 x 81mm Mortar
1 x Panzerschule HQ (CV8)
1 x Pz II
2 x Pz III 50mm Lang
1 x Pz IV Short
British OOB
1 x FAO (CV8)
2 x 25 pdr Batterys
1 x 'A' Coy HQ (CV8)
3 x Infantry
1 x MG
1 x 'A' Sqdn HQ (CV8)
3 x Shermans
1 x Sherman Firefly
1 x 2nd Recce HQ
2 x Armoured Cars
2 x Infantry
Scenario Details
Quite simply for the Germans to cut the road and inflict as many losses as possible, whilst minimising their own. The British had left a decent covering force in place to defend the road junction and approaches to the bridge.
Weather - Mist
-1CV and visibility down to 50cm. No Air Support available.
The Game
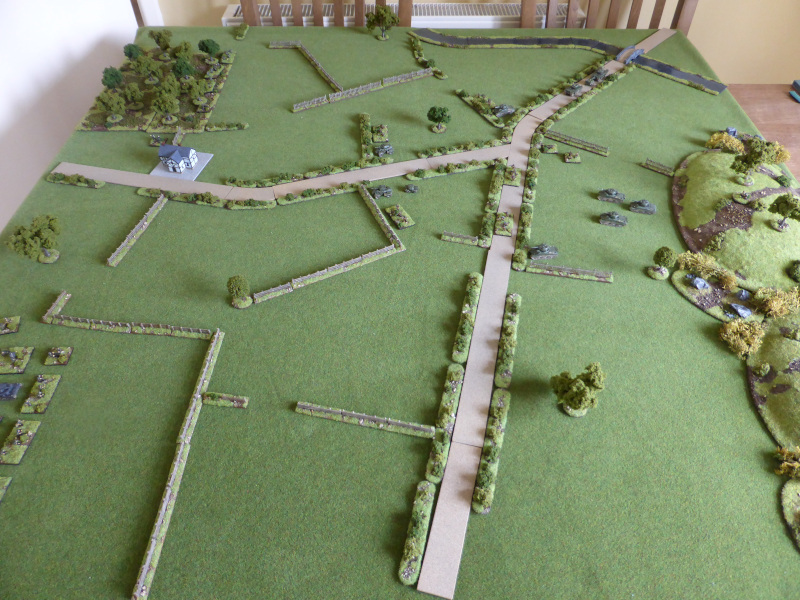 |
| An overview of the table, with the British to the right, on and around the road junction. The Germans to the left, with the Volkstuurm in the woods and FJ and Panzers across the road. The German plan was to try and creat a diversion with a limited Volkstuurm attack, whilst the FJ & Panzers mounted the main attack from their right. |
 |
| 'A' Coy dug-in along the hedgeline of the road, with Shermans in support. A Firefly and Sherman were kept back as a mobile reserve. Note the AVRE's (top right) en route to support the attack on Pemba. |
 |
| 2nd Recce in postion observing towards the farm for signs of any German movement. |
 |
| The main German strike force in position and ready to move off. |
 |
| Likewise for the Volkstuurm. |
 |
| The end of Turn 1. The Germans got off to a bad start, with the Volkstuurm failing to move, likewise the FJ, but at least the independent Pz III's moved up to the fence. The British couldn't see anything through the mist, but could hear the Panzers moving, but could not be sure if they might be British or not, so they held their positions. |
 |
| The end of Turn 2. The Volkstuurm moved off out of the woods and were spotted by the 2nd Recce, who managed to suppress one Volkstuurm unit in the open. In response the Volkstuurm MG & Mortar opened fire and suppressed a Recce Infantry unit. On the right, the FJ and Panzers continued to advance under the cover of the mist. The 2nd Recce, having a perfect opportunity to attack the Volkstuurm, failed their command roll (this was to be a recurring theme). With no targets in sight, the British stood too and moved up the reserve Shermans in support, in response the shooting to their right. |
 |
| The Panzers advance and the British respond, but neither side can see each other yet. |
 |
| The Volkstuurm move off and come under fire, but respond rather too effectively for the 2nd Recce infantry. |
 |
| The Sherman and Firefly move up in response to the gunfire and the sound of armour advancing on the left. |
 |
| The end of Turn 3. Well the Volkstuurm were playing a bit of a blinder, as they managed to KO a 2nd Recce Infantry unit and move up under cover of the mist to threaten the British right flank. On the right the Panzers crossed onto the road and again threatened the British left flank. The FJ took the attack to the remaining 2nd Recce Infantry unit, but failed to suppress it. The 2nd Recce Infantry unit used some Initiative movement to pull back to another fence line to avois being caught in the flank. Then right across the board all British HQ's failed their command rolls! A certain corporal Jones from 1st Platoon, 'A' Company could be heard to cry out; "Don't Panic!!!" |
 |
| The German Panzers arrive on the British left flank and a paralysis seemed to decend upon the British, somewhat surprised at their emergence from the mist. |
 |
| The Volkstuurm sneak up on the unsuspecting British right flank. |
 |
| The Shermans and Infantry fail to see anything through the mist. |
 |
| Lots of targets but they failed to capitalise on the opportunity in front of them. |
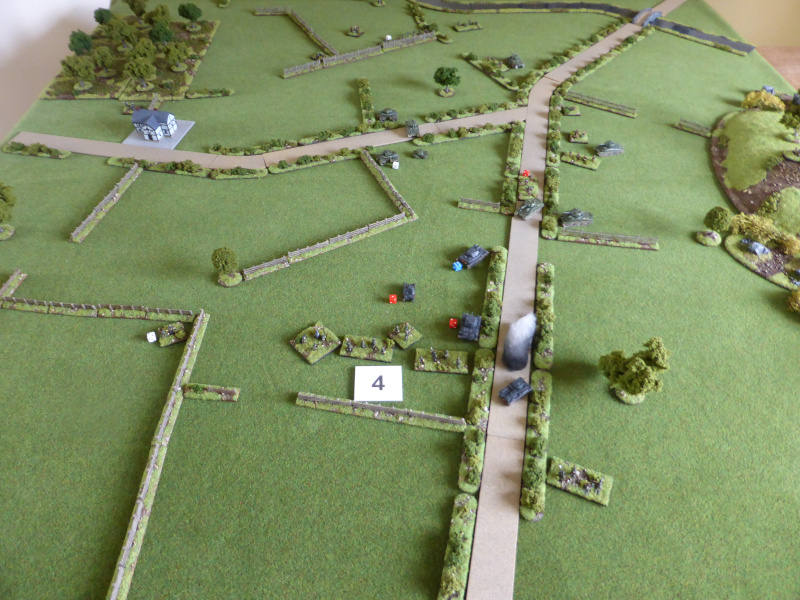 |
| The end of Turn 4. The Volkstuurm moved up quietly and one Infantry unit crossed into the open to spot one of 'A' Coys platoons, but then failed their command roll. On the right the Panzers suppressed another of 'A' Coys platoons, then hit the 2nd Recce Armoured Cars but failed to KO them. The FJ and their supporting Panzers KO the remaining 2nd Recce Infantry unit and then advanced forward. In response a Sherman managed to suppress the FJ MG. Finally the FAO had line of sight to some targets and his artillery strike suppressed the Panzers HQ, a Panzer III and KO'd the other one. The Shermans engaged the Panzers, who returned fire, with both sides making some amazinf armour saves to stay in the game. At least the Firefly forced the suppressed Panzer III back. |
 |
| Both sides armour becomes hotly engaged, but to limited effect. |
 |
| The Panzer IV and a Sherman both took 5 hits a piece, yet both saved all of them! What are the chances? |
 |
| A Sherman reacts to the emergence of the Volkstuurm Infantry, but fails to shoot. |
 |
| The end of Turn 5. The Volkstuurm again had a rather decent Turn, with some brilliant shooting they KO'd the 'A' Coy platoon on the right flank. The Sherman at least managed to suppress the Volkstuurm Infantry in the open and force them back slightly. On the other flank, with some Panzers suppressed, the remaining few caused little damage to the Shermans, but the Pz IV was suppressed by opportunity Fire. With some many targets to the fore, the British FAO managed to call in his artillery right on top of the FJ & Panzers, KO'ing two FJ Infantry and suppressing two HQ's and the remaining Panzer III. From there the Shermans finished off what was left of the German armour and on the right flank the Sherman KO'd a Volkstuurm Infantry unit as it failed its Fallbacl roll. |
 |
| The burning wrecks on the Panzers. |
 |
| And the Shermans that finished many of them off. |
 |
| Another view of the carnage and also of the 2nd Recce Armoured Cars that failed to move at all. |
 |
| The Volkstuurm still in position. |
 |
| The Shermans that did so much damage in the end. |
End of Game
With the loss of all of their Panzers and most of the FJ Kompanie, the Germans were spent as an attacking force and so wisely retreated back into the mist. The British were in no position to pursue, given their losses and their orders to protect the bridge and Club Route.
Casualties
The Germans lost 1 x Volkstuurm, 2 x FJ, 1 x Pz II, 2 x Pz III and 1 x Pz IV
The British lost 2 x Recce Infantry and 2 x Infantry.
Post Game Thoughts
It was nice to resume the campaign after quite a break. I did think at one point that the Germans might have cut Club Route, given the poor British response mid-game, but the FAO and Artillery came to the rescue, which was a rather historical outcome. So as always a few thoughts on the game:
- I must admit that I was feeling a bit under the weather all day and whilst it didn't affect the game, some of my decisions might have been better with a clearer head. It was a bit of a struggle at times but I did enjoy getting the toys on the table though.
- There were a lot of Blunders in this game, which was rather unusual. Not all of them I recorded but they did break up both sides ability to excerpt C&C. You could blame it on the mist I suppose!
- The British did have more than their fair share of failed command rolls, with the 2nd Recce being a case in point. I don't think they made one successful roll all game! Also on Turn 3 when all HQ's failed really hampered their ability to respond to the German attacks.
- The German mortars as always were rather effective. I know many find them too effective. However recently reading on of Patrick Delaforce's books, in Normandy and into Belgium some 80% of casualties were from mortar or artillery fire. Only in 1945 did this switch markedly to small arms fire. So worth bearing in mind.
- The British artillery once again saved the day and as with the above book, this happened so often in breaking up German attacks throughout the NWE campaign. If they hadn't come to the rescue, then the Germans might have caused more casualties.
- The Germans really missed having some decent armoured support, but then that's part of the fun of this sort of campaign. I did enjoy using the early was armour though, even if they didn't have quite the desired effect I might have hoped for.
- With both sides having taken quite severe losses, this is likely to have quite an impact campaign wise. After the attack on Pemba and following campaign moves, then it will become clearer as to what these might be.
So there we have. Nice to get the campaign up and running again and I hope to get the Pemba attack in soon. A few other things to do before that, but it's nice to have other things to keep one occupied. All being well I even have a FtF scheduled for this coming Sunday. Fingers crossed I remain Covid free!
Until next time stay safe and keep healthy.