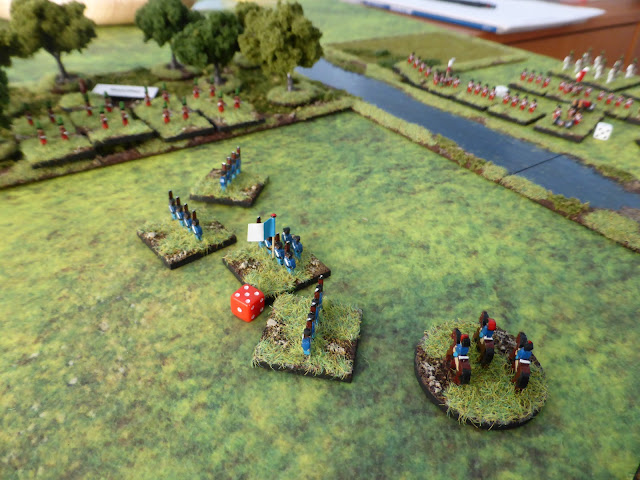
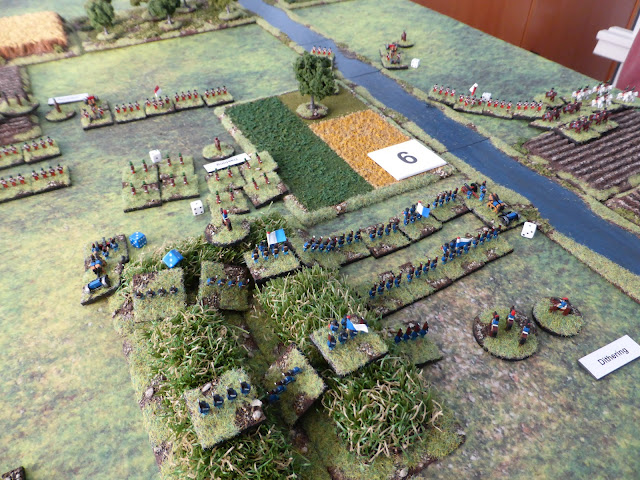
After a longer period than originally planned, I managed to get the next game in of my French-Canadians in Normandy narrative game played this morning, which was nice. Coming back to it slightly fresh was also good, as it gave me time to tweak a few things having re-read some of the history in the fresh light of dawn as it were.
Background
Having successfully cleared Juno beach and securing Le Buisson and Vaux, the French-Canadian 11th Demi-Brigade turned their attention towards their next objective, St Croix-sur-Mer. Once again the Voltigeurs de Quebec would be in the vanguard, supported by the same units as before, but with the addition of a Recce Squadron from the Argentuil Rangers, to lead the way.
Scenario Details
The 11th Demi-Brigade had two objectives, namely to take and secure St Croix-sur-Mer, but also to push on past as fast as possible, to reach Cruelly before nightfall. The Germans had had little time to recover from the shock of the Allied landings, so St Croix-sur-Mer was only held by HQ elements from the II Battalion, 726th Infantry Regiment. Unknown to them, a Panzer Training Kompanie was on its way to the airfield at Caen, when it was diverted to support the left flank of the Infantry Regiment.
Voltigeurs de Quebec Regiment OOB
1 x CO - CV 9
4 x HQ - CV 8 (3 with attached FAO's)
1 x FAO (RN)
9 x Infantry (Veterans)
1 x MG
1 x 3" Mortar
1 x Wasp
1 x Sherman Firefly
2 x Shermans
1 x Sherman Crab
1 x Churchill AVRE
1 x Churchill Crocodile
1 x Centaur
1 x Humber A/C
2 x Stuarts
1 x Carrier Platoon
3 x Priest 105mm SPG (on call)
1 x HMS Fury (on call)
1 x Typhoon (roaming at large)
HQ Kompanie, II Battalion, 726th Infantry Regiment OOB
1 x CO - CV 8
2 x HQ - CV 8
3 x Infantry (Fortress)
1 x MG
1 x 81mm Mortar
1 x Pak 35/36 with Stielgranate
1 x Pak 38
1 x 105mm Artillery
1 x 150mm Artillery
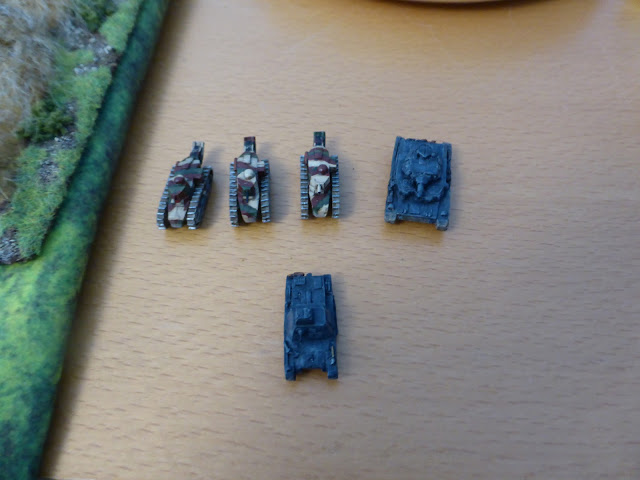
1 x Ft-17 (MG)
2 x Ft-17 (37mm)
1 x Panzer IV Short
Barbed Wire
Mines
The Table
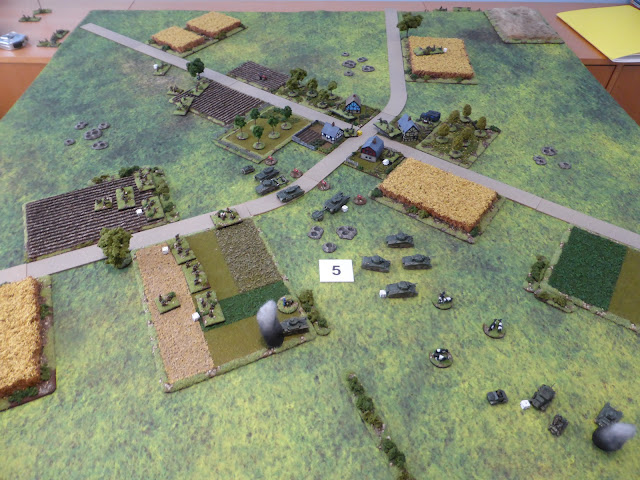
As always, the game was fought on a 4' x 4' table, with the general layout and details seen below.
 |
| An overview of the table, with St Croix-sur-Mer in the middle. The French-Canadians would arrive from the left hand side and any German reinforcements from the right. |
 |
| The main approach road for the French-Canadians. |
 |
| The approach to St Croix-sur-Mer is mined. |
 |
| A dug-in 105mm Artillery piece that had been shelling the beaches. |
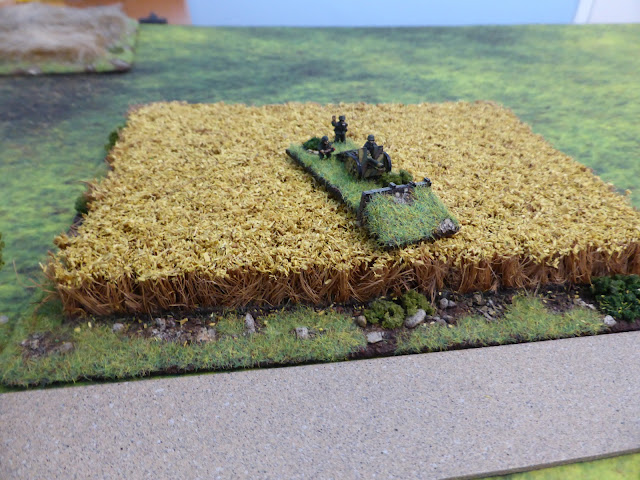 |
| Likewise a 150mm Howitzer. |
 |
| Barbed wire covers the other approach into the village. |
 |
| Poor old Francois le Fermier is aobut to get another shock! |
 |
| A dug-in Pak 38 covering the main approach road. |
So without further ado, onto the action!
 |
| The end of Turn 1. As the French-Canadians advanced towards St Croix-sur-Mer, they came under attack from the dug-in Pak 38 and 105mm Artillery, suppressing an Infantry unit and Sherman. |
 |
| The Argentuil Rangers push forward to try and get past the village. |
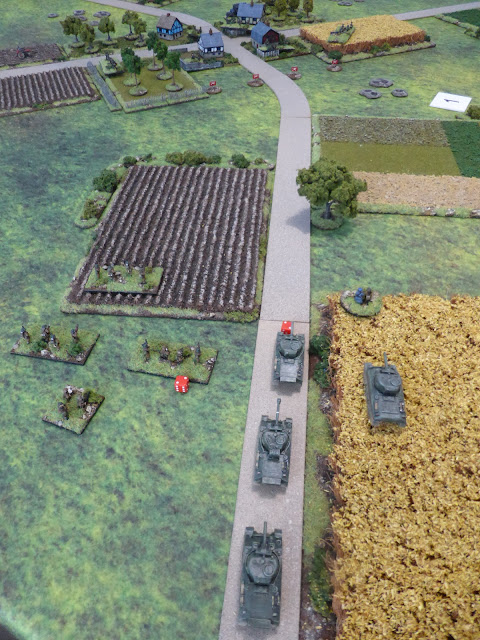 |
| Coming under fire there is not doubt that the village will be hotly contested. |
 |
| The Germans under fire from HMS Fury. |
 |
| The Infantry edge forward, but remain hidden at present. |
 |
| The Trois-Rivieres Dragoons move to the cover of the hedgerow. |
 |
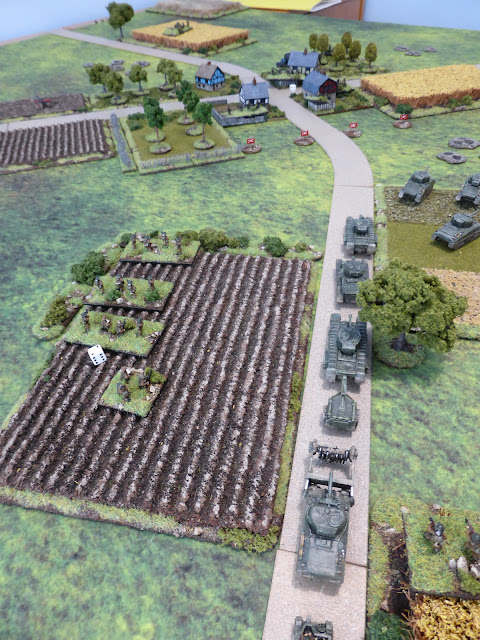
| 'Hobart's Funnies' arrive and look like they will be needed to help take St Croix-sur-Mer. |
 |
| A nice gun line that can't hit anything at present! |
 |
| Stuart's burn as the Carrier Platoon look on rather nervously. |
 |
| The might of the Panzer Training kompanie. In Normandy, every tank was a Tiger😉! |
 |
| Relief for the Argentuil Rangers as the Panzers brew up. |
 |
| At least they made an impact, if all too brief a one! |
 |
| The Trois-Rivieres Dragoons finally get their eye in. |
 |
| 'Hobart's Funnies' are in no hurry it seems. |
 |
| Another Infantry Company arrives to try and take St Croix-sur-Mer from the flank. |
 |
| The Germans struggling to take up meaningful positions in face of the weight of Allied firepower. |
 |
| The Argentuil Rangers consolidate. |
 |
| The Trois-Rivieres Dragoons move past the village and leave it in the capable hands of 'Hobart's Funnies'. |
 |
| The Infantry await the tanks to do their work before advancing. |
 |
| That's an awful lot of firepower to face! |
 |
| On the left flank the Infantry close in on St Croix-sur-Mer. |
 |
| The Pak 35/36 faces off against the Crocodile, as somewhat one sided affair. |
 |
| The Argentuil Rangers on the move. |
 |
| The Shermans for a defensice laager. |
 |
| The Voltiguers de Quebec move forwards now that 'Hobart's Funnies' are in such a commanding position. |
 |
| Where have all the Germans gone? |
 |
| The Infantry reach the orchard ready to enter the village. |
End of Game
At this point the game was pretty much up for the Germans, as they were more or less surrounded and with nothing that could really stop the French-Canadian armour or Infantry. So the only realistic option left was to surrender, which they did.
French-Canadian Losses
At the close of play they had lost two Infantry Companies and two Stuart Troops from the Recce Squadron. Whilst relatively light, the Voltigeurs de Quebec were almost down to half-strength now and the Argentuil Rangers would have limited ability to perform the Recce duties, which could impact the advance on Creully.
Post Game thoughts
Well that was nice to get this game in as part of my narrative campaign, after a long delay. In all the game took about 2 1/2 hours, so not bad and as always, it was great to be playing BKCII. Some thoughts on the game and campaign in no particualr order:
- HMS Fury and the weight of firepower she could bring to bear really helped the French-Canadians from the off. I think she may have bee a too bit overpowered, but need to reflect upon this for future games. Certainly without this and suppressing critical Germans units from the Start, such as the Pak 38, then the French-Canadians might have ahd a much tougher and bloodier task on their hands.
- Taking BUA's you really do need a lot of firepower, whether it be Artillery or the likes of 'Hobart's Funnies'. Now that the French-Canadians are moving out of Naval support range, this will become tougher for them I'm sure.
- 'Hobart's Funnies' once again proved to be deadly and vital to the ability to take and threaten BUA's. As the advance continues at pace now, they will most likely be left behind to move into Brigade or Divisional reserve. Time will tell.....
- With the Voltigeurs de Quebec now down to nearly half strength, it will be a much tougher ask for them moving forward. Certainly they will have to husband their resources and hope reinforcements are on the way from the beach, as they will start to face elements of the 12th SS Panzer Division.
- I'm a bit of a sucker for units such as the Panzer Training Kompanie, but they are great fun to deploy on the table and certainly add to the narrative, as they did here. I'm sure the AAR from the units involved will say they face Panthers or Tigers!
- The Typhoon had no chance to make a show as any targets of opportunity were quickly dispatched. However for the next phase and FAC will be available and so a cab rank system will be in place.
- For the next battle, the French-Canadians will need to push on with all speed before night falls, so that they can try and secure Creully. I need to think how I can fit this into a scenario alongside the elements of the 12th SS Panzer Division arriving. Much to think about.
- Hindsight is a wonderful thing, but I think I could have placed a few German units more effectively, to help with LoS for the 81mm Mortar and the dug-in 105mm and 150mm Artillery units. Ditto the MG unit. C'est la guerre and all that!
What Next?
Well for this campaign I certainly need to paint up quite a few units, both German and French-Canadian. Alongside this new river sections are underway which again will be needed. I also have some new buildings to paint up too, so plenty to be getting on with, if time allows and I can concentrate on doing them all!
In between they maybe some more OHW scenarios or something along those lines. I do have an idea for the next one in the book, but need to have a good think about it first.
Real life and a holiday beckon these next few weeks, so it may be sometime before part three of the Normandy campaigns gets played. At least whilst on holiday we are planning on visiting the Museum of the Vendee, which will probably rekindle some thoughts on playing this conflict on some shape or form. As always, so many ideas, so little time!
Thanks for taking the time to read this and as always, any comments greatly appreciated!
TTFN.

