Sunday, 8 December 2024

Normandy 1944 Campaign - The South Glos Fusiliers - D-Day +2 - Assault On Cardonville

The Background
On D-Day +2, the South Glos Fusiliers supported by their brethren, were tasked with making a hasty assault upon the hamlet of Cardonville, before the German defensive crust could begin to harden. Having lost heavily the previous day, the Germans threw together a scratch Kampfgruppe under the command of Major Wagner, with orders to delay any attacks for as long as possible.

British OOB - The South Glos Battlegroup
1 x CO
5 x HQ's
2 x FAO
1 x FAC
9 x Infantry (veterans)
1 x MG
1 x 3" Mortar
1 x 6 pdr ATG + tow
6 x Shermans
2 x Firefly's
3 x 25 pdr's (off table)
1 x Naval 
1 x Typhoon
Various scheduled assets

German OOB - Kampfgruppe Wagner
1 x CO
4 x HQ's
6 x Heer
2 x MG's
2 x 81mm Mortar's
1 x Pak 38
1 x Pak 40
3 x SdKfz 250 half-tracks (various marks)
2 x H-39's (Ft-17 models in the game)
1 x Pz IV kurz
Various field defences

Scenario Overview
The scenario is 'Assault' as per the rulebook, but with the South Glos Battlegroup having 75% more points due to the campaign effects from the previous game. In short the South Glos Battlegroup needs to be in control of Cardonville by Turn 6 for a Major Victory or Turn 8 (end of the game) for a Minor one.

An overview of the table, with the South Glos Battlegroup arriving from the West. Kampfgruppe Wagner are deployed in and around Cardonville.

Infantry dug-in in Cardonville.

The German right flank dug-in on the outskirts of the hamlet.

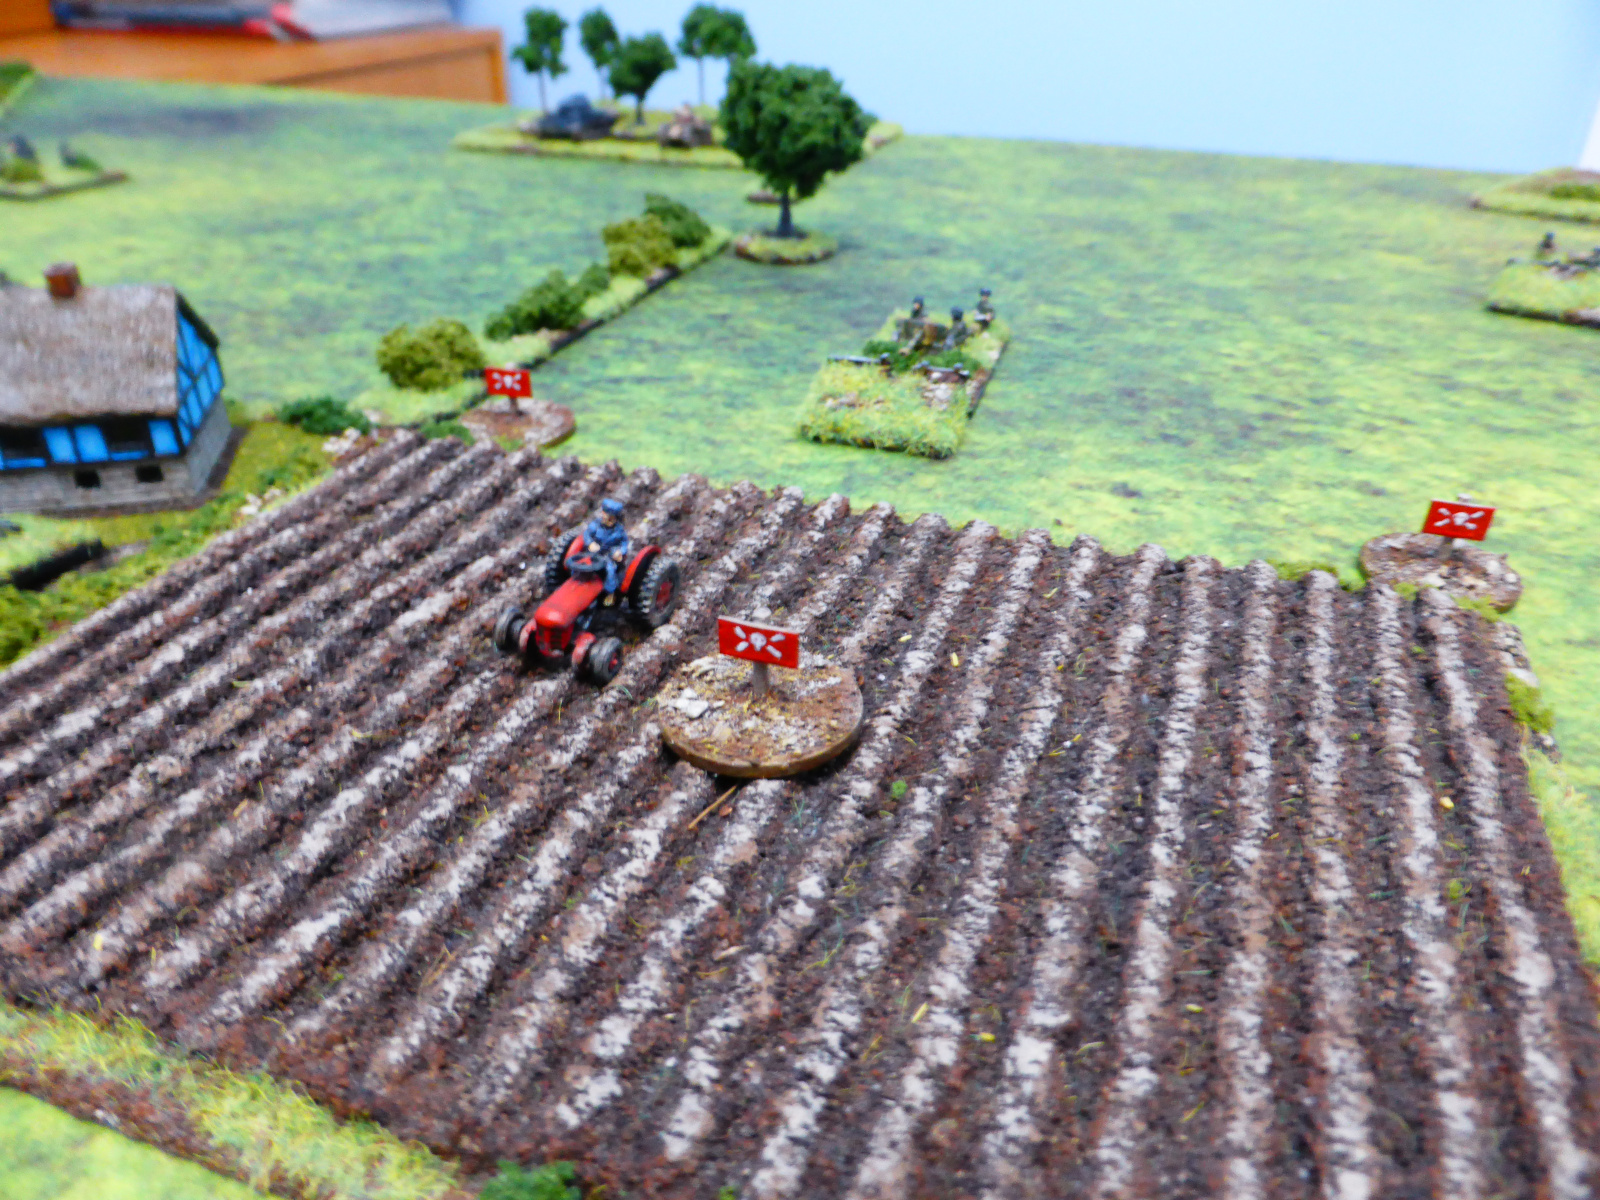
Merde! Poor Francois le Fermier is in a precarious position within the minefield!

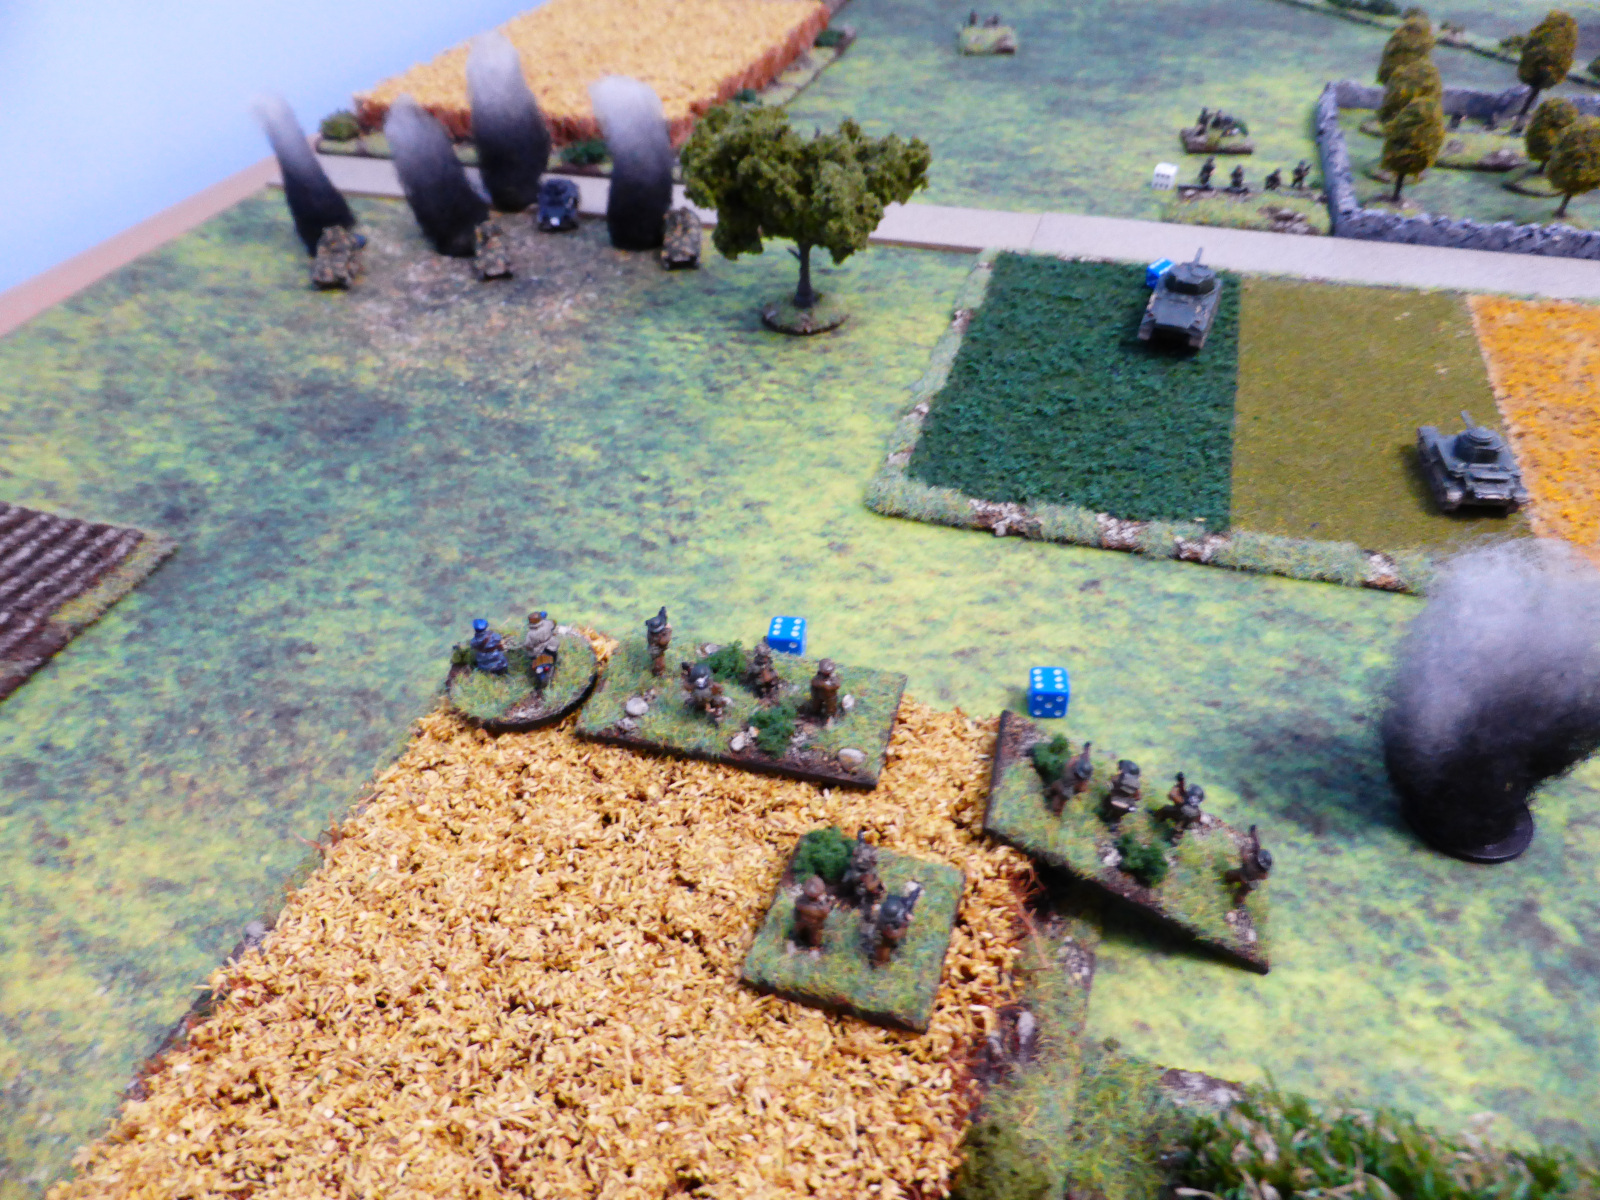
The German panzers in the orchards to avoid and Jabos.

The remnants of the Recce kampfgruppe from the previous game.

The South Glos right wing.

The Centre.

The Left Wing.

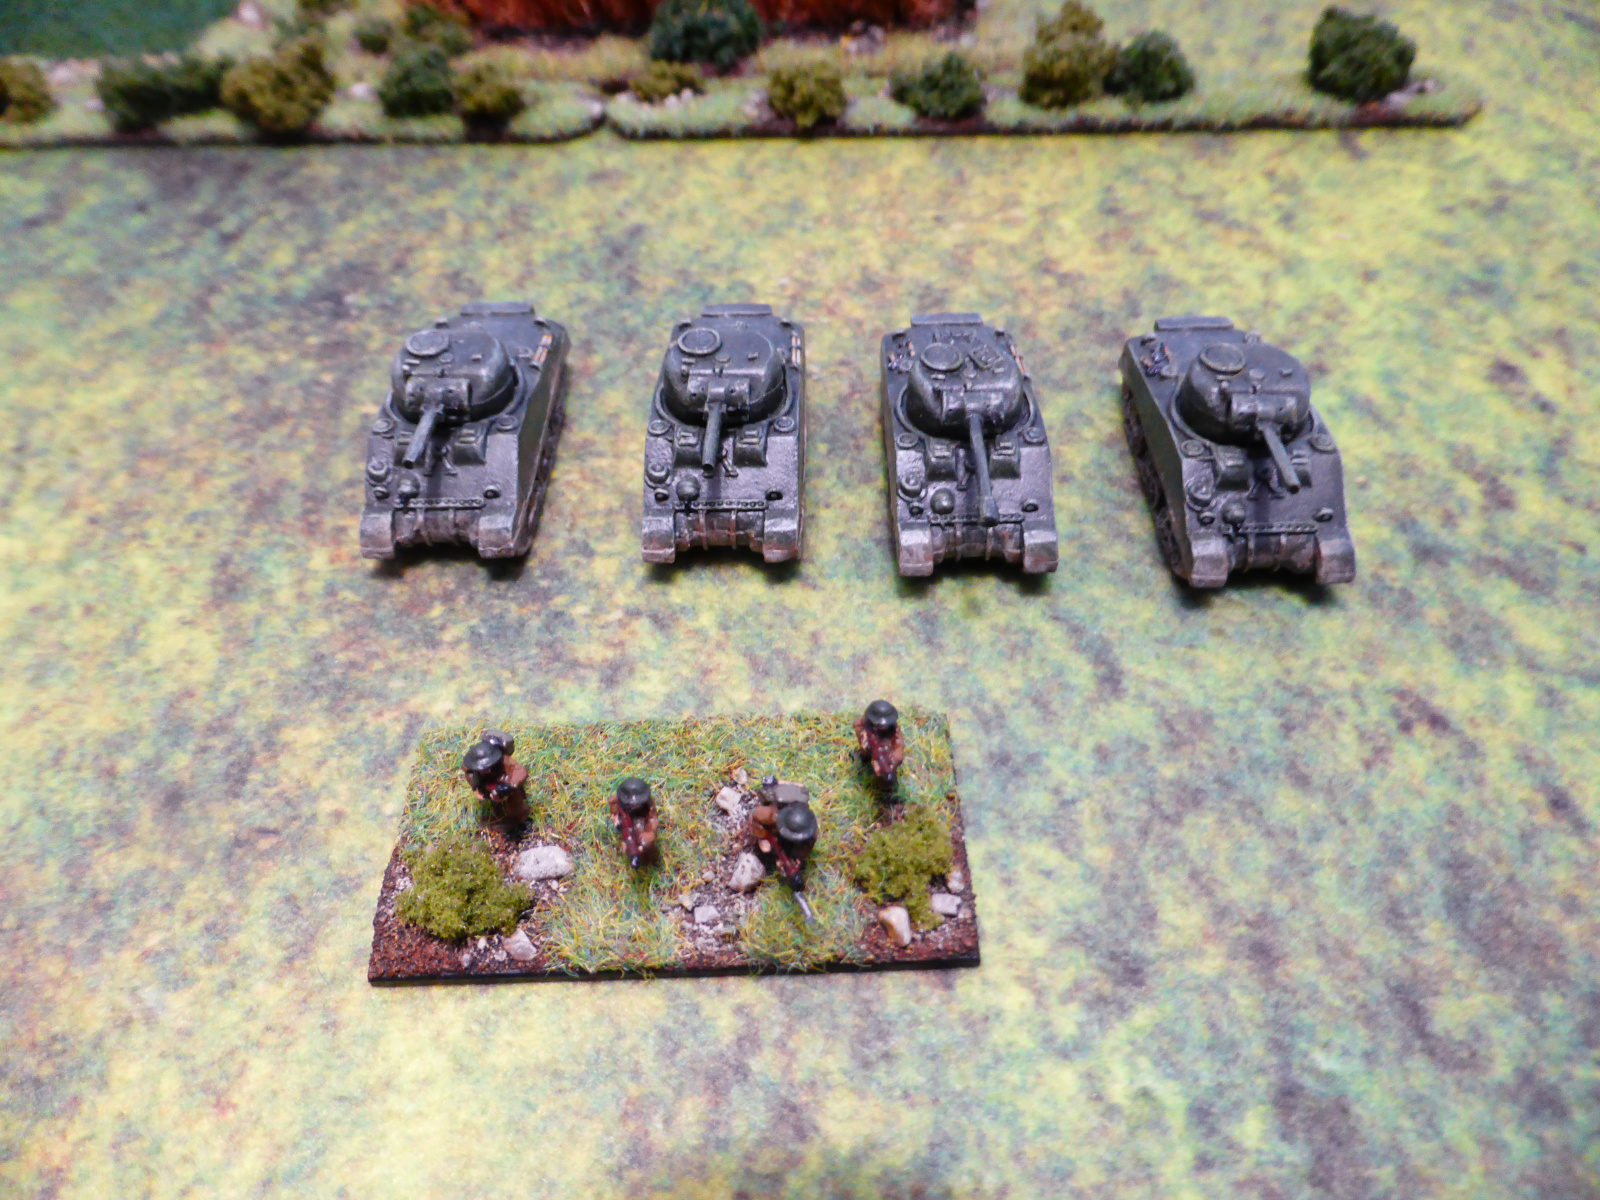
The Reserves, FAO's and FAC.

The Game
As is the norm, captioned photos to try and give a flavour of how the game unfolded.

The end of Turn 1. HMS Avon kicked things off with a concentrated attack on Cardonville, that managed to suppress a few German units, who were rather well dug-in it would seem. The South Glos troops made slow but steady progress, when a bit more 'va va voom' was more the order of the day. The Germans had limited targets but wisely chose to keep hidden from view until the British got closer.

HMS Avon's shells had limited effect.

The German panzers move up as the enemy tanks are spotted.

The SdKfz 250's move forward to try and locate the enemy.

The Shermans edge forward across open terrain, not sure what lies ahead for them.

The rest of the Battlegroup moves forward.

The end of Turn 2.

The City of Bristol Volunteers lay down a smoke barrage, limiting Germans options as they cannot see. Yet again slow progress is made by the South Glos Battlegroup, but luckily for them, the German Pak 40 fails to receive its order to open fire.

Despite tempting targets to their front, the Pak 40 crew fail to open fire.

The SdKfz 250's push forward, aware that they might be at risk from Jabo attacks.

It's all rather too quiet on the Cardonville front...

Whilst the troops move forward, albeit slowly, the FAO's ans FAC have taken up position at the edge of the fields.

The start of Turn 3 and sure enough, a Jabo suddenly appears and wreaks havoc, KO'ing 2 x 250's and damaging or suppressing the others.

The end of Turn 3. After the Typhoon did its thing, the CoBV Artillery brought down a barrage of fire on Cardonville. Whilst not causing any major loss, the cumulative effect of the attacks is wearing the Germans down. As the South Glos troops advance, they come under fire from the 'Pak Front', with the South Glos right flank losing tanks in quick succession. Things have really begun to hot up!

The dug-in Pak 40, in quick succession, exacts a fearsome toll.

As the Reserves arrive, the Infantry are struggling to get forward to support the Royal Gloucestershire Hussars.

The Pak 38, whilst unable to KO any tanks, has given them a real 'wake up' call.

The Pak 40 adds two rings to its barrel.

No rings yet for the Pak 38.

Another cab rank of Typhoons arrives and finishes of the SdKfz 250's. Caught like a fox in the open.

The end of Turn 4. With battle well and truly joined, the CoBV Artillery suppresses the Pak 38 and KO's an MG42 unit, but HMS Avon fails to receive coordinates for an attack. As the South Glos Fusiliers advance, they manage to KO an Infantry unit in the orchard to their front. As they push forward all across the line where able and prudent to do so, they lose a Sherman to a panzershreck and the German panzers, as well as an Infantry unit too.

The Royal Glos Hussars are really suffering!

The Pak 40 and Panzers make life hard for the Hussars.

The South Glos Fusiliers begin to KO some of the German units in Cardonville.

As the Shermans edge forward, they lose a tank as they do so, but KO the unit that caused the loss.

The Fusiliers come under fire as they reach the edge of the cornfield.

A view from the Germans positions.

At the Start of Turn 5, the RAF Johnnies once again come up trumps, this time KO'ing the dug-in Pak 38.

The end of Turn 5. At the RAF boys arrive, HMS Avon and the CoBV Artillery add more hits to the German troops as well as suppressing them, but manage fo KO a H-39 (Ft-17 model) in the process. Other German units begin to be lost and as a result, the Kampfgruppe reaches its breakpoint, but manages to pass its test and carry on. However, seeing the writing on the wall, Major Wagner begines to order what troops that can, to fall back to safety.

The Hussars receive a reprieve at the Pak 40 and Pz IV is suppressed by the combined naval and artillery fire.

With units suppressed, the Germans begin to withdraw.

The South Glos Fusiliers reach the edge of Cardonville.

The German Beutepanzer begins to withdraw.

The German right flank is wide open.

The end of Turn 6. With no targets for the FAC and troops too close for naval fire, it is left up to the CoBV Artillery to KO the dug-in Pak 40, much to the relief of the remaining Hussars tank. Elsewhere as the Fusiliers occupy and push forward into the village, the other Hussars on the left flank swing round and cut off the retreat for the Germans, KO'ing the Beutepanzer in the process. More or less surrounded, the Germans have no option other than to surrender.

The Hussar tanks on the right flank move forward to close the trap, now that the threat from the Pak 40 has gone.

The Germans trapped in Cardonville.

South Glos Fusiliers move through the churchyard.

The Hussars close the escape route.

An overview from the British position.

The view as the Fusiliers close in.

End of the Game
So despite a slow start, all of a sudden the South Glos Battlegroup has managed to pull of a rather convincing win! But losses from both sides need to totted up to see the effect upon the campaign.

British losses.

Germans losses.

Captured German troops.

The ones that got away.

Campaign Effects
Well the South Glos Battlegroup achieved a Major Victory, both in terms of seizing the objective within 6 Turns, but also in terms of the casualties caused compared to those taken. The Germans managed to fail to score any Victory Points at all. So for the next game:

British - + 25% points for reinforcements.
Germans - No points for reinforcements.

Whilst this might look good for the British, a poor dice roll meant that they just failed to get +50% for reinforcements, which would have given them a significant advanatge to say the least!

Post Game Thoughts
I had this game set up for a few days, taking my time which was nice, and tweaking a few things before the game kicked off. It still seems a novelty to be able to do this and something I should bear in mind more. But as always a few things that stood out from the game:
  • The Shermans on the right flank really took a battering and if the odd command roll had gone the German's way, then they might have been wiped out. This certainly felt right as they were advancing over open ground and could not see the enemy until they opened up at close range.
  • The value of having so much artillery and air support on hand, cannot be stressed enough, as without it, I doubt of Cardonville could have been taken. Again this just felt right and time and time again, you read of attacks faltering or failing fue to lack of artillery support.
  • The Pak Front really worked pretty well in this game, but if the Pak 38 had managed another shot or two, it might have been even better for the Germans. Alas the British have lots of Shermans in reserves, but less so Infantry.
  • For once the German mortars didn't exact their normal dreadful toll on the British Infantry, due to a number of factors.
  • As with many a game, you realise what units you really need to push to the front of the paint queue. Currently this will involve some more Pak's, a Flak 88, some dedicated AA guns as well as some Panthers. 

What Next?
Well I know what I want to base up and paint for the next game, which will mainly be some more units for the Germans, namely some more Pak's, a Flak 88, some dedicated AA guns as well as some Panthers. It will be a while before I can do this due to family coming to stay, which means I will not be able to strike whilst the iron is hot!

At least it will give me plenty of time to figure out the next scenario in the campaign, takin ginto account the after effects of this current Campaign Turn. It would be nice to wrap this up before Xmas, but I doubt I will be able to, maybe getting in just one more game if I'm lucky.

My Midgard order is due to arrive today, so I'm looking forward to reading this, but maybe I should leave it until Xmas so as not to get too distracted from this campaign! 

Well I hope you enjoyed this and as always any comments are greatly appreciated.

TTFN.

Wednesday, 4 December 2024

A Bit of Terrain, Fantasy Heroic Battles & WWII

Yesterday was quite a full on day supporting other parent carers, so when I got home I was rather pooped. To unwind I thought I'd do a bit of an update on what I've been up to of late, aside from the Normandy campaign.

BUA's
A few years ago I made some bespoke bases for a lot of my Leven Miniature buildings, but not all. In the mood for some terrain building of late, I finally got around to making some some more, specifically for my more European buildings. Not all have been completed, but the ones that have are featured below, as I will need them for the Normandy campaign.

A 3" x 3" base (or 76.2mm x 76.2mm for metric pedants😉).

The fences are HO/OO ones cut down to size.

I will add some vegetables to the garden at some point.

I try to vary the position and angles of the houses to add variety to the look when they are aligned along a road.


A veg patch to be added.


A 3" x 4" base this time for the churchyard, just to break up the uniformity and the fact that it looked better with more space.

I'm torn between making a few headstones and tombs, but can't make up my mind. Thoughts on a postcard?


Midgard or Dragon Rampant?
The Midgard rules are certainly the 'jeu de jour' at present, with plenty of virtual ink being spilt on various Blogs etc and I imagine they will feature at many a show next year. I must say they have piqued my interest, but I have not made my mind up with regards to them to be honest. I'm currently watching some Youtube videos to get a flavour for them, but do wonder if I would ever actually play them, given that I have Hail Caesar II and Dragon Rampant already. I have had plenty of ideas for games for the latter rules, but have not really explored them in any meaningful way, so I fear the same might be the case for Midgard.

But whilst I ponder and hover over the 'buy' icon at the same time (well it is Xmas soon), I dug out an old tin containing some of my earliest miniatures for way back in the dark ages known as the late 1970's. As you will see, sculpting has come on leaps and bounds since then I my painting too, but still only at a serviceable journey man level. I have planned on using these in Dragon Rampant, but see they could be used in Midgard too. Purists may complain to their MP at the thought of using 10mm figures with old school 25mm ones, but I think it could be fun and a good way to get these toys back on the table.

So just a few photos of some of my collection in no particular order:

This is a Fire Giant I believe, that I repainted nearly 30 years ago now and boy does it show!

A Frost Giant from the same range as the above, but with my terrible attempts at some sculpting using Milliput, to make him look more 'Viking' as he had really skinny legs IIRC. The paint job doesn't bear too close an inspection.

Another Frost Giant I believe, but this time a Ral Partha one, still in his 1970's Humbrol enamel colours. Still a favourite sculpt from that period and even now.

At this time we had a habit of using metallic colours for jewellery, and a thinned coat of red on weapons to look like blood.


I think another Ral Partha figure, a barbarian that inevitably was called 'Conan'. The paint has rubbed off his nose and I didn't take much care on storing him. I'm loathed to repaint him, but I think I may have to...


A real mix of figures and manufacturers, from left to right: A Werewolf, Dragon, Balrog, Thief and Wind Elemental.

I piece of terrain that would fit well with Midgard or Dragon Rampant, but I have used it for Sicily and the Italian Campaign too. I'd forgotten I had it so have moved it to where I can access it easily.


Normandy
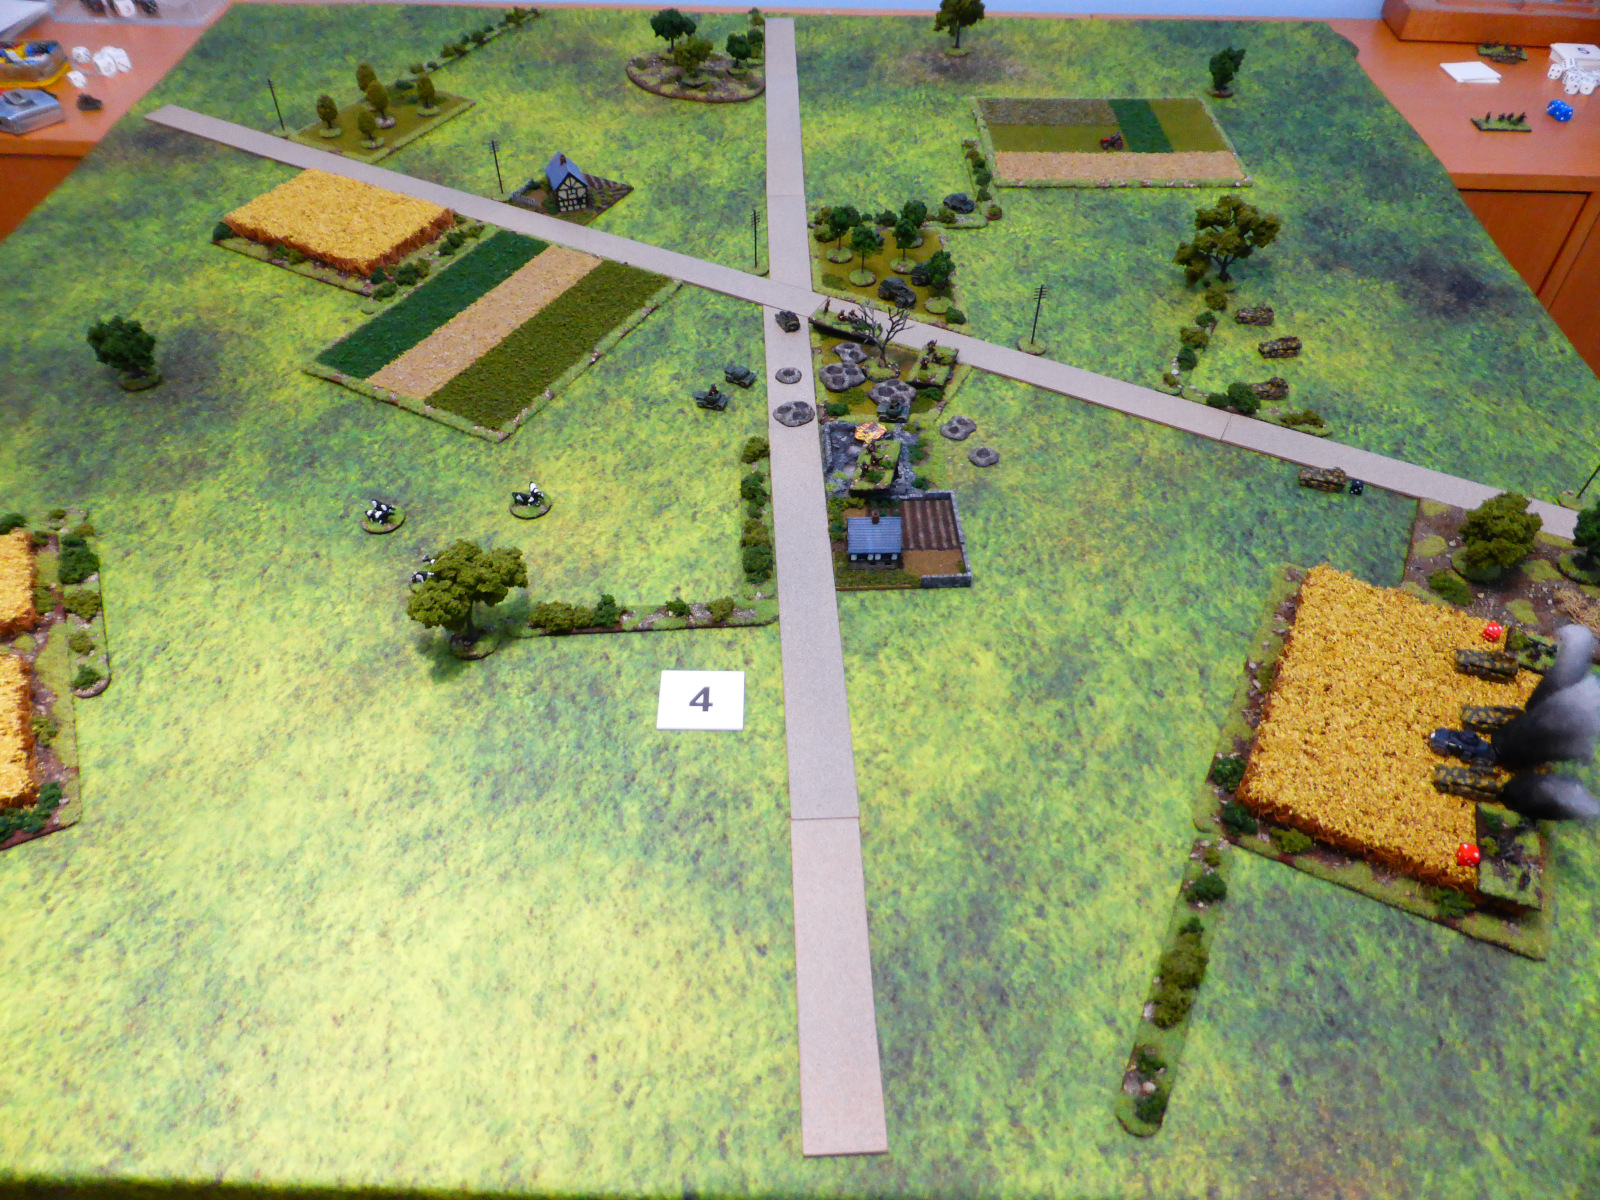
As a little teaser for the next scenario, I set the table up last night and took a quick photo. Normally if I can, I will do this a day or two in advance, so that I can look at it with fresh eyes the following day and tweak things if required. It is amazing at what you 'see' when doing it this way that you missed first time around. 


Hopefully you found something of interest or even took a bit of a trip down memory lane. As always comments grealty appreciated!

TTFN.

Sunday, 1 December 2024

Normandy 1944 Campaign - The South Gloucestershire Fusiliers - D-Day +1 - Advance On Norrey

First off I will set up some background fluff and info before getting to the AAR itself.

Background
The 1st Battalion, South Gloucestershire Fusiliers, supported by the 2nd Regiment Royal Gloucestershire Hussars, have advanced inland from Sword beach and, after some initial small skimishes, have established a defensive perimeter a few miles inland by nightfall. Elements of the German 21st Pz Div and associated units, have been preparing to make a recce probe come dawn, to try and establish where the British are. Come the morning on 7th June, both sides have sent recce units forward towards the crossroads at Norrey, before moving forward with their main force.

Campaign Mechanics
Both sides have 750 pts to play with as a base force. The British have a +1 to add to their Random Dice roll to reflect the stockpile of materiel available to them. In contrast, the Germans have a -2, due to Allied interdiction and general shortages of materiel. After both sides rolled their dice, the British gained +10% to their total, and the Germans -10%. 

British OOB - The Duke of Beaufort's Horse
1 x CO
2 x HQ
1 x FAO
3 x Armoured Cars
1 x 6 pdr ATg + tow
2 x Carrier Platoons
1 x 25 pdr Battery (off table)

German OOB - Kampfgruppe Gruber
1 x CO
2 x HQ
2 x SdKfz 250 + Infantry
1 x SdKfz 250 + MG42
1 x SdKfz 250/7 (mortar)
1 x SdKfz 250/8 (infantry gun)

The Scenario - Encounter
Both sides started the game using Mobile Deployment, with a dice roll to see who would move first. The objective was to make contact with the enemy and also to control the crossroads at Norrey. The British had a slightly higher Breakpoint than the Germans.

The Game
The British won the roll off and chose to move first. Annotated photos will show how the action unfolded.

An overview of the table, with the British to the left, the Germans the right. The objective is in the centre of the table.

The crossroads and hamlet of Norrey had been targeted in advance of the invasion.

Francois the Farmer is blissfully unaware of what is about to unfold.

The German deployment, with the infantry to the left, the supporting units to the right.

The British deployed their Armoured Cars to advance down the road, with the Carrier Platoons providing flank support.

The end of Turn 1. The British AC's advanced cautiously up the road, slightly ahead of the Carrier Platoons. The Germans did likewise. Neither side as yet could see the other. 

The FAO in his Dingo tries to merge with the cows.

The Carrier Platoon move forward.

Two AC's move along the road with the third providing cover from the orchard to the left.

The German infantry reach the cornfield.

The support units can't quite reach the hedgeline.

The end of Turn 2. The British AC's reach the crossroads and take up a defensive posture, awaiting for the Carrier Platoons to arrive. The FAO moves into the bombed BUA. There they sit and wait and the Germans to a man all fail their command rolls!

The FAO in position.

The Carrier Platoons still lag behind.

The AC's at the crossroads.

One AC has moved forward to take up an excellent position covering the road out of Norrey.

The start of Turn 3 and the British Artillery arrives!

The end of Turn 3. The British FAO gets through to the City of Bristol Volunteer Artillery, the 25 pdr battery that is in call. The effect is devastating, as they KO 1 x German Infantry unit and suppress the others, forcing them to dismount. As this is happening the Carrier Platoons advance and the AC's moved into the orchard. Yet again the Germans fail to move, even for those units not hit by the artillery.

The Carrier Platoons reach the edge of Norrey. The AC's are in the orchard.

In the distance they can see the effects of the City of Bristol Volunteers barrage.

The AC's are out of range or cannot see any targets.

The end of Turn 4. Once again the CoBV's and their 25 pdr's are on target, KO'ing another SdKfz 250 and suppressing the infantry and HQ. As the artillery barrage strikes, the Carrier Platoons deploy.

The Germans have suffered grieviously from the CoBV and their 25 pdrs.

The Carrier Platoons deploy.

The 6pdr ATg takes position to support the AC's.

Kampfgruppe Gruber beats a hasty retreat, as they have reached their Breakpoint and have no realistic chance of contesting Norrey.


End of the Game
An emphatic victory for the Duke of Beaufort's Horse! They secured the objective without coming under fire or taking any casualties, so not a bad start to their campaign.

Campaign Effects
Rolling post-game on the campaign chart, the British have gained 25% reinforcements for the next game, with the Germans receiving none, which was quite lucky for them. The British hold the Campaign Initiative and the next scenario with be a Hasty Assault one.

Post Game Thoughts
Well that was short and sweet and, although one-sided, had a good historical feel to it and helps drive the campaign narrative. I certainly enjoyed it! Just a few thoughts:
  • Obviously the City of Bristol Volunteers Artillery were the game winners here, as two strikes in a row caught the Germans out before they could deploy and get into the game.
  • The failed German command rolls in Turn 2 and then the following Turn put pay to any chance they had. Mind you given the British access to Artillery, I think their offensive capabilities were more limited, but they never got a chance to try them.
  • If this was a FtF game, then it would not have been much fun, but as this is part of a campaign, which is being played solo, then it works fine and, as mentioned above, drives part of the narrative.
  • My 'imaginary but plausible' forces are fun to use as it gives me some nice background fluff to work with. So once again thanks to 'David in Suffolk' for giving me this idea. Maybe the West Suffolks might make a cameo appearance at some point...

What Next?
Well of course I need to start working on details of the next scenario, which will mainly be the OOB as the terrain is already broadly sorted, courtesy of the 'Battlegroup' scenarios. I do hope to get a game in this coming week, before we have visitors for a week, which will certainly put pay to any gaming.

I would also like to paint some units for the game, but I doubt I will have the time. Most likely I will focus on finishing some BUA's for the next game, which is more of a priority. Then I need to figure out how to distinguish my HQ AFV's for both sides. I have some ideas, which might include a few more 'toys for the boys' from Pendraken. Time to get my thinking cap on.

Well I hope you enjoyed it and as always any comments are greatly appreciated!

TTFN.