Over the past week or so, I've been mulling over getting in a trial game of the LFoD rules that I bought earlier in the year. So after perusing the scenarios in the book, I cobbled something together, using some historical OOB as a guide and the Germantown map for inspiration for the table layout. Nothing fancy or even attempting to be balanced, other than that both sides had the same quality of commanders. I did add in a mix of a few 1st Class and 4th Class units, just to see how they fared.
Red (British) OOB
General Rating 4 + 2 Stars
Lieutenant + 1 Star
Guards Bde
2 x 1st Class Line Infantry
Line Bde
3 x 2nd Class Line Infantry
Line Bde
3 x 2nd Class Line Infantry
1 x 2nd Class Skirmishers
1 x 2nd Class Light Gun
Blue (American) OOB
General Rating 4 + 2 Stars
Lieutenant + 1 Star
Line Bde
3 x 3rd Class Line Infantry
Line Bde
2 x 3rd Class Line Infantry
1 x 3rd Class Skirmishers
1 x Light Gun
Line Bde
2 x 3rd Class Line Infantry
Mixed Bde
2 x 4th Class Militia
2 x 3rd Class Cavalry
Scenario
Again, nothing at all complicated, with an advance to contact with the nominal objective being control of Freitag's farm and the crossroads.
 |
| An overview of the table, with Blue to the South, Red to the North. All units are deployed in column of march, with the exception of the skirmish screens, to gain from the movement bonus for this formation. |
 |
| The end of Turn 1. Both sides used their Command Points (CP's) to make brigade moves forward. Blue won the Initiative and chose to move first |
 |
| The end of Turn 2. CP's were even for both sides, but Red won the Initiative and moved first, allowing their skirmishers to occupy Freitag's farm. Blue responded by changing one brigade in the centre into line, thus accruing demoralized (dmz's) for changing formation. they were too close to the enemy to rally these off at the end of the Turn. |
 |
| The central Blue brigade changes into line, covered by their skirmishers. |
 |
| Red has beaten Blue to the farmhouse. |
 |
| The end of Turn 3. Again even Steven's on the CP front and again Red chose to move first. Both sides used their CP's for movement, with the Generals attaching themselves to their skirmishers to boost their shooting dice. Sod's Law that both sides then failed to hit! |
 |
| The Blue units fan out on their right flank to try and bypass the farm, with the cavalry in the lead (top right hand corner). Red have refused their flank at the top of the fenced field. The Red troops are the 1st Class brigade, whilst the Blue on the extreme right and 4th Class. |
 |
| On the other flank, both sides have moved into line where possible, although one Red regiment does not have space to deploy, so remains in column. |
 |
| The end of Turn 4. Honours once again even on the CP front, but Red chose for Blue to move first, having won the Initiative. There is some shooting, mainly by the skirmishers in and around the farm. Little damage done other than the Red General taking a hit and dropping down the a Rating of 2, from 4. This will hamper Red's ability to exercise effective C&C. |
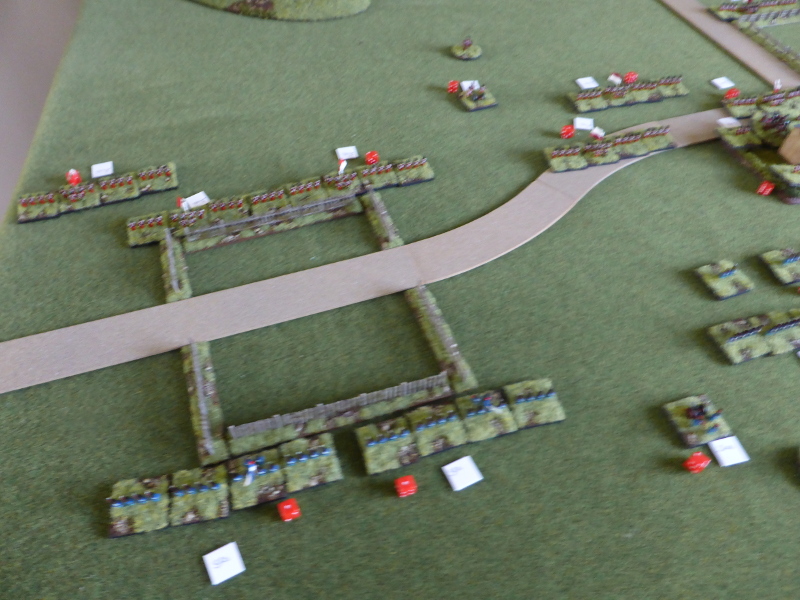 |
| Both sides begin to exchange fire. |
 |
| The Blue skirmishers unware they have winged the Red General. |
 |
| The Blue 4th Class brigade moves up to pressure the Red 1st Class brigade. |
 |
| The end of Turn 5. Blue has an advantage on the CP front and both sides use these to Rally off some DMZ's at critical points along the front. Shooting continues across the front with casualties beginning to mount up. The Blue brigade in the centre moves through their skirmish screen to bring greater firepower to bear on the farm. |
 |
| Blue look to turn Red's flank by the farm. |
 |
| The 4th Class brigade, supported by cavalry, close in on the Red 1st Class brigade. |
 |
| Units are close to losing bases on this flank. Who will break first? |
 |
| The end of Turn 6. With the CP's once again shared, Blue won the Initiative and chose for Red to move first. The Generals and Lieutenants were busy moving about and Rallying off DMZ's and attaching themselves to parts of their respective lines that needed them most. Both sides lost bases but all units easily passed the Morale tests, so there were no retreats. |
 |
| The Red brigade advances to put pressure on the Blue brigade that has begun to lose bases. |
 |
| The firefight and movement continues around Freitag's farm. Red are struggling to get their units to bring their full firepower to bear. |
 |
| Blue cannot gain enough of an advantage to mount an assault on the farm. |
 |
| The end of Turn 7. A similar story of rallying as before, but Blue won the Initiative and chose to move first. Red then in a do or die move charged with their 1st Class brigade into the Blue 4th Class one. Carnage ensued! Elsewhere Blue lost bases which caused further losses and some retreats. Suddenly the Blue situation looked precarious. |
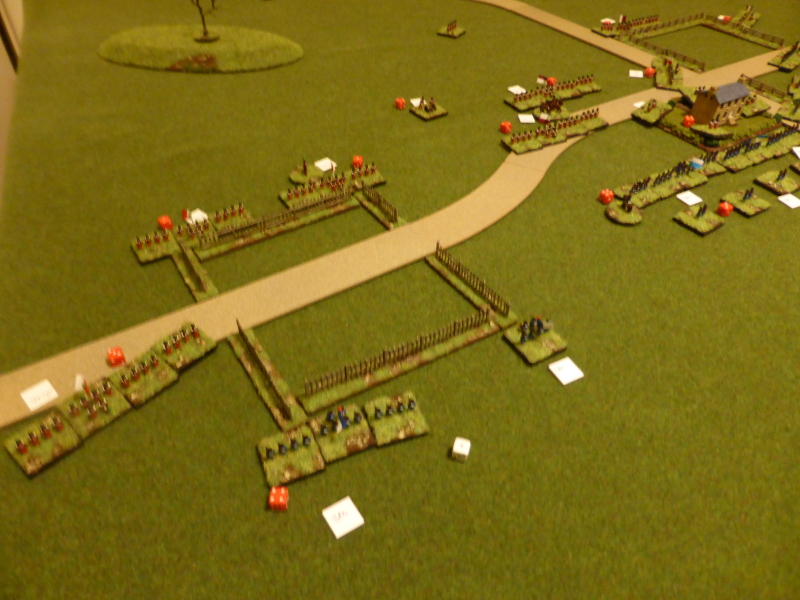 |
| Blue lost their supporting artillery which caused a Blue regiment (bottom right hand corner of the fence) to lose more bases. Suddenly Red had a huge advantage in numbers on this flank. |
 |
| Both sides had regiments close to losing a base, but not enough to cause any problems in the centre. |
 |
| As Blue pushed forward across the fenced field... |
 |
| ... on their left the infantry brigade had evaporated like Summer mist. |
End of Game
At this point I had to call the game as time was against me, which was a shame. Another Turn or two would have been interesting, to see if Blue could salvage anything from the situation and like wise, whether Red could capitalise on the sudden collapse on Blue's flanks.
Post Game Thoughts
All-in-all the game took about two hours to play, which was not bad given it was my first go with these rules. The QRS was fine for 90% of the game, with the rulebook being used just to clarify some issues early on. Well, in the end, what did I think of the game? well I made notes as I went along, so in no particular order:
- Brigade moves are very important to keep troops moving for minimal CP's expended. I imagine in larger games as units retreat and this cohesion is broken, then it would be imperative to try and regain the 3" cohesion of brigades.
- Units move very fast compared to other games I've played, so contact is gained pretty quickly if you want to. Of course you do not need to make full use of your movement allowance, but early on it's probably a good things, as shown when the Red skirmishers beat Blue to occupying the farmhouse.
- Terrain penalties are easy to remember, which is good. However I did have to check for moving through woods which I found in the rulebook fairly easy. Again this is a simple penalty, to not one which you are likely to forget.
- Units can be rifle armed but as far as I could see, it didn't state which one, so I simply decided the skirmished would be the only units thus equipped.
- Even in this simple and pretty small game, there is little room for units to manouevre and deploy into line, even when using units that are only 4 bases wide. I think the largest unit is 9 bases wide! So depending upon the scenario, it is probably worth starting with units already deployed where possible.
- The rules themselves are very easy to pick up and remember and feel very intuitive, so I spent most of the game focusing on that, rather than the rulebook, which is not bad thing.
- You need LOTS of dice or marker to depict DMZ's on units. In this game I used over 20 (the red dice seen in the photos) but would require more for larger games.
- I can see no ability for artillery to be manhandled once deployed. Easy enough to fix but worth noting. As with other 18thC games, getting your artillery deployed correctly as the start is pretty important. In this game most of the time was spent in counter battery fire, which is no bad thing of course.
- The coloured brigade markers in the scenarios are a must for bigger game so you can keep track of which regiment belongs to which brigade as unit cohesion begins to break down, due to the importance in terms of allocating CP's as outlined above.
- You never seem to have enough CP's once action is joined!
- For some reason, probably sue to space limitations, there is no morale section on the QRS. I will simply copy the on from the book and stick it to the back of one the QRS' from the rulebook.
- The British bayonet charge was devastating to see in action, with the Red's rolling 13 dice against Blue's 1. Hardly surprising that Blue then lost!
- Once in action in this game the 12" rule to be far enough away from the enemy to rally of DMZ's really didn't happen. You could house rule it that LOS would be required to limit this, but I think there is then the risk that units just keep rallying of DMZ's almost ad infinitum, this markedly affecting the game.
- Use of the Generals and Lieutenants during the game requires careful thought. they can make a difference in that they add +3D6 to a combat or shooting, but run the risk of being harmed, as happened to the Red General at the farm. This adds a nice level of thought and C&C to the game on what is quite a nice and simple, but simplistic rules engine
So there we have it, the first trial game played and a lot of fun had. I imagine the game will feel much better against an opponent, with the placing of CP's and commanders etc coming nicely to the fore as well as deciding who should move first or not, as the case may be.
Am I happy with my purchase? Most certainly I am. Do they provide a better game than say BPII for the AWI? More games are required to be perfectly honest before I can make that call. They do certainly give a good game though.
Moving forward the only fly in the ointment so to speak are the large number of bases required for pretty much all of the scenarios. It would be nice to play some of the larger ones but currently I do not have anywhere near enough to do so. So as mentioned before, the plan is to play some generic scenarios to really get a hang of the rules, which will then allow me to get a better idea of how to rate Generals, unit Classes etc. Something to look forward to though.
So with two glorious days in a row of Spring weather here in Bristol, with another due tomorrow, it only remains for me to wish you all a very Happy Easter and I hope you don't eat too many Easter eggs. I'll try to be good but by God do I love Cadbury's mini Easter eggs!
