Showing posts with label #44 in 2024. Show all posts

Wednesday, 12 June 2024

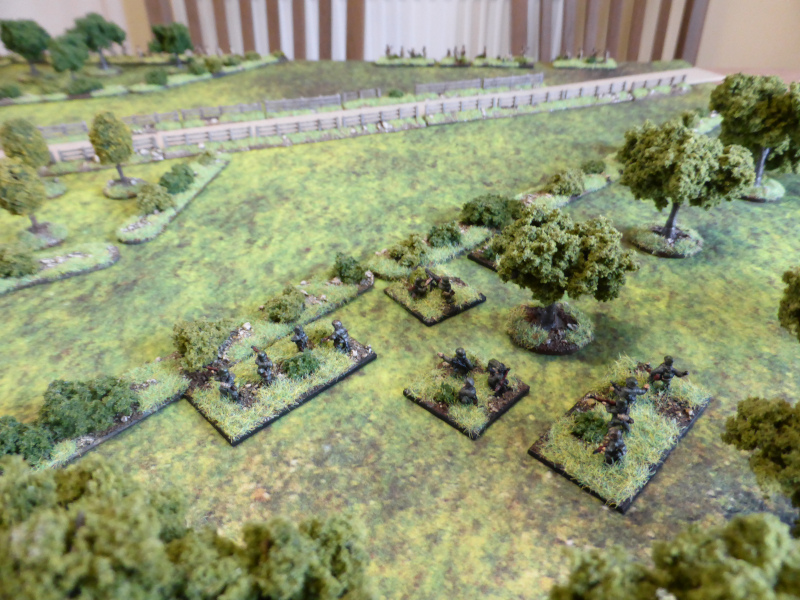
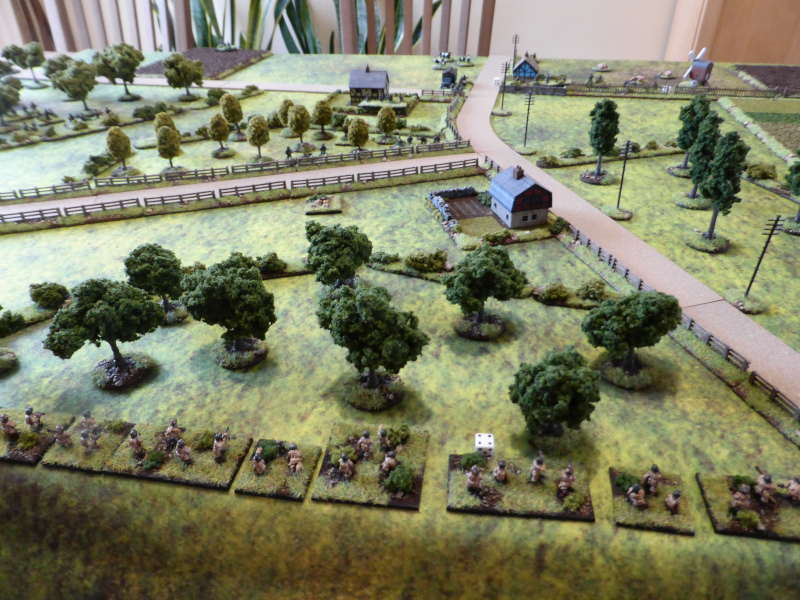
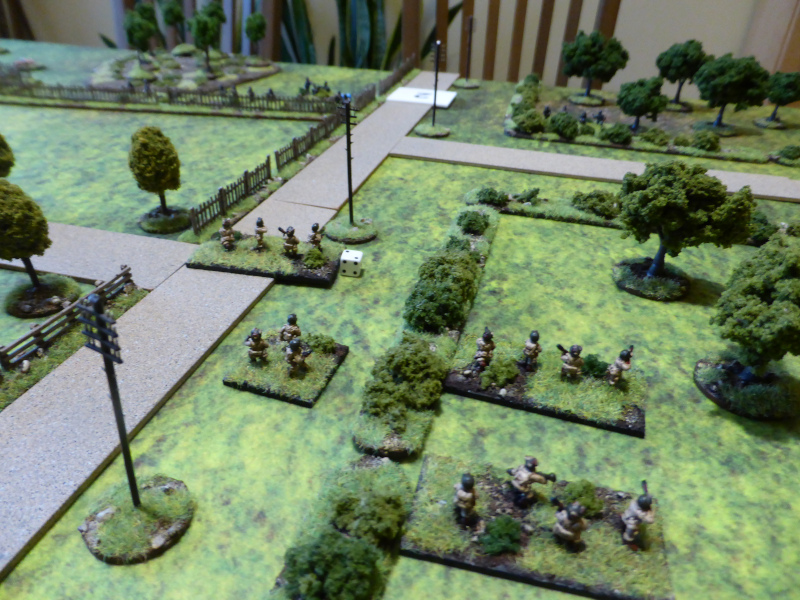
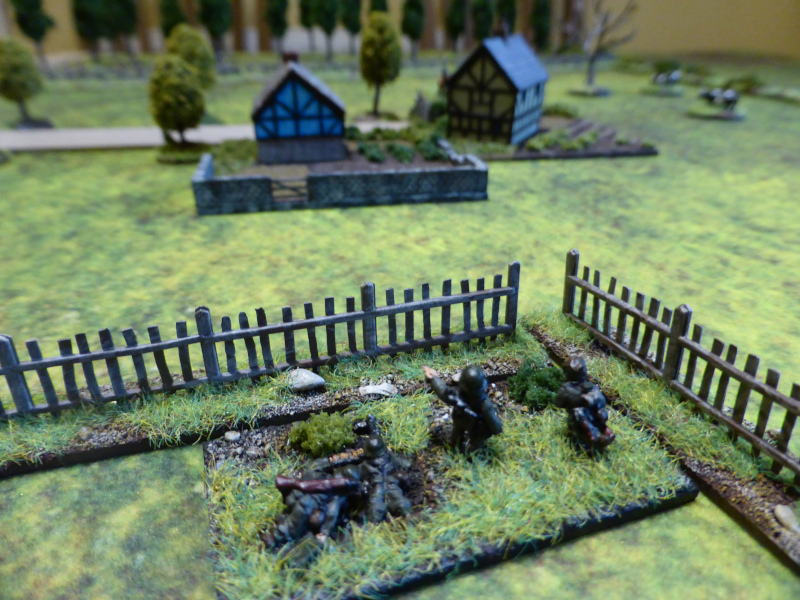
'Battle' In The Bocage - The Plan

Many years ago now I bought Kenneth Macksey's superb book 'Battle', a fictional account of an attack in Normandy around the time of Operation Bluecoat, but one based upon his experiences during WWII. It really is a great read and shows one all the preparation and effort that is required in mounting a hasty Battalion level attack.


I've been wanting to make a scenario from this book for quite sometime, but somehow I've never got around to sorting it out, until now. It seemed a perfect time in light of the recent D-Day anniversary and the fact that I wanted to christen my games room, with a period that is one of, if not my all time favourite, periods.

So last night I spent some time skimming through the book, making a note of the forces broadly involved, the terrain fought over, the objectives for the Attackers etc. Whilst a work-in-progress, I'm pretty sure I've got it more or less sorted now.

Scenario
The book doesn't have a map of the starting positions and all of the terrain, but it does include one with the action well underway, as can be seen below:

Sadly the map is not very clear in the book, but hopefully it gives you some idea of the terrain.

The objective for the Attackers is to seize the farm (where the British C.Coy is on the map) as well as the ridgeline, broadly where the German 6th Coy is. Using the ever excellent WWII rules, BKCII, the British have 8 Turns to achieve their objective.

British OOB
1 x CO
3 x HQ's
1 x FAO
9 x Infantry (3 with PIAT upgrades)
2 x MG's
1 x 3" Mortar
3 x Shermans
1 x Sherman Firefly
1 x Sherman Flail
1 x Churchill Crocodile
1 x 25pdr 8 gun Battery (scheduled creeping barrage and FAO)
1 x 5.5" Medium Artillery Battery (scheduled on the farmhouse & counter-battery fire)
1 x Typhoon Ground Attack (scheduled)

US Airborne
1 x HQ
3 x Infantry (1 x bazooka upgrade)
1 x 81mm Mortar
1 x 75mm Artillery (scheduled)

German OOB
1 x CO
3 x HQ's
9 x Infantry
2 x MG's
3 x 81mm Mortars
1 x Jagdpanther
1 x Stug-III
1 x Minefield (unmarked)
1 x Command Post (the farm)

The farm is made of stone and has been turned into a defensive strongpoint, so 6+ to hit and a 4+ save.

Two German Kompanies are dug-in, with one in reserve. Those dug-in to the Bocage banks are classed as in hard cover, so 6+ to hit and with a 6+ save.

So with the Scenario and OOB basically sorted, next up it will be the game itself. This won't happen until next week at the earliest, but at least a start has been made.

TTFN.

Saturday, 2 March 2024

Arnhem 'Tiger' Route - Post Campaign Thoughts

So with the campaign drawing to a sudden and rather bloody end earlier this evening, as mentioned I thought I'd jot down some thoughts in no particular order, based upon the three games so far.

ToE
I really noticed the lack of heavy weapons that the British had, compared to the Germans, even compared to Krafft's Training Battalion. Now I know it's pretty hard to find out exactly what Krafft had to hand, but even with the reduced support weapons I gave the Germans, the British were still out-gunned. Although the British had better stats for the Paras, only having one MG & 3" Mortar did not compare favourably with the Germans, who had double that amount.

Now this has not normally been a big issue for the British in other games, as they rely heavily upon artillery and air support as they did historically, so at least can achieve parity with the Germans and their mortars etc. However here only only having limited artillery support and no air support really impacted on their ability to prosecute attacks, especially against BUA's.

German Mortars
As in the historical battle, the British did suffer mightily at the hands of the 81mm mortars, which could just bring down an overwhelming amount of firepower at times, something that the British really didn't have an answer to. Keeping them back until the third scenario was right and anything earlier might have led to an even shorter campaign.

Fastest With The Mostest
The British have no options other than to keeping pushing forward as fast as they possibly can. With no artillery or mortar support early on, they simply have to keep probing and hope to outflank any German positions they come across. As we saw, this naturally carries risks, as it exposes you to enemy fire and if you take casualties early on, it's pretty dmaned hard to recover because you simply do not have any reserves. Even giving the British 'D' Company as a 'bonus', they had already pretty much shot their bolt in terms of maintaining an offensive stance due to previous losses.

2nd Kompanie
One could argue that with the sterling performance of 2nd Kompanie in the first two games, the British had lost any chance they realistically had and were on the back foot from then on. To have a chance it felt that they had to overcome the 2nd Kompanie quickly and with minimal loss, to allow them to push on and prevent the Germans forming defensive positions to the rear. 2nd Kompanie certainly managed to replicate the 'hit & run' tactics that kept the British off balance from the off, allowing them to maintain control of the engagements that followed after the first.

Smoke
This worked well in all the games, whether it be from the HQ's representing to Company 2" mortars, or the British artillery in game three. I think I got the balance right in terms of its usage and it's something I want to carry forward into other games.

Terrain
This helped the Germans as they could keep falling back to good positions with decent fields of fire as well as BUA's, whereas the British couldn't take time to make and plan an attack, but almost fight straight from the line of march. As was seen historically, when the Germans had to attack against the British, even with overwhleming firepower, it took a long time and at great cost to all involved.

Tanks
Apparently Freddie Gough asked for some tanks to be included in the first drop, which might have helped his Recce Squadrons push forward as in the first few hours, the Germans would have had very limited equipment with which to stop them. However the lack of any decent HE shells might have limited the actual usefullness of the tanks, but psychologically they might have been more effective.

Solo vs FtF
As a campaign as it stands, I feel it would not be fun for FtF games, certainly for the British player. As a solo one it was more interesting as it didn't matter to me either way what happened, as I let the narrative evolve after each game and based around the scenarios from the magazine. Maybe if the British had had a better start, it might have been more challenging, but I struggle to see how.

The Scenarios
It was interesting to try and scale the scenarios up from Platoon to Battalion level, but I'm not sure how well they worked. It certainly felt right and historical in terms of outcomes, but if I were to do this again, I would use them more as a basic framework from to work on, rather than as something to follow closely. 

What If?
Anyone interested in the Market-Garden Campaign should really read 'Operation Market-Garden, The Campaign For the Low Countries, Autumn 1944: Seventy Years On' in the Wolverhampton Military Studies Series, published by Helion. Having re-read some of the articles last week, you really do get the feel that the plan was more or less doomed to fail from the start. However in looking at all the issues involved, it does give you a good basis from which to form a plausible 'What if?' campaign, which I think would make for a more challenging, interesting and enjoyable campaign. Again whether it would have worked is naturally open to debate and would rely upon some form of boardgame or map to factor in XXX Corps etc, but it would be fun to do: maybe one day...

Summing Up
Despite all of the above, or maybe because of it, from a solo perspective I really enjoyed all of the games and felt that I learnt a lot about the challenges faced by both sides. It also gave me ideas and pointers for future campaigns which, as I hope you have seen here, make you think about the wider picture and when to hold and fight on, or whether to withdraw to live to fight another day is the better option.

So I hope you enjoyed the three games and my summing up and hopefully I the lessons learned can be taken forward to my Normandy campaign later in the year...

TTFN.


Arnhem 'Tiger' Route - The Bilderburg Hotel

Things went slightly better for the British last game, so before we kick off again, a quick update on how things stand:

Sitrep
The German 2nd Kompanie was happy to see SS-Sturmbannfuhrer Krafft and the rest of the Battalion, based in hasty positions around the Bilderburg Hotel. With access to their heavy weapons in the form of 81mm and 120mm Mortars, the Germans could feel confident that they might be able to hold up the British advance. Unbeknown to them, some reinforcements from the 9th SS-Pz Division were on their way to provide much needed support.

For Lt-Col Fitch and his 3rd Battalion, things were certianly not going to plan, but at least they were still pushing forward along the Utrechtsweg. However his Companies were depleted, by fortunately another Company that had lost its way came under his command at a most opportune moment.

So onto the game:

An overview of the table, with the British arriving from the North, with the Germans deployed around both road junctions and to the flanks.

2nd Kompanie on the left flank, in a place of relative safety.

SS-Sturmbannfuhrer Krafft deployed to move to where he might be needed most.

4th Kompanie deployed to cover the roads, with one Platoon held back in reserve.

9th Kompanie covering the right flank.

Possible German reinforcements.

'A' Company with the Battalion 6pdr ATG on the right flank. Lacking transport a local farmer is helping them out. Asked his name, he said: "I am Groot".

'B' Company to the right, 'C' Company to the left.

'D' Company, having got lost, have come under command.

The end of Turn 1. The British got off to a good start, with all Companies moving forward. 'C' Company came under fire from 4th Kompanie and their supporting Mortars, whilst 'D' Company crossed the road and reached the fence line.

4th Kompanie come under fire from 'C' Company, but weathering the storm of fire, return the favour with interest, due to their supporting Mortars.

The view from 'C' Company.

'D' Company push forward unobserved by the Germans.

The end of Turn 2. The British FAO manages to bring down smoke on 4th Kompanie, but it cannot cover all of their positions. 'A' Company fails to mve forward, but 'B' Company moves up alongside 'C' Company, who have pushed a Platoon across the road to threaten the 4th Kompanie flank. 'D' Company moves forward into the woods where 9th Kompanie are deployed and start to engage them.

Smoke obscures some of 4th Kompanie.

One Platoon of 'C' Company threatens 4th Kompanies flank.

Not an outbreak of measles, but the after effects of German shooting and Mortar fire. 'B' & 'C' Company both lose a platoon each, with others taking heavy casualties.

'D' Company enters the wood and engages 9th Kompanie, but they fail to shoot effectively, allowing 9th Kompanie to turn to meet the threat.

2nd Kompanie looking towards 'B' Company's position, where their accurate shooting caused plenty of casualties.

The end of Turn 3. With most of 'B' & 'C' Company suppressed, there was little they could do, whilst 'A' Company slowly moved forward. 'D' Company continued to engage 9th Kompanie, but again to little effect. 

'A' Company continue to advance, whilst the FAO tries to explain the blue-on-blue incident that caused the loss of the remaining Platoon of 'B' Company.

4th Kompanie continue to resist, despite 'C' Company's best efforts.

'C' Company lose another Platoon to Mortar fire.

Despite overwhelming firepower, 'D' Company cannot gain fire superiority over 9th Kompanie.


End of the Game
With 'B' Company gone and 'A' & 'C' Companies down to effectively one Platoon between them, in reality the 3rd Battalion had ceased to exist. Only 'D' Company had any offensive potential, but even if they had overcome 9th Kompanie, they would struggle to regain the Utrechtsweg, having to cross open ground and the BUA's occupied by 2nd & 4th Kompanies. 

So at this point I called the game as there was little reason to play another Turn, given the above and the fact that 9th SS-Panzer Division reinforcements were on their way.

Post Game Thoughts
Well it all started so well for the British and then suddenly it all went so wrong! Normally I would give a few musings on the game at this point, but there seems little need to, given it was pretty obvious what happened and what went wrong for the British and what went right for the Germans. I will however do a post-campaign wash up which will include a few points from this game. Hopefully I'll do this in a day or so whilst everything is fresh in my mind.

What Next?
Ideally some painting, a mix of WWII British for my planned Normandy campaign as well as some 19thC ImagiNations additions for our planned Cotwswold Wargames Day game, but more on that in another post when things are more firmed up. Games wise maybe some Black Powder II for something different, given it's been 18thC & 20thC so far this year. Time to get thinking on some scenarios etc...

TTFN.

Wednesday, 28 February 2024

Arnhem 'Tiger' Route - Probing The Germans

So after the last game which didn't go well for the British to say the least, here is the sitrep for the next scenario:

SitRep
The Germans 2nd Kompanie having made a tactical withdrawal, has now re-grouped and is once again taking up defensive positions across the Utrechtweg. Their aim is to delay the british for as long as possible, but at all costs avoid being flanked and cut off. To their rear defensive positions are being prepared.

Lt-Col Fitch has now been joined by 'C' Company as well as his integral heavy weapons in the form of an HMG and 3" Mortar. Artillery support is not yet available, nor is his 6pdr ATG. 'A' Company is barely combat effective, but is still in the fight, although only just.


An overview of the table, with the British approaching from the top edge, with the Germans deployed astride the road and below the top road junction.

The German postions to the right of the road.

And on the left.

'A' Company and HMG on the British right flank.

'B' Company in the centre and 'C' Company on the left.

The end of Turn 2. The British struggled to get moving and only by Turn 2 did they make contact with the Germans. 'B' Company reached the road and as they crossed it, they came under fire from the MG in the house by the telephone kiosk. After some intense firing, the Platoon was lucky not to be KO'd.

'A' Company slowly move forward.

'B' Company come under fire.

'C' Company move forward undetected by the Germans. They don't have enough troops to cover the whole front.

2nd Kompanie are taking casualties too.

The end of Turn 3. 'A' & 'C' Companies continue to advance, as 'B' Company continues to come under fire, losing the Platoon on the road. Combined fire sees the Germans have Platoons suppressed in the house across from 'B' Company as well as in the woods.

'B' Company loses a Platoon by the 2nd Kompanie MG is suppressed.

The German Platoon suppressed and lucky not to be KO'd. 

The Platoon on the German left pulls back to make sure it is not at risk of being cut off in the right flank is turned.

'A' Company moves forward as the HMG deploys to cover the road.

The end of Turn 4. The British continue their advance but cannot quite turn the Germans right flank, falling frustratingly short as orders fail to get through. Seeing the precarious nature of their position, 2nd Kompanie start to withdraw, but not all units receive the order.

On the right flank the German Platoon makes an Initiative move back to avoid the British that were closing in.

The MG unit fails to receive the pull back order.

'A' Company cannot get the momentum going to threaten the German left flank.

The end of Turn 5. Failed orders mean that the British cannot exploit their favourable positions, but do at least KO a German Platoon. Using smoke from the Kompanie 5cm Mortar, the Germans manage to pull back in the nick of time to avoid being encircled.

The 2nd Kompanie manages to extricate themselves from their precarious position.

Smoke covers their withdrawal but fails to prevent the loss of a Platoon.


End of Game
The British couldn't quite get going when it mattered, allowing the Germans to escape the closing net at the last possible moment. The Germans got slightly the better of the engagement, as both sides lost a Platoon each, but 'B' Company has a Platoon on 4 hits, the same as 'A' Company.

Post Game Thoughts
Well this went better for the British, but frankly it couldn't have got much worse compared to the first game. A few thoughts as usual:

  • Having an almost full strength Battalion helped Lt-Col Fitch to quite quickly evict the Germans from their positions.
  • In this game the terrain helped the British, as 'C' Company could advance unobserved from the off, allowing them to quite easily turn the German right flank.
  • The British 3" Mortar didn't really get into the game much, due to failed command rolls and its limited ability against BUA's. However it did just enough to help suppress and KO a German Platoon.
  • Both sides tried using smoke, but fortuantely for the Germans it came good just at the last moment, allowing them to exit stage right. Without it I think they would have have lost all but one Platoon.
  • The British really need heavy weapons in the form of Artillery, as they simply do not have enough firepower to really threaten the Germans when in BUA's. Given that they are not approaching the German defensive line, this could be telling...
  • Luckily in this game the Germans did not have access to their mortars, but they will next game. This could spell doom for the British given the weight of firepower they can bring to bear...
  • Both sides had their fair share of command failures, but it certainly hampered the British more than the Germans, as when 'C' Company couldn't quite reach a position from which to enfilade the German right flank.

What Next?
At least I now have all the figures painted that are required for this campaign. Having this 'deadline' was a nice way to focus finally finishing off my US Paras. I do need some Jeeps though as tows, which I think I have somewhere, which will be the icing on the cake. I won't have them ready for the next game but I do have a nice stand in instead...

Hopefully the next scenario will be played by the weekend, given that it is still wet and miserable here. Every cloud has a silver lining and all that.

This year I promised myself not to get distracted by potential new projects, but on Disney+ they have just started showing 'Shogun', based upon James Clavell's novel. Having enjoyed the 1980's tv series, the first two episodes  of this series really grabbed me and I've already begun having thoughts on possible Samurai forces. Will this temptation never end...😉?

TTFN.

Sunday, 25 February 2024

Arnhem 'Tiger' Route - Reconnaissance In Force

Earlier today I played the first scenario in my planned mini-campaign. Details are as follows.

Sit Rep 17th September 1944
13:00 hrs. 1st Parachute Brigade begins landing to the North West of Arnhem.
13:40 hrs. 2nd Kompanie SS Panzer Grenadier Battalion begins localised attacks on the landing zones.
14:00 hrs. SS-Obersturmbannfuhrer Krafft begins to organise a defence along predicted routes into Arnhem.
15:00 hrs. 3rd Parachute Battalion, 1st Parachute Brigade begins to move towards Arnhem along 'Tiger' route.

Uhtrechtsweg, around Hill Oek
Having disengaged from the attacks on the landing zones, 2nd Kompanie has been ordered forward along the Utrechtsweg, making a reconnaissance in force. Coming towards them are A & B Companies of the 3rd Parachute Battalion...

An overview of the table, with the Germans to the South, the British towards the North. The area is largely wooded with a small hamlet in an open area to the East.

The hamlet.

The Germans deployed either side of the Utrechtsweg, advancing carefully knowing that enemt troops are likely to be nearby.

Lt-Col Fitch with A & B Companies, deployed along the road to make best speed possible towards Arnhem bridge. (Note US Paras are standing in for British ones. Oh the shame of it!).

The end of Turn 1. The Germans push forward to the fence line and halt as they see British paratroops advancing along the road. Unaware of any enemy, the British push forward as quickly as they can.

The Germans deploy ready to ambush the British paratroopers.

A Company in the lead with B Company moving into the woods on the left.

The end of Turn 2. The Germans fail to activate, but as the British advance, the German MG opens up on the lead Platoon, suppressing it. At the sound of gunfire, A Company move off the road into the woods on their right.

The Germans spring the ambush.

A Company moves into the woods and out of sight.

B Company have managed to send one Platoon forward into the hamlet.

At the start of Turn 3, the leading Platoon of A Company is KO'd.

The end of Turn 3. After KO'ing a Platoon, the Germans have no further targets and so move a Platoon to their right to cover the hamlet. Shocked by the loss of a Platoon, both Companies fail to activate, but Lt-Col Fitch manages to move A Company forward to the edge of the wood.

The German Platoon relocates to cover the hamlet and their right flank.

A German Platoon lies in wait as the British A Company reaches the edge of the wood.

The end of Turn 4. With no targets again, the German HQ drops smoke from their 50mm Mortar onto the edge of the wood as a precautionary measure. The British manage to get B Company moving towards the hamlet, but they come under MG fire as they cross the open ground. A Company once again require Lt-Col Fitch to get them moving, aggressively crossing the road with one Platoon, which is suppressed as it does so.

Despite having lots of firepower, the British Platoon in the hamlet fails to do anything really to the German MG unit.

As smoke obscures the view on one Platoon, the other comes under fire as it crosses the road.

The rest of B Company moves towards the hamlet.

Turn 5 and another British Platoon is KO'd.

The end of Turn 5. Having KO'd another A Company Platoon, the German right flank begins to pull back in the face of the British B Company advance. The remaining A Company Platoon engages in a firefight with the Germans to their front, but ineffectual shooting leaves them open to opportunity Fire, leaving them suppressed and close to being KO'd too.

The Germans in firm control of the road junction.

The remaining A Company Platoon in a parlous state.

B Company occupy the hamlet.

The Germans begin to pull back to avoid the large amount of firepower coming their way.


End of the Game
Having done the job of locating the British advance and certainly giving them a very bloody nose, the German 2nd Kompanie decides to withdraw and fall back to positions that are being prepared to their rear. Lt-Col Fitch needs to await his C Company and heavy weapons support, as well as re-organising the remnants of A Company, that has all but ceased to exist.

Post Game Thoughts
Well I don't think that could have gone much worse for the British Paras! The certainly took a real pasting, whilst the Germans got barely a graze. So as always some thoughts on what happened and why:
  • When the Paras had a chance to shoot, they simply didn't make it count, in comparison to the Germans who seemed to have above average dice rolls all the time. Even the superior weight of fire of the Paras didn't help them.
  • The Germans certainly benefited from having an attached MG unit, which gave them greater range with which to engage the Paras, before they were in range to respond.
  • The British HQ's didn't perform well, relying upon the CO to step in and at least get one Company moving forward. This stop-start movement allowed the Germans to focus on one Company each Turn, thus concentrating their fire as required.
  • The British need to press forward as quickly as possible, meant they needed to sue the road to start with, thus exposing themselves to German fire early on. In contrast the Germans could play a much more cautious game, which they needed to, given that they had less troops here and could not afford to take heavy losses in this opening engagement.
  • The Germans used fire-and-manouevre very well, shooting and suppressing troops, then pulling back out of sight and relocating to a new, unobserved position.
  • The use of 2"/50mm Mortar smoke worked well, something that I took from the Pendraken forum. I allow each HQ unit to try and drop smoke once per Turn as an ordered action, with the stats of 1/40. 3"/81mm Mortars can do the same, but again I will limit this to once attempt per Turn, to avoid unrealistic amounts of smoke being used.
  • Although this was a rather one-sided action, it did feel historically right and certainly gave me an insight into the challenges faced by the British Paras as they tried to push towards the bridge.

What Next?
Well it certainly looks an uphill task for the British now, given that they have effectively lost one complete Company in the first engagement. The only saving grace is that they will now have access to the MG and 3" Mortar units as well as C Company. The Germans are not yet near their defensive line that is being set up, but yet again the terrain will certainly favour the defence, as they can fall back slowly, fighting as they go. The British on the other hand need to push forward as quickly as possible. 

I have a few more units to finish painting, that may or may not be required for the next game, but whilst they are to the fore at present, it makes sense to try and finish them off. At least the Germans have all they need at present.

TTFN.