With the UK being battered by a series of storms, I was able to get in my next campaign game somewhat earlier than planned. So without further ado, details of the scenario and the AAR itself:
British OOB
1 x CO (CV 9)
1 x FAO (CV 8)
1 x 25 pdr Battery
1 x Typhoon Ground Attack
'D' Coy
1 x HQ (CV 8)
3 x Infantry
1 x MG
1 x 3" Mortar
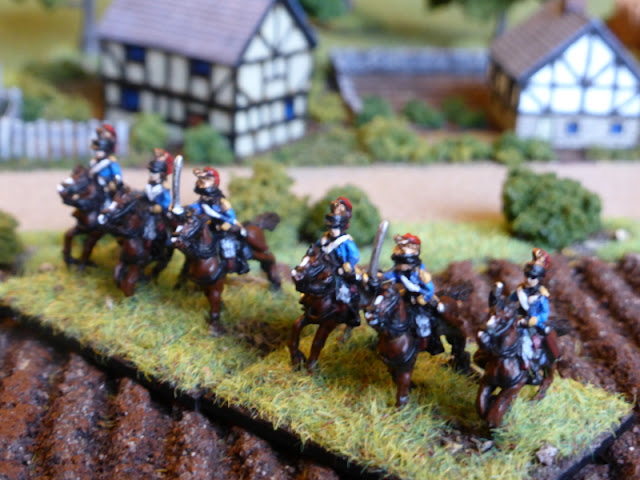
1st Recce Sqdn
1 x HQ (CV 8)
2 x Armoured Cars
2 x Infantry
AVRE
1 x HQ
1 x Churchill Crocodile
1 x Churchill AVRE
Fallschirmjager OOB
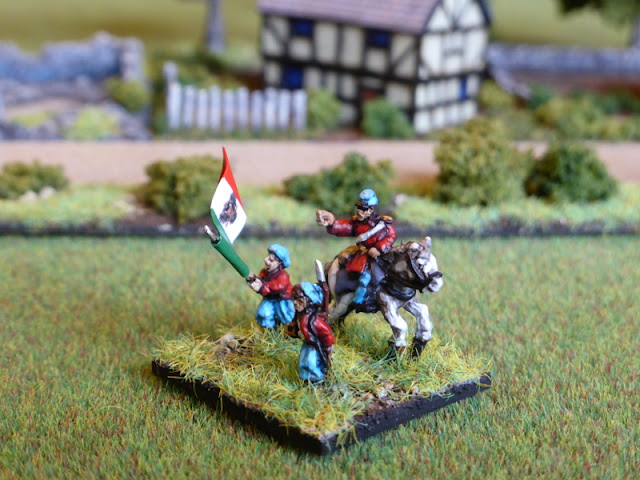
1 x CO (CV 9)
3rd FJ Kompanie
1 x HQ (CV 8)
3 x Infantry
1 x MG
1 x 81mm Mortar
FJ Assault Engineers
1 x HQ (CV 8)
1 x Infantry
1 x MG
1 x 81mm Mortar
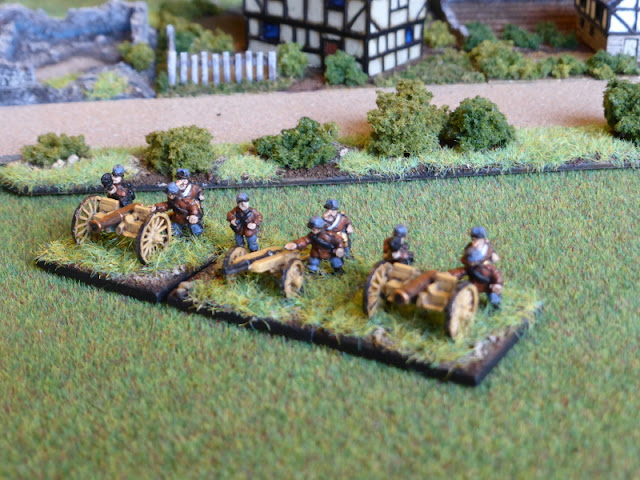
FJ Heavy Weapons Kompanie
1 x HQ (CV 8)
1 x MG
1 x 120mm Mortar
1 x Pak 38
1 x le.IG-18
Scenario Details
- The British CO arrives from Turn 4.
- The British 1st Recce Sqdn arrives from Turn 2.
- 'D' Coy starts the game Dug-in, making them 5+ to hit in Open Terrain.
- The Typhoon is looking for 'Targets of Opportunity' and so can arrive each Turn on a 4+ die roll.
- The FJ start 20cm on the table and with any Support Units deployed as required.
Objective
The Fallschirmjager are making a 'Spoiling Attack' towards the crossroads and 'D' Coy, with the aim of causing as much disruption and damage as possible, to delay the advance along 'Club Route'.
Table Layout
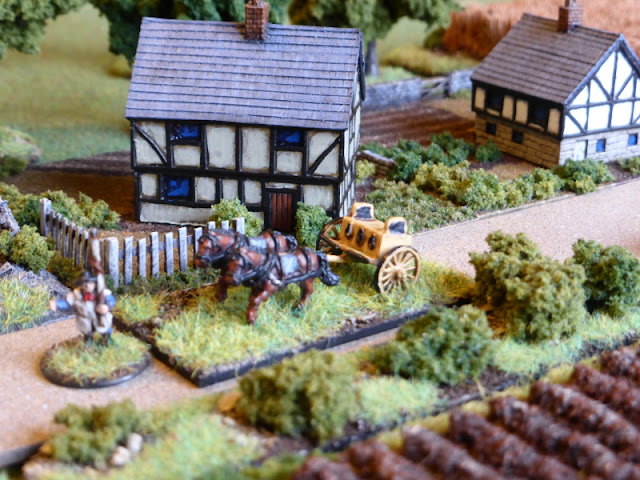
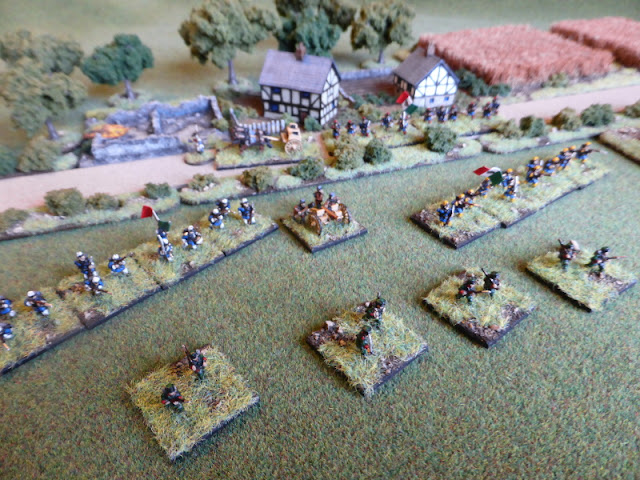
The beauty of the Warplan 5/5 maps is that the terrain is pretty much set up for you, just requiring some detail added to the overall scheme.
 |
| An overview of the table, with Wuppertell off the left hand table edge, from where the Fallschirmjager will advance. |
 |
| 1st Recce Sqdn which will arrive on Turn 2 using mobile deployment. |
 |
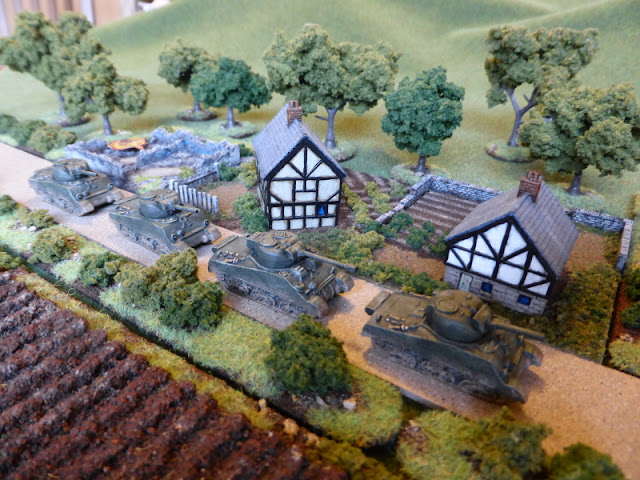
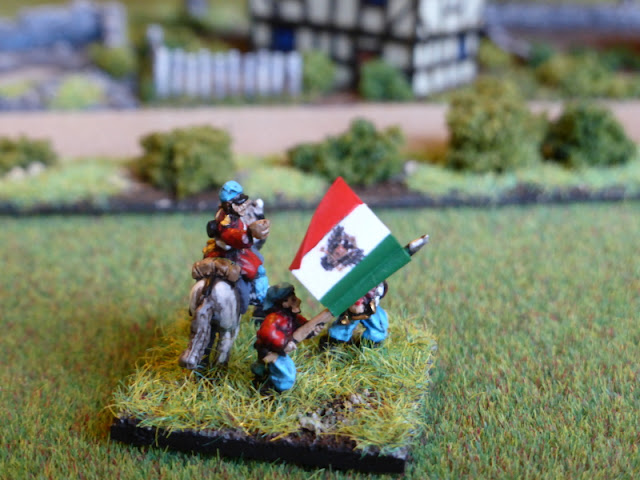
| 'D' Coy dug-in at the edge of the rocky terrain, covering the road from Wuppertell. |
 |
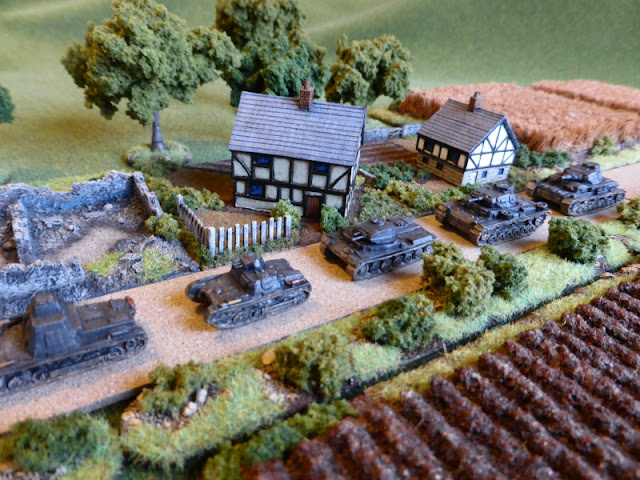
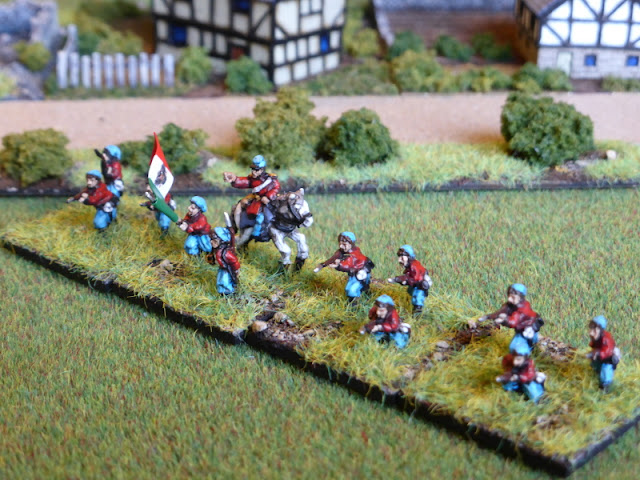
| 3rd FJ Kompanie (left) and FJ Assault Engineers (right) advancing through the woods to avoid being seen for as long as possible. |
 |
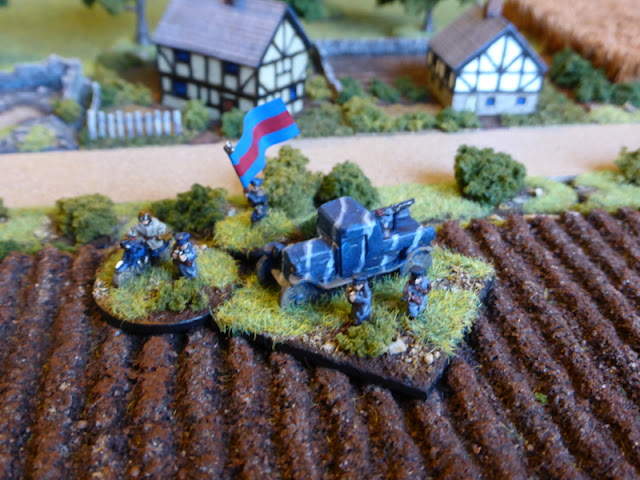
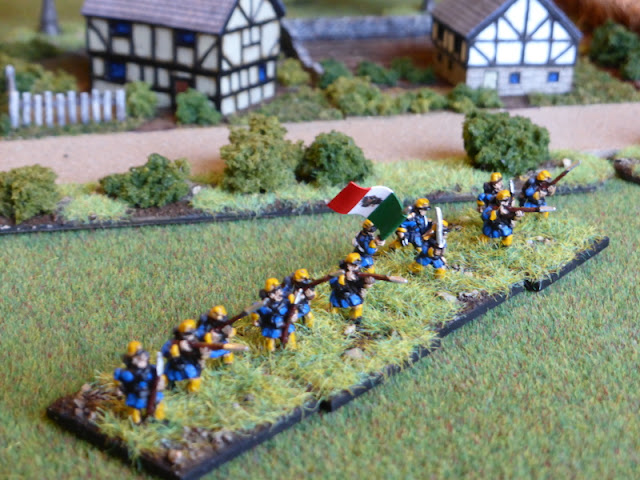
| FJ Heavy Weapons Kompanie deployed to cover the flank of the advancing FJ Infantry and to watch the road. |
The Battle
As of late, the captions and photos will give an idea of how the action unfolded.
 |
The end of Turn 1.
The 3rd FJ & FJ Assault Engineers advanced through the wood. with nothing visible 'D' Coy maintained a general watch, whilst the AVRE's failed to move forward to support them. |
 |
| The FJ near the edge of the wood. |
 |
The end of Turn 2.
The 3rd FJ Kompanie and the FJ Assault Engineers moved to the edge of the woods, but were unable to spot 'D' Coy in their dug-in positions. In contrast, the 'D' Coy HQ spotted the movement of the FJ as they arrived at the edge of the wood, but failed to get through to his platoons to fire. The FAO also failed to get through to his artillery. As this was happening the 1st Recce Sqdn moved slowly forward, searching for an enemy troops as they did so. |
 |
| 1st Recce Sqdn arrive. |
 |
| The AVRE's seem in no hurry to move up to support 'D' Coy. |
 |
| The FJ infantry search the open ground, hoping to spot the enemy, but fail to do so. |
 |
The end of Turn 3.
'D' Coy had obviously chosen their positions well as once again the FJ infantry failed to spot them. Knowing that the FJ were in the woods, the FAO managed to get through to his artillery, calling in a strike which suppressed 3 FJ infantry. 'D' Coy opened fire too, KO'ing 1 x FJ MG unit. Elsewhere the 1st Recce Sqdn continued to carefully probe forward and the AVRE's started to move towards the sound of gunfire. |
 |
| 1st Recce Sqdn fail to spot the concealed FJ Heavy Weapons Kompanie in the wood as they move forward. |
 |
| The FJ infantry take hits and are suppressed by the British artillery. |
 |
| With contact made, the Typhoon roving the area spots the FJ and makes an attack run, but it's shooting is wide of the mark, only managing to suppress 1 x FJ infantry unit. |
 |
The end of Turn 4.
With 'D' Coy having revealed their positions last Turn, the FJ called in their mortars and with supporting fire, suppressed 1 x MG and 1 x Infantry unit from 'D' Coy. The FAO managed to call in an artillery strike again which saw another FJ infantry unit KO'd. Unfortunately C&C issues meant that 'D' Coy couldn't capitalise on the situation after the artillery strike, which was a welcome reprieve for the FJ.
|
 |
| The 1st Recce Sqdn advance to the road and again fail to spot the FJ Heavy Weapons Kompanie. |
 |
| The AVRE's move into position to support 'D' Coy. Without armoured support, these will be tough for the FJ to deal with. |
 |
The end of Turn 5.
The FJ Heavy Weapons Kompanie spotted the 1st Recce Sqdn armoured cars and with some very accurate shooting, managed to KO both of them. Once again the mortars and FJ infantry opened up on 'D' Coy, KO'ing 1 x Infantry and 1 x MG. Opportunity fire back from the infantry and the Churchill tank, managed to KO another FJ MG unit. Having suffered several Turns of artillery fire, the 3rd FJ Kompanie began to fall back further into the woods to avoid being seen.
For those supporting the British at this point, it's probably best to not read anymore of this, as across the board, all command units failed their command rolls!!!
|
 |
| The FJ Heavy Weapons Kompanie look on as the 1st Recce Sqdn armoured cars brew up. |
 |
| The FJ infantry start to fall back. |
 |
| 'D' Coy's position is looking rather thin, but fortunately they have some armoured support for protection. |
 |
| With the armoured cars, brewing up, the 1st Recce Sqdn infantry hold their positions as they lack the offensive power to move forward. |
 |
The end of Turn 6.
The FJ begin to pull back all of their units, as the mortars call down oanother stonk on the 'D' Coy 3" mortar, suppressing it. The British FAO does managed to call his artillery down on the FJ, but only hits an HQ unit and fails to suppress it. With no targets in sight, 'D' Coy takes a breather and sits tight on the crossroads. |
 |
| The Churchill Crocodile pushed forward slightly to help 'D' Coy's defensive position. |
 |
| The FJ pull back through the woods towards Wuppertell. |
 |
The end of Turn 7.
Almost of repeat of the previous Turn, with the FJ mortars suppressing the 3" mortar, which only just avoids being KO'd, plus an infantry unit. The FAO has more luck this time, suppressing a FJ infantry unit. |
 |
| The final acts of the engagement, with most of 'D' Coy suppressed. |
 |
| A lone FJ infantry unit is caught in the open as the rest of the units have moved back to Wuppertell. |
End of the Game
The FJ spoiling attack had achieved its limited objectives, but at what cost? Ditto 'D' Coy's defence of the road junction?
The Fallschirmjager lost 2 x MG units and 2 x Infantry units (two platoons had to merge into one due to losses sustained).
'D' Coy lost 1 x MG unit and 1 x Infantry unit and there supporting Mortar was all but KO'd. The 1st Recce Sqdn took a bit of a battering, losing both armoured cars for no gain.
So a costly action for both sides and no clear victor, although the FJ back in Wuppertell are still a thorn in the British flank.
Post Game Thoughts
Another interesting little action, the sort of which only a campaign can really throw up. As always BKCII with my house rules provided a good game. On the action itself, some post game thought in no particular order:
- The Typhoon and the 'Targets of Opportunity' worked well, except for the fact that it only showed up once in the game and to little effect. This can easily be fixed by a slight weak to the die roll required, but I don't want it to be too omnipresent as otherwise it could skew the game and make FACs redundant. Something to tweak going forward for sure.
- The Recce rules from Battlegroup Panzer Grenadier gave another good account for themselves, but as mentioned before, I do need to write up a simple guide for use in my games. What was missing were some small scale scouting groups from both sides, that would be sent out from the parent Coys/Kompanies. If I hadn't been using the BGP rules, then both sides would have been unable to spot each other due to the lack of aforementioned Recce infantry, unless moving into the open to draw fire upon themselves. Again another pretty easy fix.
- The one Artillery Battery for the British, with it's much smaller template, did limit the effect, compared to other games I've played where they may have up to three on call. This reflects the current state of the campaign well and also reduces the game changing nature that British artillery can have. This may alter as the campaign progresses and other assets are brought up.
- Once again the German mortars more than proved their worth. With high CV's for the FJ, they can be as, if not more, devastating than the British artillery at times. I am tempted though to allow them to do some pre-planned fire missions, as later on in the war the Germans did use them in more of an artillery role, as well as for close support. Another thing to have a think about.
- If the British hadn't had failed command rolls right across the board in Turn 5, then the FJ might have taken quite a few more losses, given the position they were in. Sometimes the Die Gods just take their favours away at a critical time!
- It was interesting in that this was a mainly infantry attack and defence, which is not something I've played for years. For the FJ it certainly hampered their ability to prosecute their attacks and for the British, with only the AVRE's in limited support, their options in defence were limited.
- As with the above, the change from cultivated land and woods to open terrain in front of 'D' Coy, meant that the FJ had no real option of attacking 'D' Coys positions without armoured support. Being caught in the open by artillery would have been very costly indeed.
- In campaign terms, the FJ spoiling attack from Wuppertell worked, albeit it with heavier losses than anticipated. The attack drew in the British CO and consideration to this sector needs to be made in light of the continued presence of the FJ in Wuppertell. Resources may have to be diverted from near the bridge to Pemba, which will then limit the offensive capability of the units already in position. And of course there are more unknown German units on the way...
The campaign is moving along nicely and this latest action has certainly put the cat amongst the pigeons for the British, with some tricky choices to be made. I have some thinking to do before the next campaign moves are made, but then this is what it's all about and i'm enjoying the whole process.
So until next time stay safe and keep healthy.