Feeling rather pooped after a long drive back from North Norfolk and the weather rather iffy this morning, I decided to get in another OHW scenario game from Neil Thomas' book. The next one looked pretty easy to set up, with the objective essentially being to control a BUA, with both sides sending an advanced guard from their main force to do so. Force wise it was the same for both sides, with a brigade of mounted infantry with horse artillery and two brigades of infantry with foot artillery. Simples!
Both sides had to stick to the road until the BUA became occupied, which rather chimed in with my current reading of the Shenandoah Campaign of 1862, especially the battle of Kernstown where wet weather severely hampered movement off the turnpike. Then it was whoever was in control of the BUA at the end or in a better postion after 8 turns would be the winner.
So without further ado...
 |
| An overview of the table with the BUA smack bang in the centre. Red arrive from the left, Blue the right. |
 |
| A reasonable sized BUA, with all buildings by Leven Miniatures. |
 |
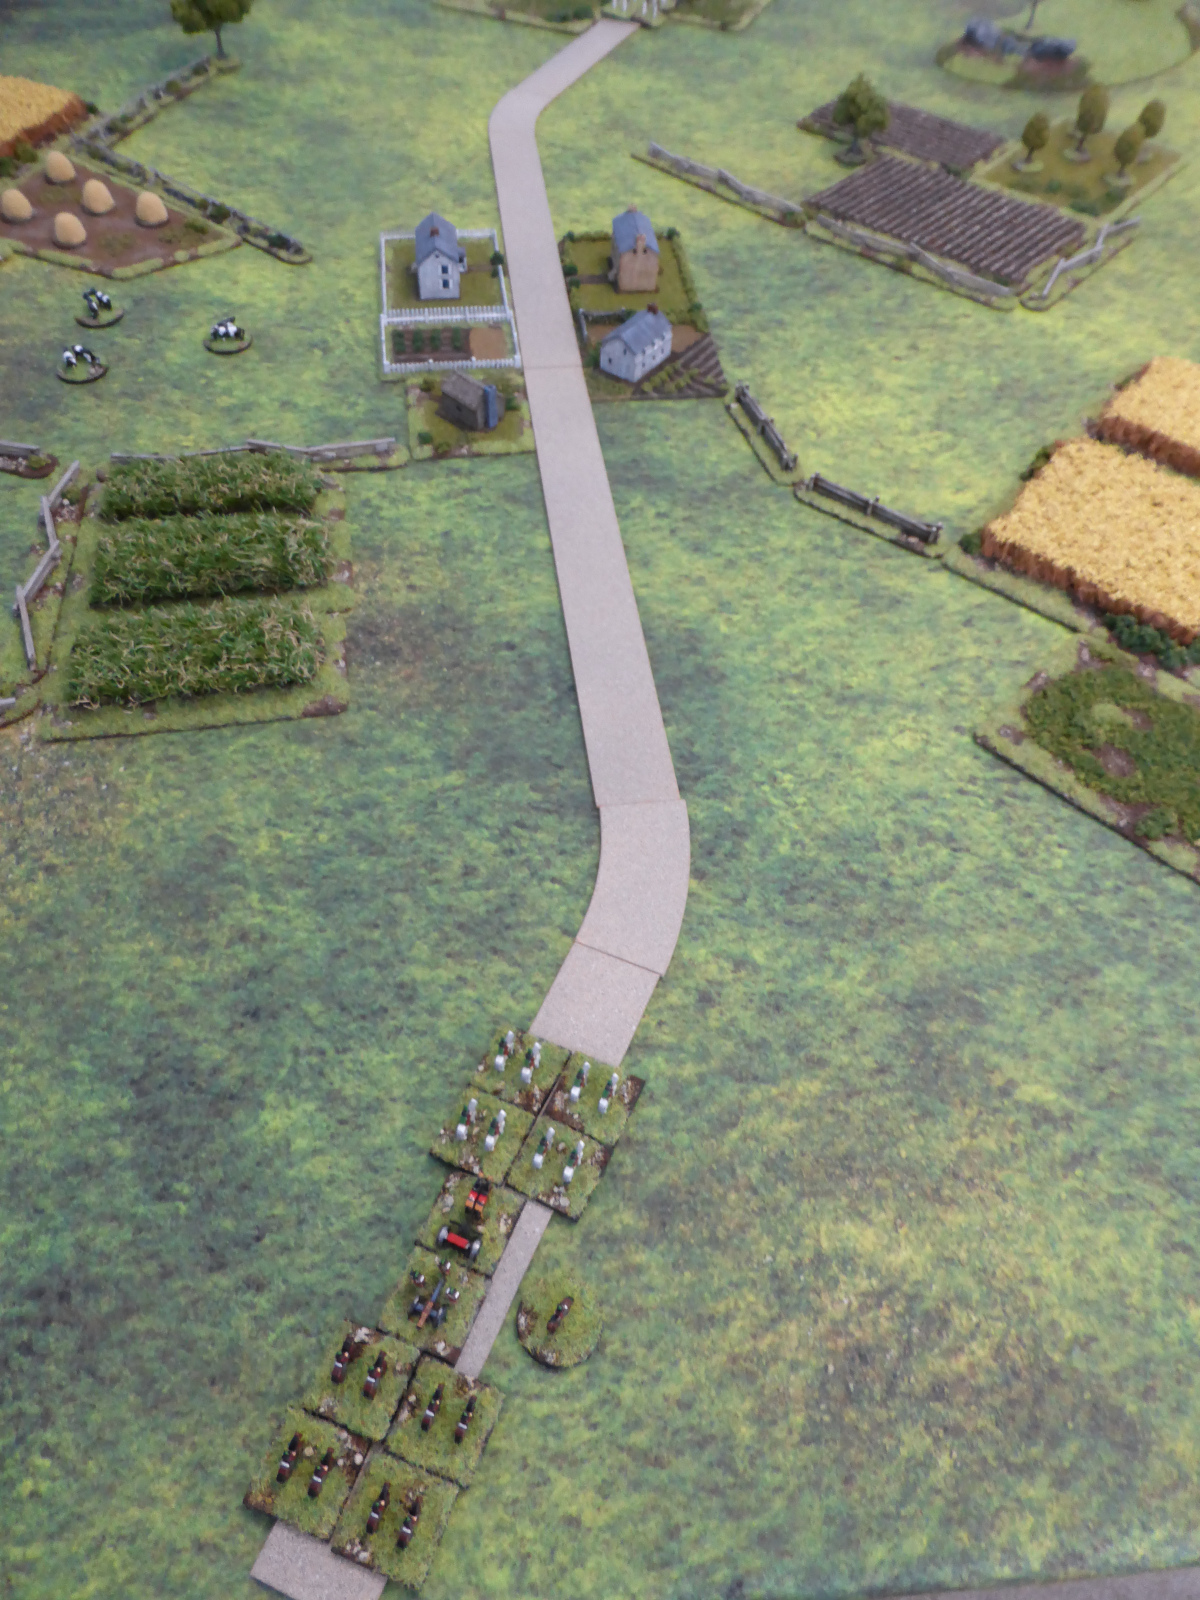
| The Red mounted infantry on the road. |
 |
| Likewise for Blue. |
 |
| The end of Turn 1. Blue made a steady start but Red were quick off the mark and managed to get units into the town and their horse artillery deployed. |
 |
| Red get the best start possible. |
 |
| The end of Turn 2. Blue were spurred on by Red and they too occupied part of the town, whilst their infantry brigades began to arrive. The Red infantry could not emulate their mounted counterparts and were slow off the mark compared to Blue. Both sides had some shooting but to little effect due to being in the town. |
 |
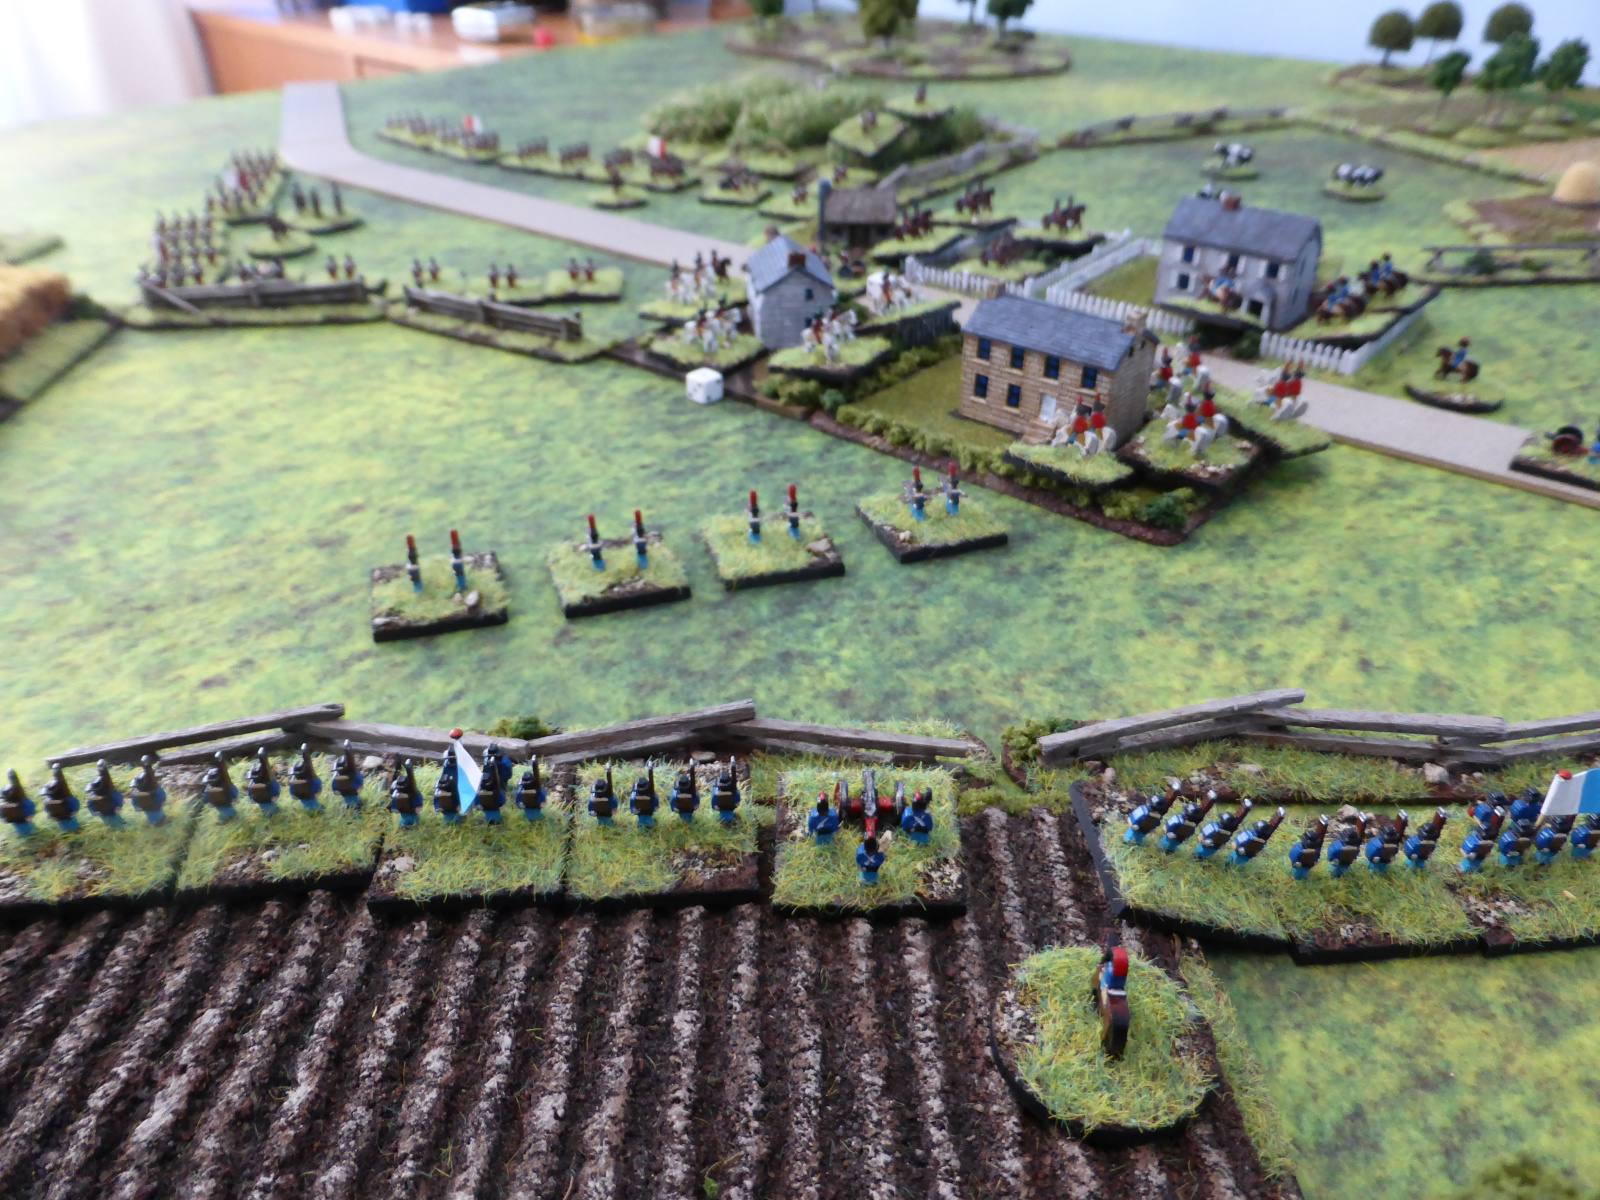
| The Blue infantry brigade move off to the left to try and flank the town. |
 |
| Red can only stick to the road as they are too slow to do much else. |
 |
| The Red horse artillery come under fire from their Blue counterparts. |
 |
| The end of Turn 3. Blue's left flank deploys into line and pushes forward their light infantry as the other infantry brigade moves slowly forward. Red respond as best they can, pushing infantry brigades left and right. Once again the rattle of musketry can be heard but it has little effect. |
 |
| The Blue left flank has deployed for action. |
 |
| Red moves troops to their right flank in response. |
 |
| The Red left flank advances but cannot yet deploy into line. |
 |
| Ineffective shooting in the town continues. |
 |
| The end of Turn 4. Both sides continue to contest the town whilst on the flanks the infantry move up and deploy as best they can. The shooting intensifies but does not have enough effect to tip the balance in favour of either side. |
 |
| Blue infantry move off to their right flank. |
 |
| The Blue infantry on the left flank move sideways to try and gain space for their artillery. |
 |
| The Red light infantry on their right flank makes a disordered retreat to make space for fresh line infantry. |
 |
| The infantry on Red's left flank push forward and cause the Blue mounted infantry in the white clapboard building some discomfort, but they manage to hold on due to being in a BUA. |
 |
| The end of Turn 5. Both sides make tentative moves as the volume of fire increases, with units becoming shaken or disordered, sometimes both. Red manages to make some important rally rolls to keep some units safe for the meantime, but poor shooting and good morale saves are keeping things pretty even at present. |
 |
| The Red right flank tries to move to bring numbers to bear. |
 |
| The same on Red's left flank. |
 |
| The Blue mounted infantry hang on for dear life! |
 |
| The end of Turn 6. With both flanks now deployed in line, the intensity of the firefight increases, but neither side can gain fire ascendency at the moment. Yet again the town allows units to hand on combined with good morale saves. |
 |
| The Red right flank extends its line to meet the threat from Blue. |
 |
| The Blue mounted infantry simply refuse to be shifted from the clapboard farmhouse. |
 |
| The end of Turn 7. As both sides try to manouevre to bring more guns to bear, the Red lose a light infantry units 'whipped', but Blue lost the horse artillery and the stubborn mounted infantry 'whipped' too. |
 |
| Blue suddenly see two units retreat 'whipped'. |
 |
| The Red right flank. |
 |
| The Red left flank with the white clapboard farmhouse now vacant. |
 |
| The unit of 'whipped' light infantry. |
 |
| The Red horse artillery finally see of their opponents along the road. |
 |
| The end of Turn 8. Blue quickly send in light infantry into the vacant farmhouse, but movement is limited otherwise. In the firefight Red finally gain the upper hand at the end, sending an infantry unit and mounted infantry unit back 'whipped'. |
 |
| Blue see a line infantry unit 'whipped'. |
 |
| Another Blue unit joins the 'Mr Whippy defensive line'. |
 |
| The Blue right flank is under pressure too. |
 |
| The Red right flank is under pressure too. |
 |
| Red begin to gain control of the town. |
 |
| A final view of the Red left flank. |
End of the Game
At the end with both sides rather beaten and battered, Blue were in a worse position, having four units against one 'whipped', with importantly both units of mounted infantry and the horse artillery amongst them. So at the end a minor victory to Red, or at least that's how I saw it.
Post Game Thoughts
Well another nice game played out in about 2 hours and one that went down to the wire for once. Very different to the previous ones, but good for that as it allowed me to see how a decent BUA affected play or not. So as always some post game thoughts:
- I know it's been mentioned many a time, but BUA's in BPII are rather tough propositions for the Attacker, even with the tweaks from the GH! supplement. This game certainly proved that point! One Blue mounted infantry unit would have retreated two times before they finally did, due to simply being in a BUA. No toing and froing to tussle for control here, just a bloody and protracted slugging match.
- So going forward I think I will allow units to retreat from the BUA to give more momentum to the game and give sides a chance to take control back etc. Naturally this will need playtesting but I hope it will feel more 'right' for the sort of open BUA's that would feature in the sort of games I play.
- I'm glad I did make the BUA's bigger as if it had been just two bases either side of the road, Red would have had the upper hand from the off and with regards to the above, have been damned hard to shift. Not a fun prospect for a game I would venture.
- Neither sides shooting was good, with plenty of morale saves keeping units in the game. The Artillery of both sides was particularly poor, having little impact on the game.
- Red managed to make use of some crucial Rally rolls that helped keep control of part of the town and some units from being 'whipped'.
- I wasn't sure of how to class visibility in the BUA, so I just used that of woods, which seemed to work OK, as I thought dense woods would be too much.
What Next?
Well at the weekend I will be off to Chris Gregg's for the battle of Abensberg action, which should be fun as always, but a challenge for the Austrians. I will be playing on Day Two, so will have no idea of what position I might find my command in. Naturally a report will follow in due course.
Games wise I think a break from BPII is due and have some ideas for a BKCII game in its place. Alongside this I need to get back to the painting table to get my CWD forces ready in plenty of time. Then there is the small matter of finalising and playtesting the scenario.
So I hope you enjoyed the AAR and it would be lovely to receive a comment or two!
TTFN.