The Background
On D-Day +2, the South Glos Fusiliers supported by their brethren, were tasked with making a hasty assault upon the hamlet of Cardonville, before the German defensive crust could begin to harden. Having lost heavily the previous day, the Germans threw together a scratch Kampfgruppe under the command of Major Wagner, with orders to delay any attacks for as long as possible.
British OOB - The South Glos Battlegroup
1 x CO
5 x HQ's
2 x FAO
1 x FAC
9 x Infantry (veterans)
1 x MG
1 x 3" Mortar
1 x 6 pdr ATG + tow
6 x Shermans
2 x Firefly's
3 x 25 pdr's (off table)
1 x Naval
1 x Typhoon
Various scheduled assets
German OOB - Kampfgruppe Wagner
1 x CO
4 x HQ's
6 x Heer
2 x MG's
2 x 81mm Mortar's
1 x Pak 38
1 x Pak 40
3 x SdKfz 250 half-tracks (various marks)
2 x H-39's (Ft-17 models in the game)
1 x Pz IV kurz
Various field defences
Scenario Overview
The scenario is 'Assault' as per the rulebook, but with the South Glos Battlegroup having 75% more points due to the campaign effects from the previous game. In short the South Glos Battlegroup needs to be in control of Cardonville by Turn 6 for a Major Victory or Turn 8 (end of the game) for a Minor one.
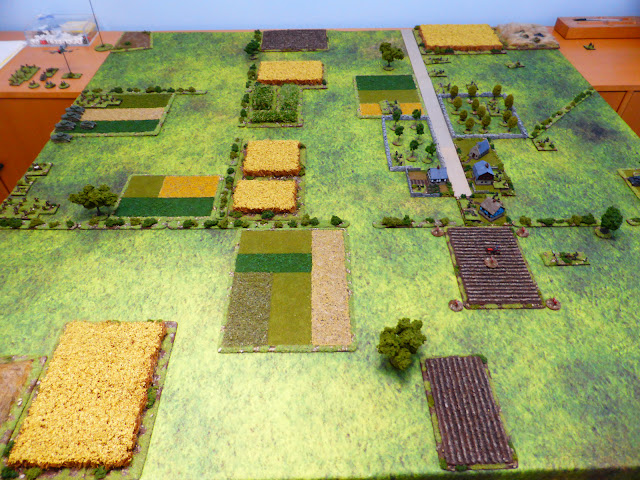 |
| An overview of the table, with the South Glos Battlegroup arriving from the West. Kampfgruppe Wagner are deployed in and around Cardonville. |
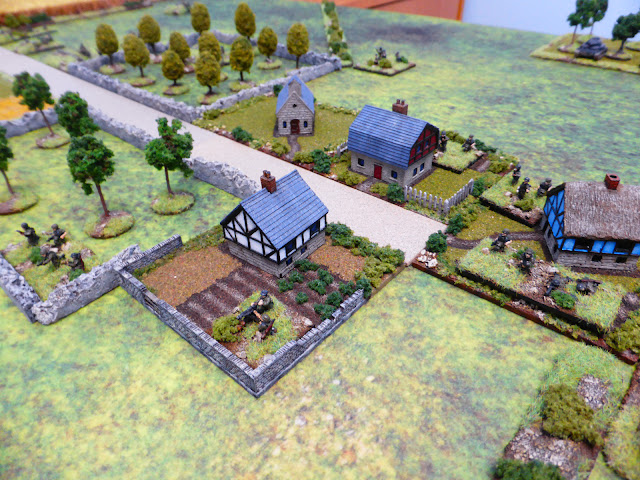 |
| Infantry dug-in in Cardonville. |
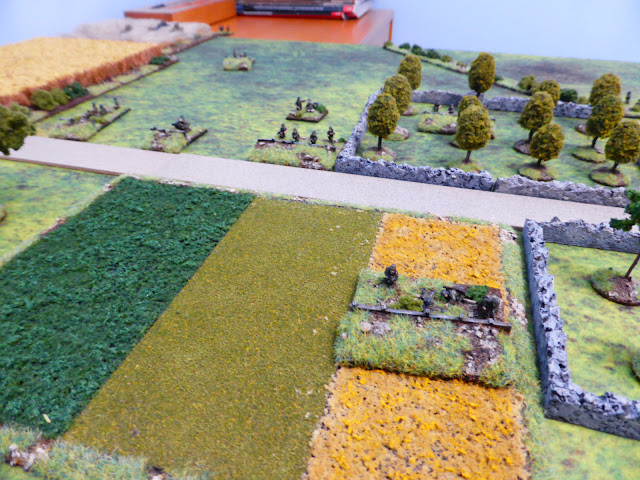 |
| The German right flank dug-in on the outskirts of the hamlet. |
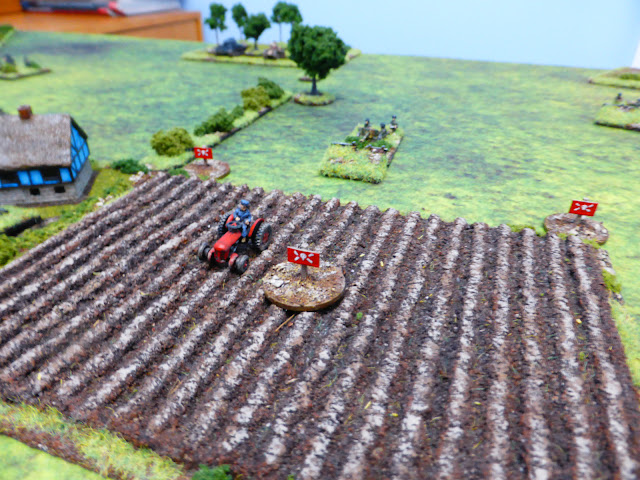 |
| Merde! Poor Francois le Fermier is in a precarious position within the minefield! |
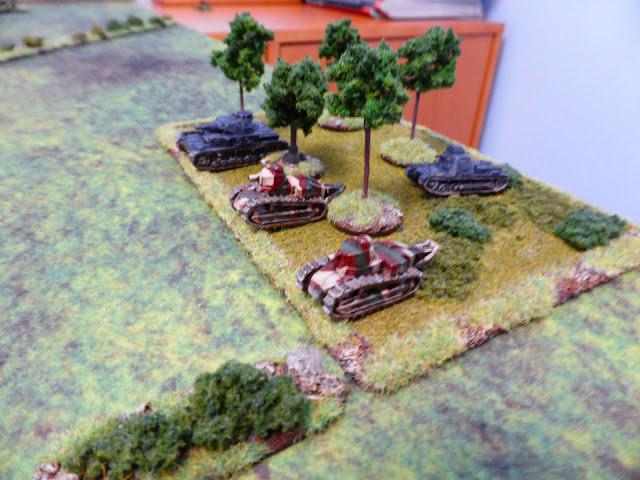 |
| The German panzers in the orchards to avoid and Jabos. |
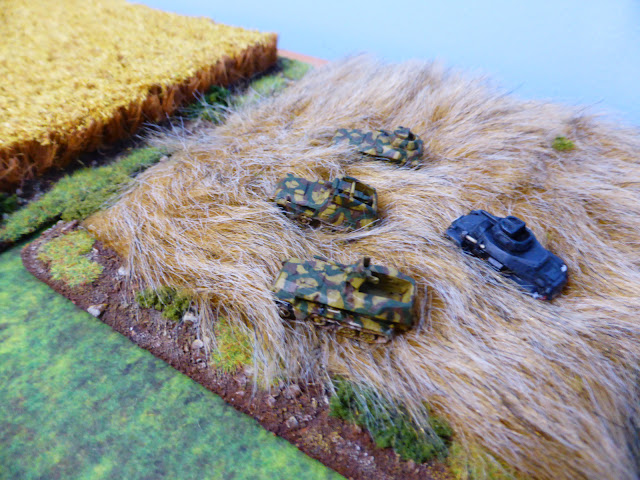 |
| The remnants of the Recce kampfgruppe from the previous game. |
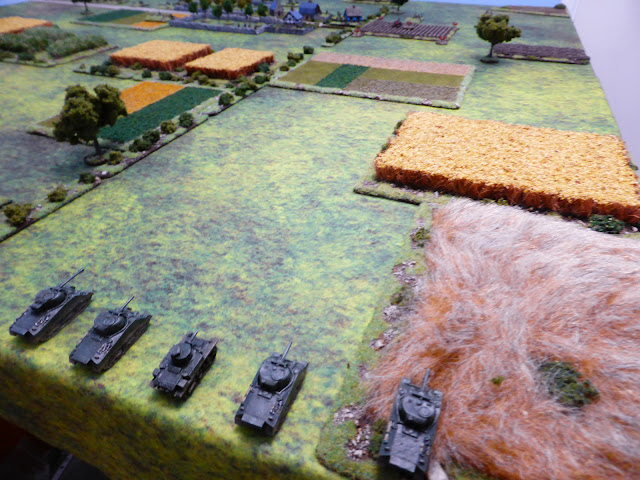 |
| The South Glos right wing. |
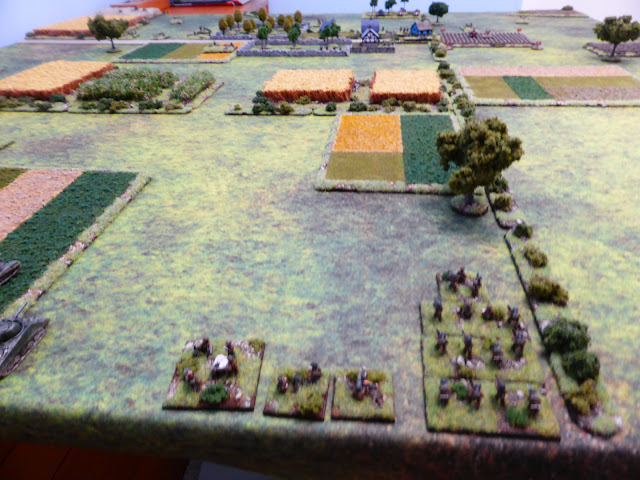 |
| The Centre. |
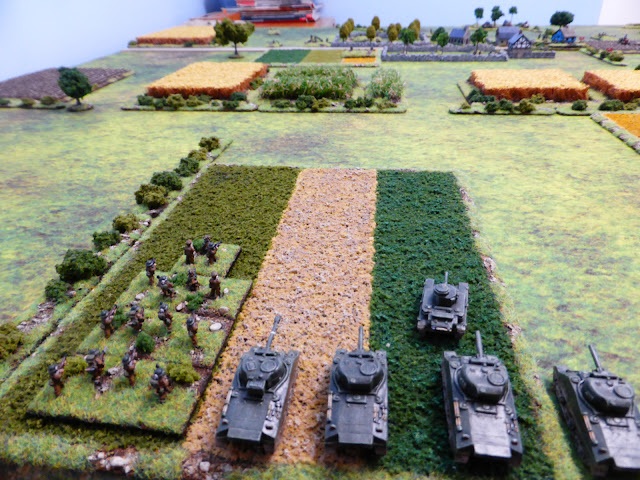 |
| The Left Wing. |
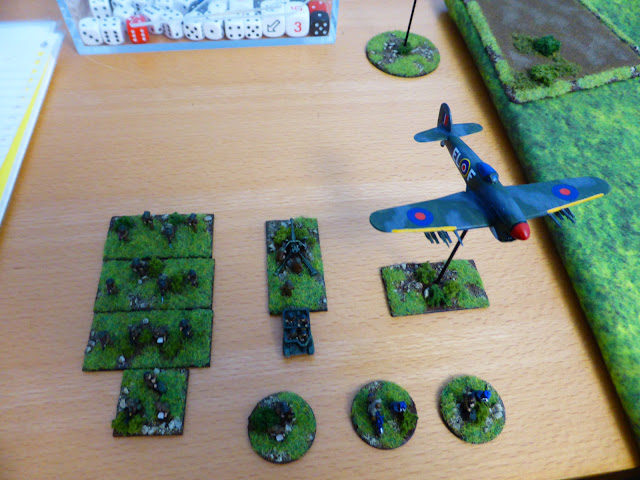 |
| The Reserves, FAO's and FAC. |
The GameAs is the norm, captioned photos to try and give a flavour of how the game unfolded.
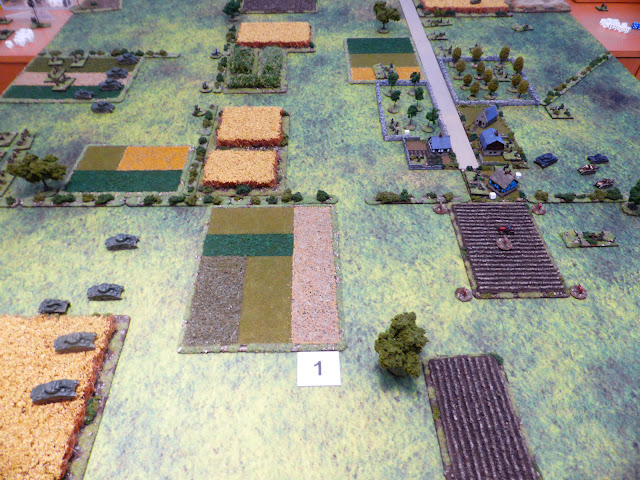 |
| The end of Turn 1. HMS Avon kicked things off with a concentrated attack on Cardonville, that managed to suppress a few German units, who were rather well dug-in it would seem. The South Glos troops made slow but steady progress, when a bit more 'va va voom' was more the order of the day. The Germans had limited targets but wisely chose to keep hidden from view until the British got closer. |
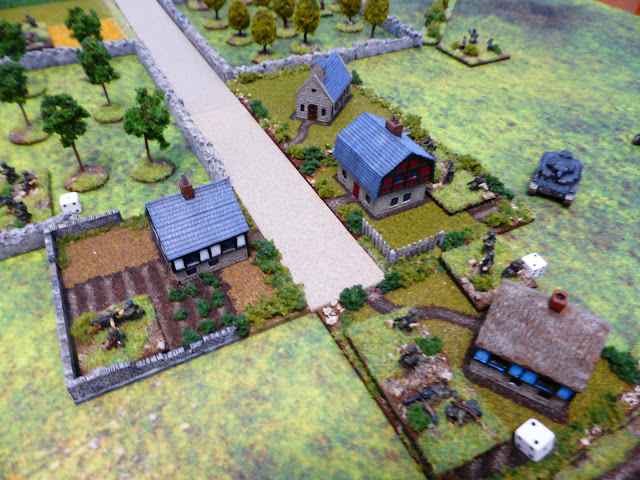 |
| HMS Avon's shells had limited effect. |
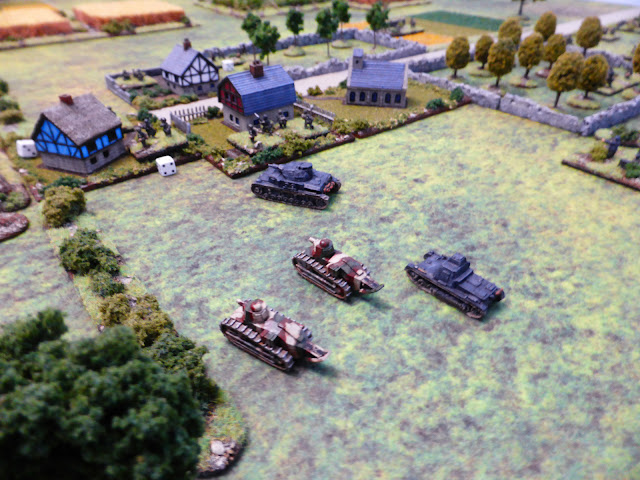 |
| The German panzers move up as the enemy tanks are spotted. |
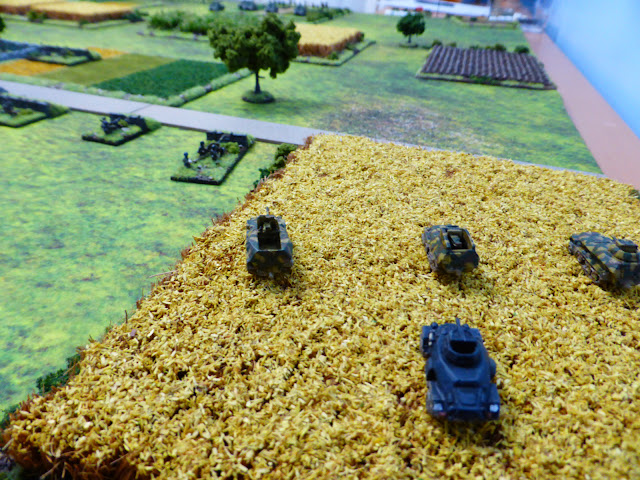 |
| The SdKfz 250's move forward to try and locate the enemy. |
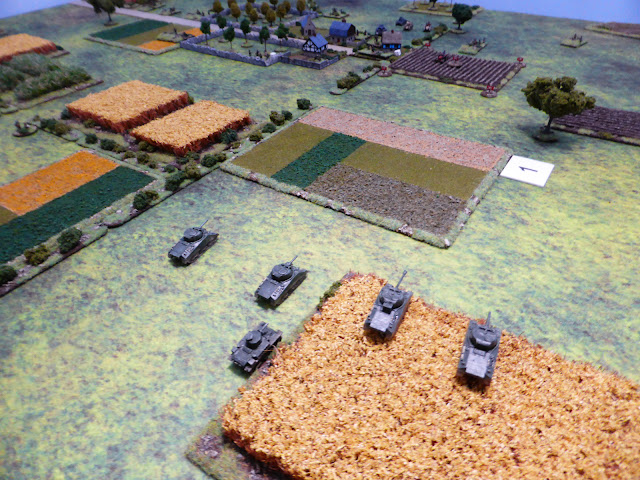 |
| The Shermans edge forward across open terrain, not sure what lies ahead for them. |
 |
| The rest of the Battlegroup moves forward. |
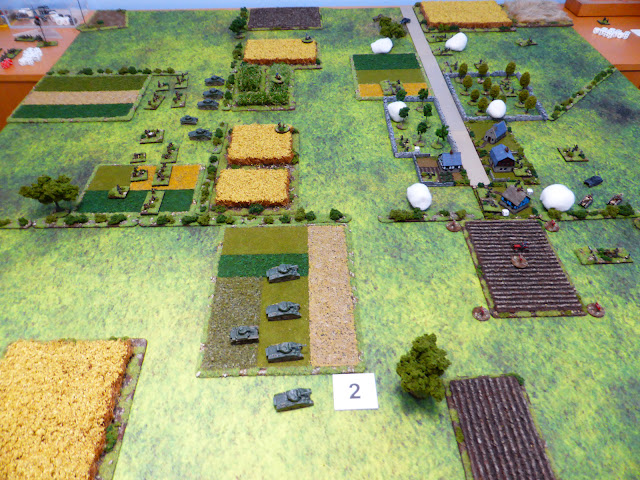 |
| The end of Turn 2. |
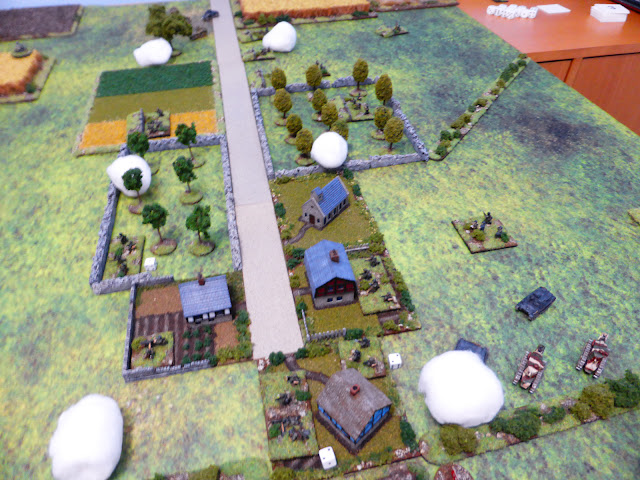 |
| The City of Bristol Volunteers lay down a smoke barrage, limiting Germans options as they cannot see. Yet again slow progress is made by the South Glos Battlegroup, but luckily for them, the German Pak 40 fails to receive its order to open fire. |
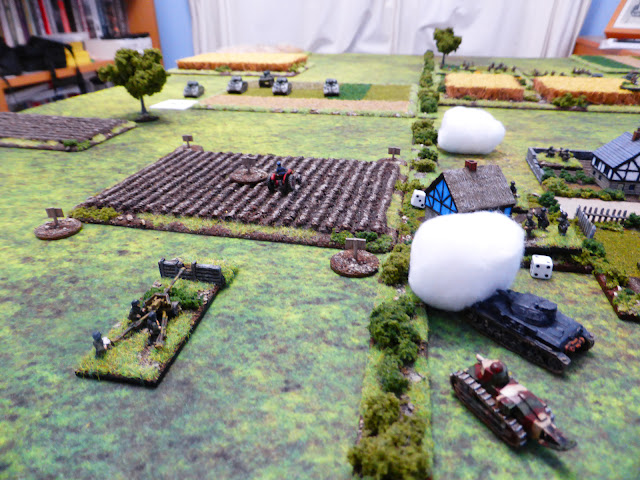 |
| Despite tempting targets to their front, the Pak 40 crew fail to open fire. |
 |
| The SdKfz 250's push forward, aware that they might be at risk from Jabo attacks. |
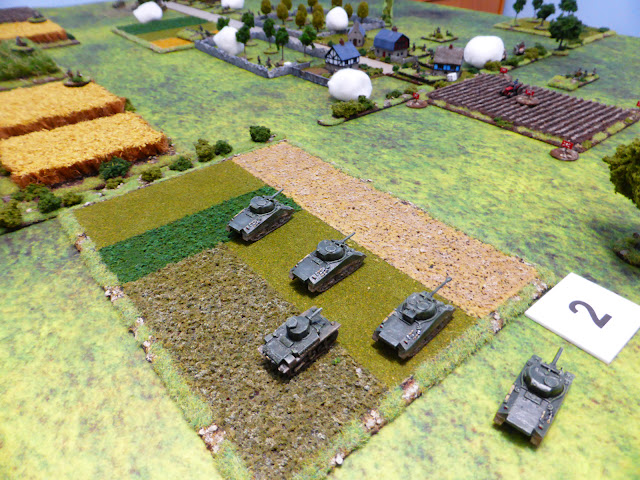 |
| It's all rather too quiet on the Cardonville front... |
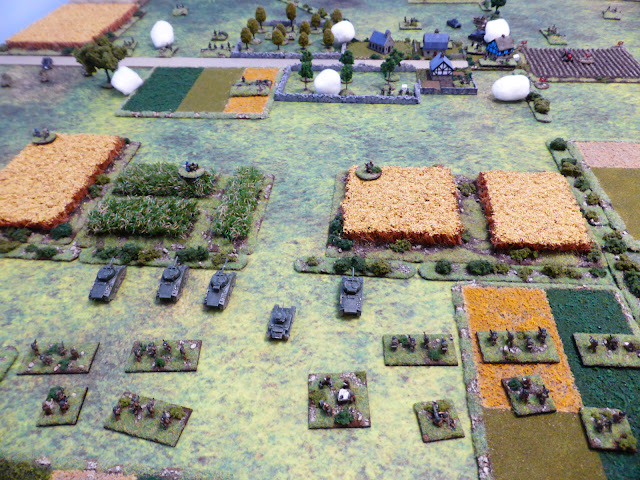 |
| Whilst the troops move forward, albeit slowly, the FAO's ans FAC have taken up position at the edge of the fields. |
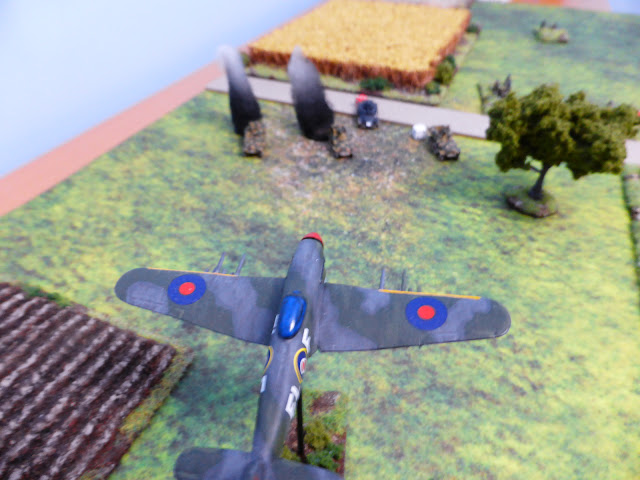 |
| The start of Turn 3 and sure enough, a Jabo suddenly appears and wreaks havoc, KO'ing 2 x 250's and damaging or suppressing the others. |
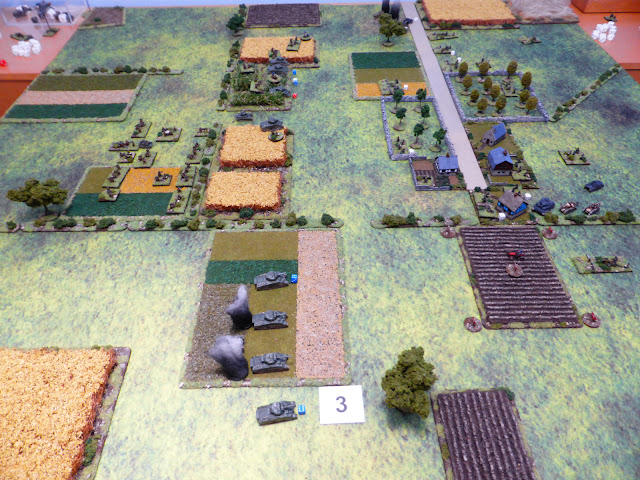 |
| The end of Turn 3. After the Typhoon did its thing, the CoBV Artillery brought down a barrage of fire on Cardonville. Whilst not causing any major loss, the cumulative effect of the attacks is wearing the Germans down. As the South Glos troops advance, they come under fire from the 'Pak Front', with the South Glos right flank losing tanks in quick succession. Things have really begun to hot up! |
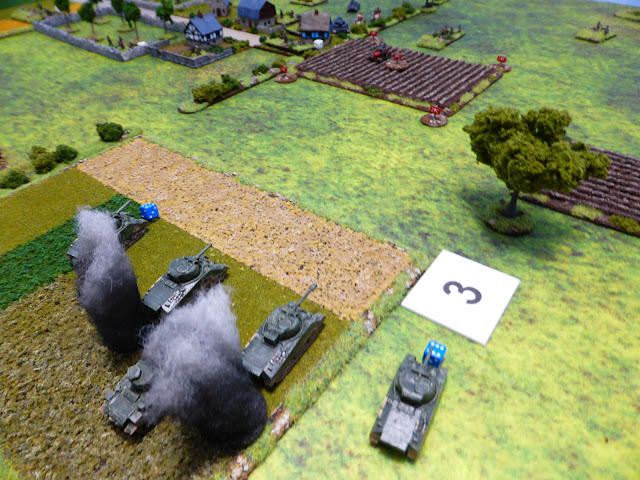 |
| The dug-in Pak 40, in quick succession, exacts a fearsome toll. |
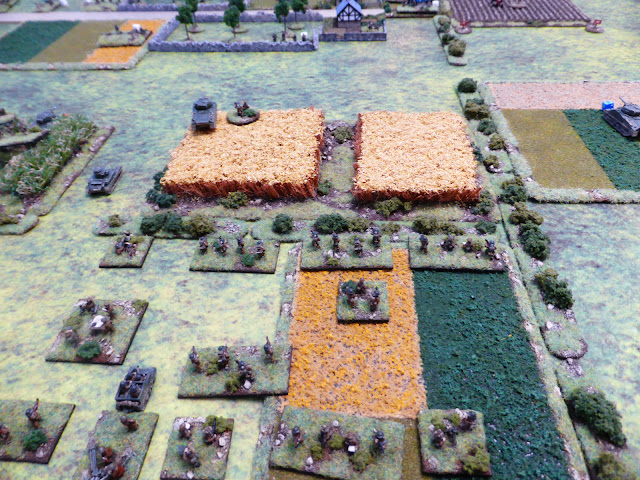 |
| As the Reserves arrive, the Infantry are struggling to get forward to support the Royal Gloucestershire Hussars. |
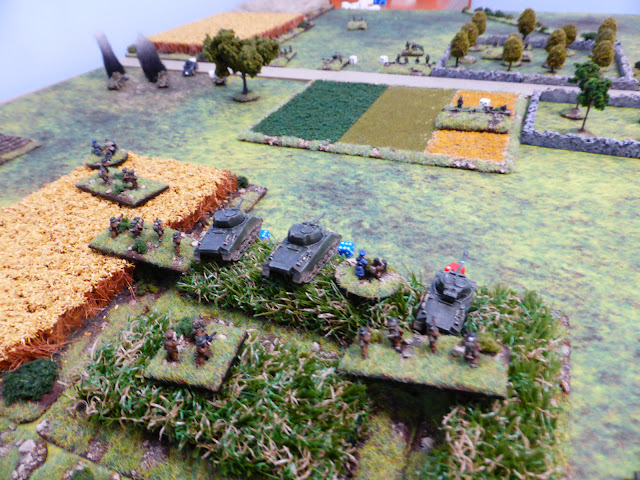 |
| The Pak 38, whilst unable to KO any tanks, has given them a real 'wake up' call. |
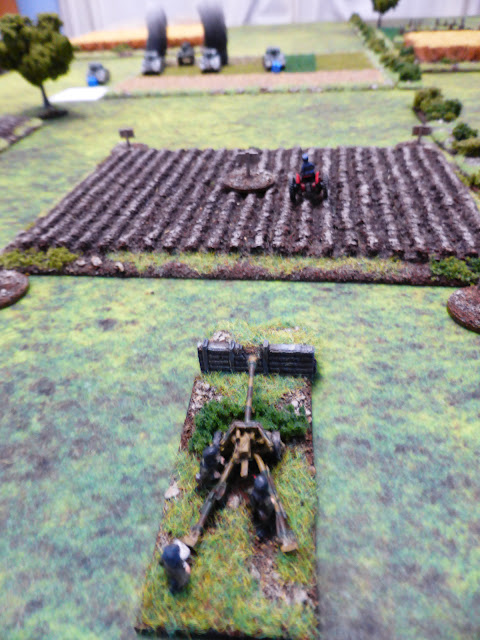 |
| The Pak 40 adds two rings to its barrel. |
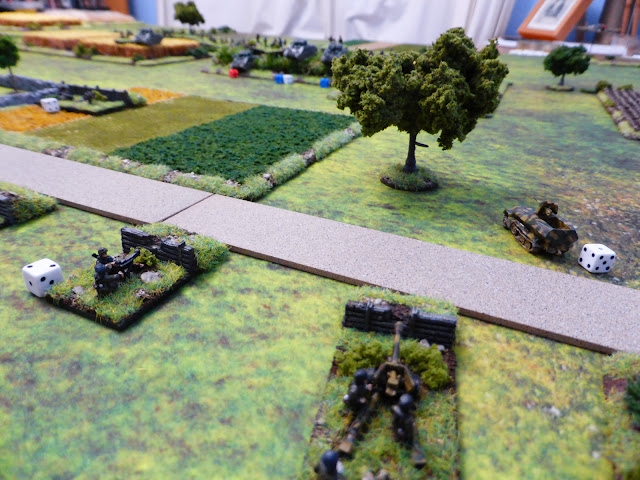 |
| No rings yet for the Pak 38. |
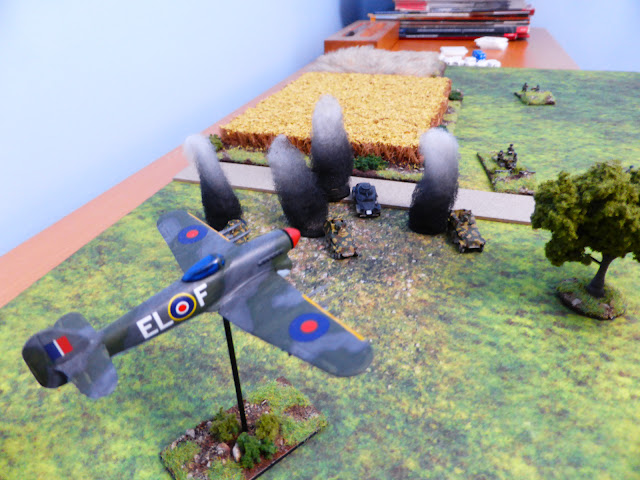 |
| Another cab rank of Typhoons arrives and finishes of the SdKfz 250's. Caught like a fox in the open. |
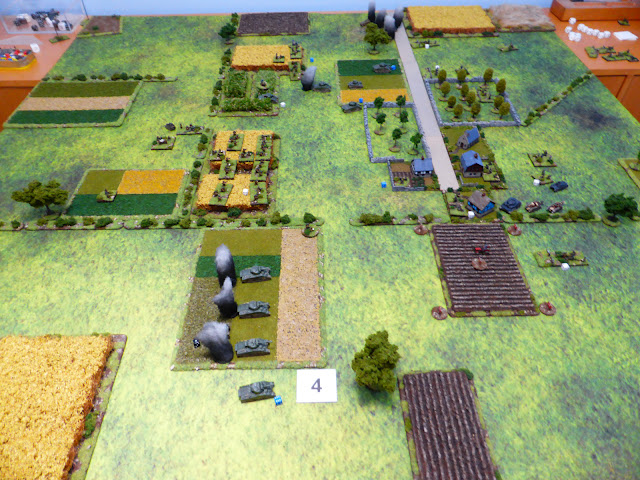 |
| The end of Turn 4. With battle well and truly joined, the CoBV Artillery suppresses the Pak 38 and KO's an MG42 unit, but HMS Avon fails to receive coordinates for an attack. As the South Glos Fusiliers advance, they manage to KO an Infantry unit in the orchard to their front. As they push forward all across the line where able and prudent to do so, they lose a Sherman to a panzershreck and the German panzers, as well as an Infantry unit too. |
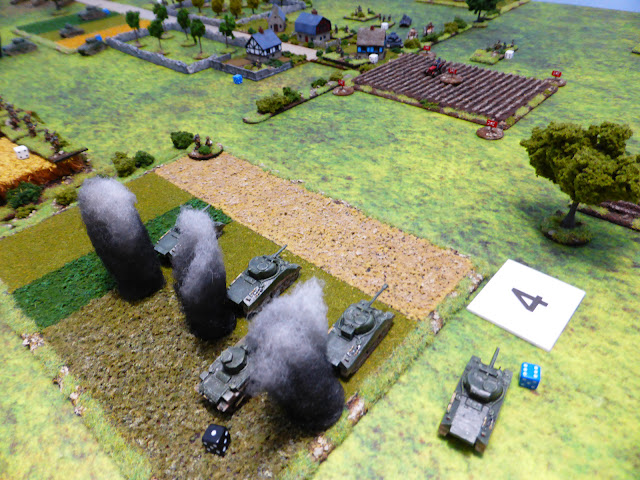 |
| The Royal Glos Hussars are really suffering! |
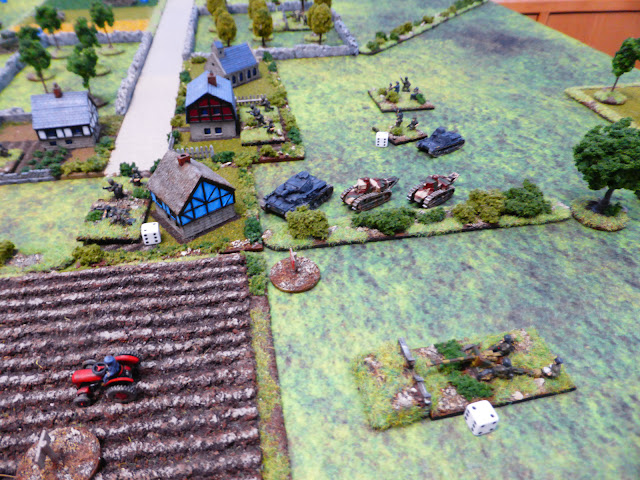 |
| The Pak 40 and Panzers make life hard for the Hussars. |
 |
| The South Glos Fusiliers begin to KO some of the German units in Cardonville. |
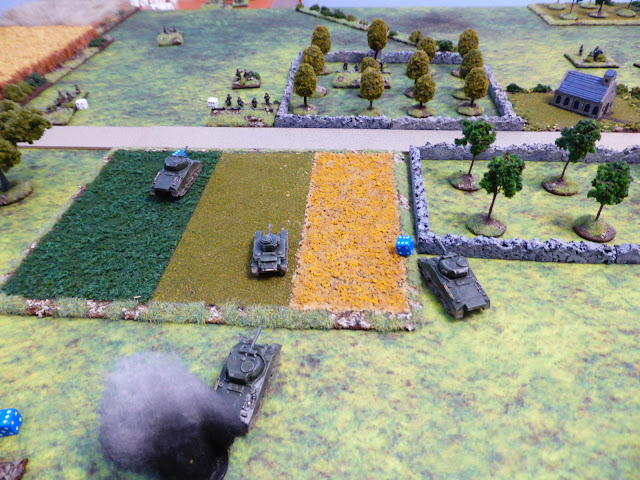 |
| As the Shermans edge forward, they lose a tank as they do so, but KO the unit that caused the loss. |
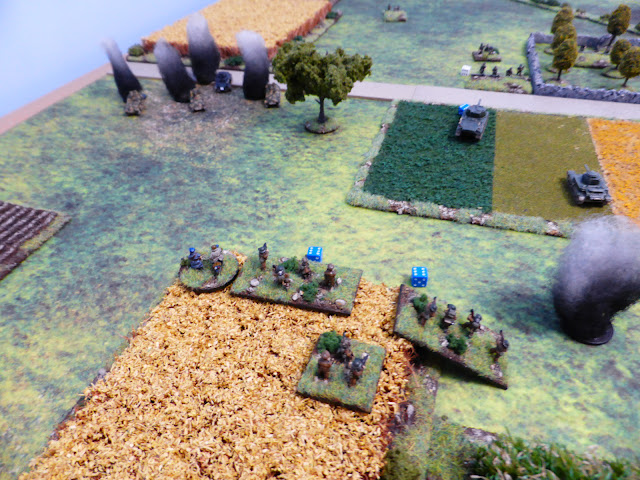 |
| The Fusiliers come under fire as they reach the edge of the cornfield. |
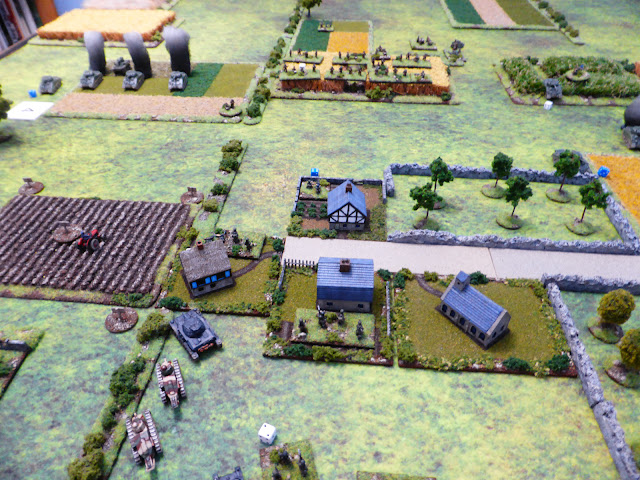 |
| A view from the Germans positions. |
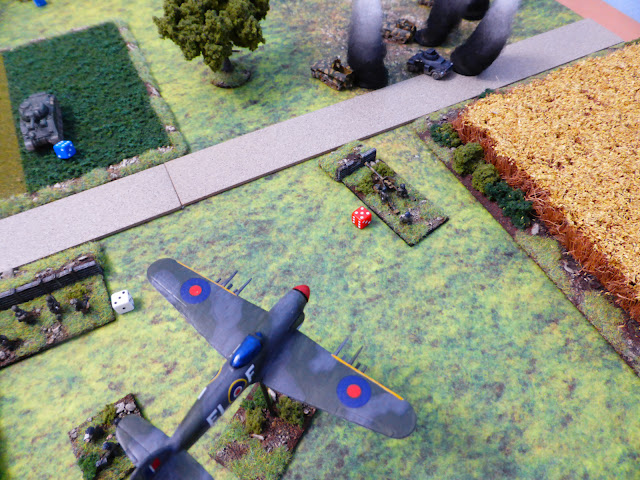 |
| At the Start of Turn 5, the RAF Johnnies once again come up trumps, this time KO'ing the dug-in Pak 38. |
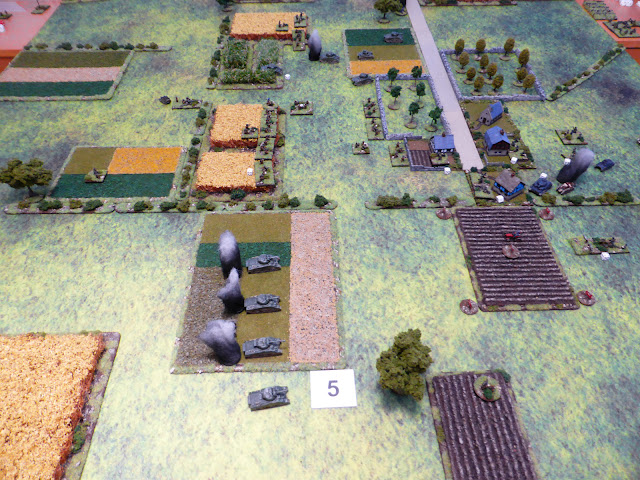 |
| The end of Turn 5. At the RAF boys arrive, HMS Avon and the CoBV Artillery add more hits to the German troops as well as suppressing them, but manage fo KO a H-39 (Ft-17 model) in the process. Other German units begin to be lost and as a result, the Kampfgruppe reaches its breakpoint, but manages to pass its test and carry on. However, seeing the writing on the wall, Major Wagner begines to order what troops that can, to fall back to safety. |
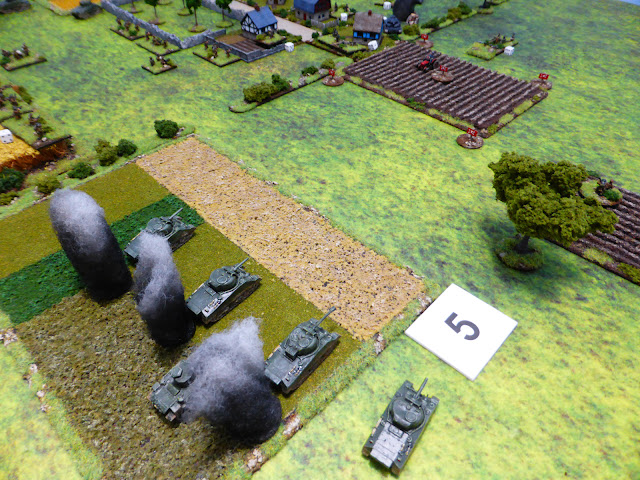 |
| The Hussars receive a reprieve at the Pak 40 and Pz IV is suppressed by the combined naval and artillery fire. |
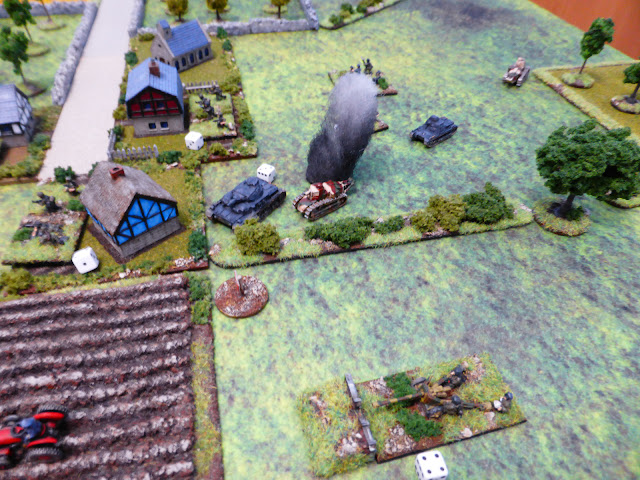 |
| With units suppressed, the Germans begin to withdraw. |
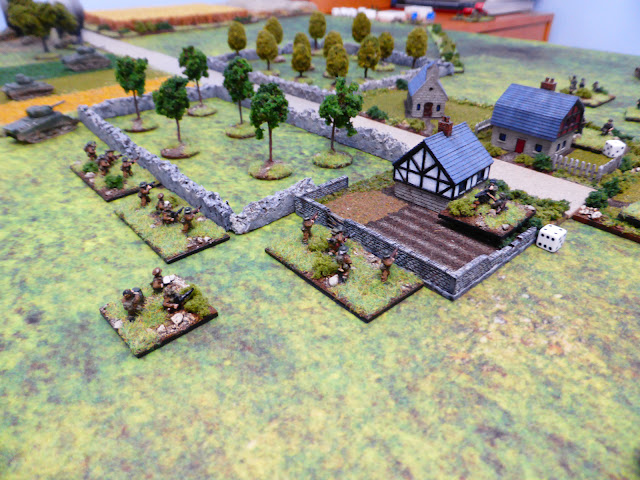 |
| The South Glos Fusiliers reach the edge of Cardonville. |
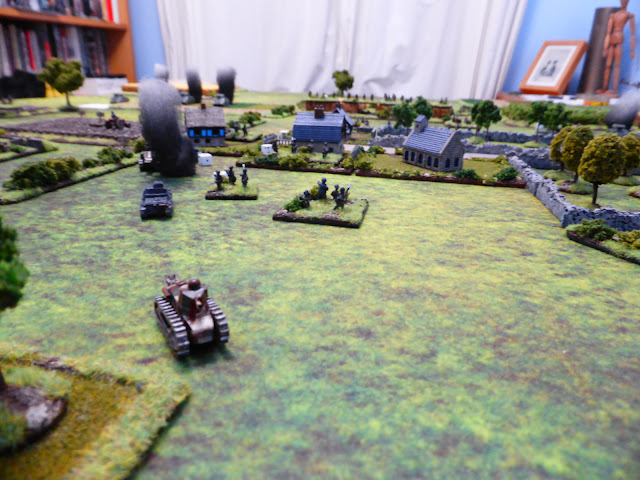 |
| The German Beutepanzer begins to withdraw. |
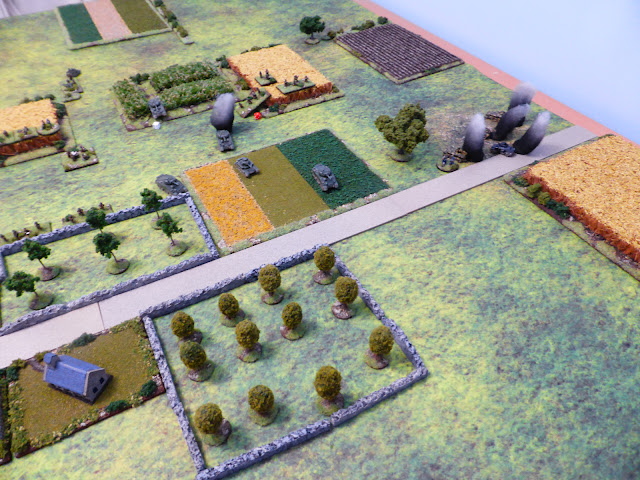 |
| The German right flank is wide open. |
 |
| The end of Turn 6. With no targets for the FAC and troops too close for naval fire, it is left up to the CoBV Artillery to KO the dug-in Pak 40, much to the relief of the remaining Hussars tank. Elsewhere as the Fusiliers occupy and push forward into the village, the other Hussars on the left flank swing round and cut off the retreat for the Germans, KO'ing the Beutepanzer in the process. More or less surrounded, the Germans have no option other than to surrender. |
 |
| The Hussar tanks on the right flank move forward to close the trap, now that the threat from the Pak 40 has gone. |
 |
| The Germans trapped in Cardonville. |
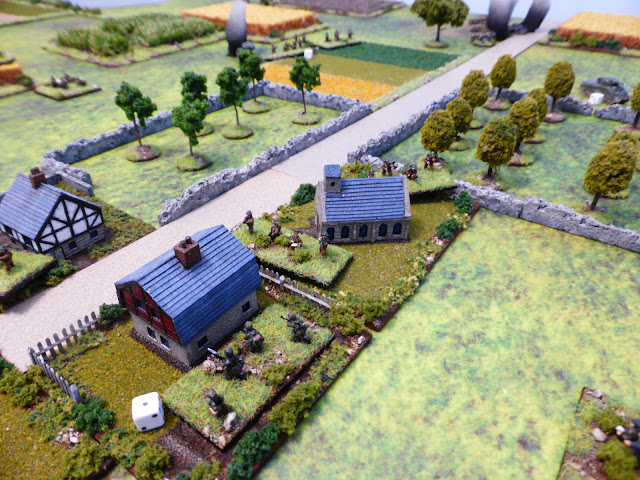 |
| South Glos Fusiliers move through the churchyard. |
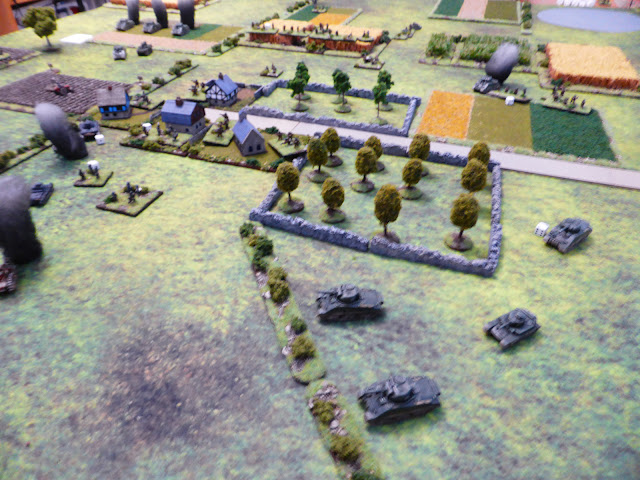 |
| The Hussars close the escape route. |
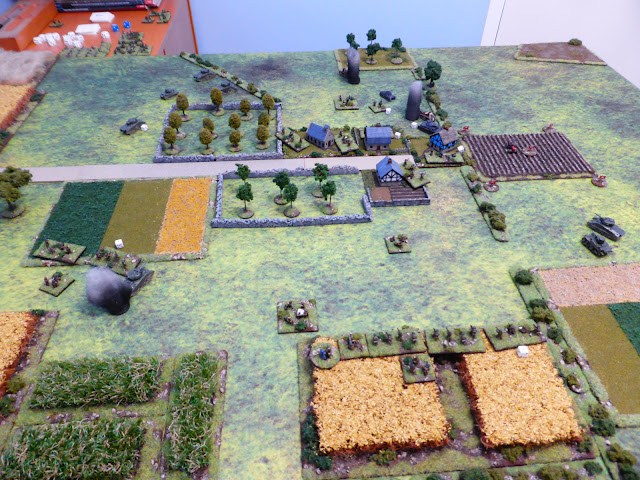 |
| An overview from the British position. |
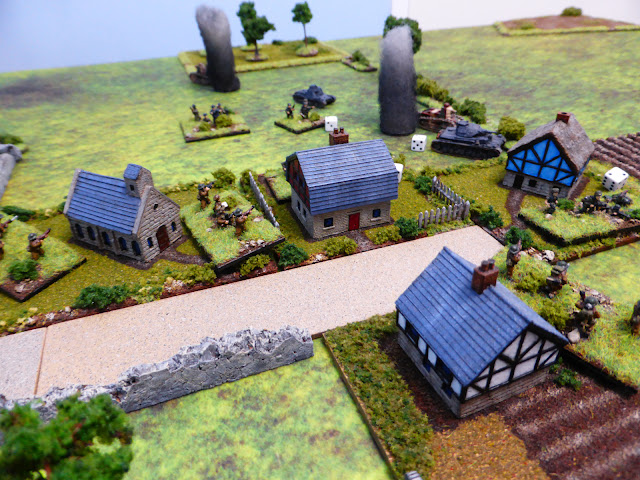 |
| The view as the Fusiliers close in. |
End of the GameSo despite a slow start, all of a sudden the South Glos Battlegroup has managed to pull of a rather convincing win! But losses from both sides need to totted up to see the effect upon the campaign.
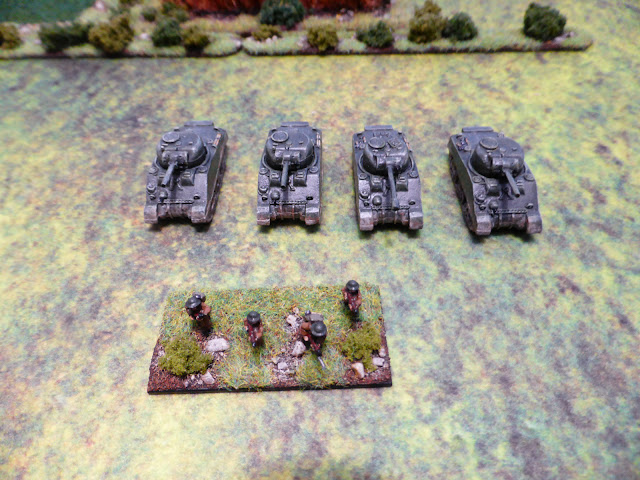 |
| British losses. |
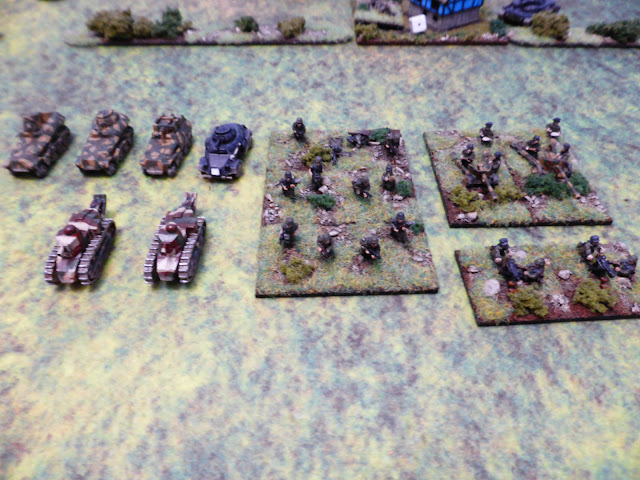 |
| Germans losses. |
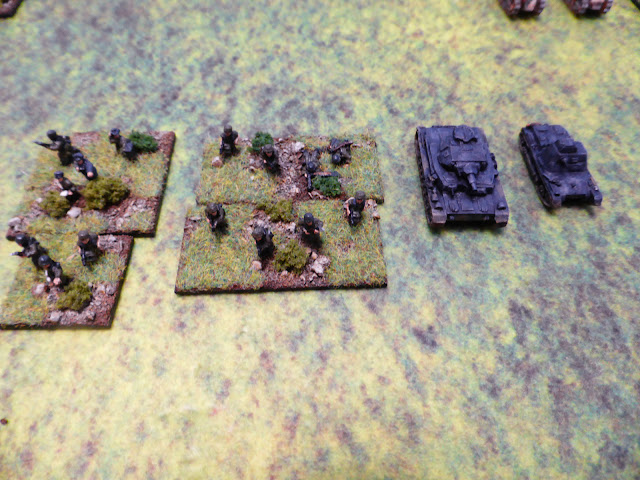 |
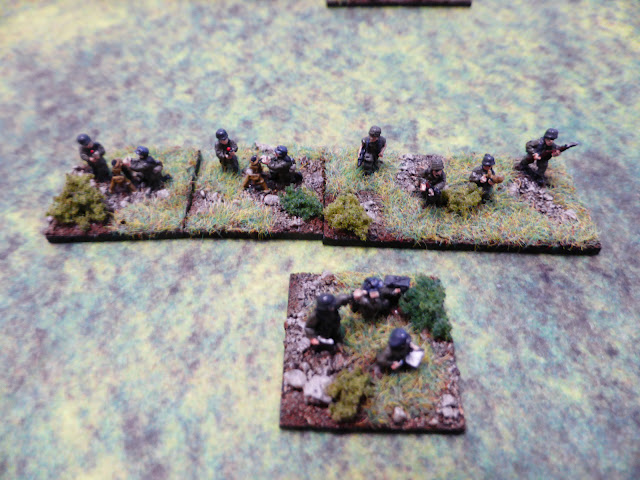
| Captured German troops. |
 |
| The ones that got away. |
Campaign Effects
Well the South Glos Battlegroup achieved a Major Victory, both in terms of seizing the objective within 6 Turns, but also in terms of the casualties caused compared to those taken. The Germans managed to fail to score any Victory Points at all. So for the next game:
British - + 25% points for reinforcements.
Germans - No points for reinforcements.
Whilst this might look good for the British, a poor dice roll meant that they just failed to get +50% for reinforcements, which would have given them a significant advanatge to say the least!
Post Game Thoughts
I had this game set up for a few days, taking my time which was nice, and tweaking a few things before the game kicked off. It still seems a novelty to be able to do this and something I should bear in mind more. But as always a few things that stood out from the game:
- The Shermans on the right flank really took a battering and if the odd command roll had gone the German's way, then they might have been wiped out. This certainly felt right as they were advancing over open ground and could not see the enemy until they opened up at close range.
- The value of having so much artillery and air support on hand, cannot be stressed enough, as without it, I doubt of Cardonville could have been taken. Again this just felt right and time and time again, you read of attacks faltering or failing fue to lack of artillery support.
- The Pak Front really worked pretty well in this game, but if the Pak 38 had managed another shot or two, it might have been even better for the Germans. Alas the British have lots of Shermans in reserves, but less so Infantry.
- For once the German mortars didn't exact their normal dreadful toll on the British Infantry, due to a number of factors.
- As with many a game, you realise what units you really need to push to the front of the paint queue. Currently this will involve some more Pak's, a Flak 88, some dedicated AA guns as well as some Panthers.
What Next?
Well I know what I want to base up and paint for the next game, which will mainly be some more units for the Germans, namely some more Pak's, a Flak 88, some dedicated AA guns as well as some Panthers. It will be a while before I can do this due to family coming to stay, which means I will not be able to strike whilst the iron is hot!
At least it will give me plenty of time to figure out the next scenario in the campaign, takin ginto account the after effects of this current Campaign Turn. It would be nice to wrap this up before Xmas, but I doubt I will be able to, maybe getting in just one more game if I'm lucky.
My Midgard order is due to arrive today, so I'm looking forward to reading this, but maybe I should leave it until Xmas so as not to get too distracted from this campaign!
Well I hope you enjoyed this and as always any comments are greatly appreciated.
TTFN.


Another enjoyable BatRep, Steve! Poor Frank the Farmer will never learn! The Germans are having a tough time learning their lesson as well!
ReplyDeleteBy the way, there is an interesting BKC article in Warning Order 66 on breaking the game. Perhaps of interest to you?
DeleteThanks Jon and Francois certainly doesn't learn to keep out of harms way! For once the British artillery and air support arrived pretty much on every turn when they were needed, which meant the Germans were on the back foot from the off. This was one reason the mortars never really got going.
DeleteI've seen the WO66 issue and IIRC, I sent Matt a message with regards to the points raised. We have communicated several times on BKC and I keep meaning to pen more articles for him to add to his magazine. Maybe time to try and fulfil my promise...
Good stuff Steve. The Brits, as you mentioned, made much use of their matériel advantage. The artillery, RN and ground support aircraft all performed well. In sporting terms this would be “playing to your strengths” 😉
ReplyDeleteYou may be painting reinforcements for the Jerries, but I suspect they may well be just more targets - particularly for the Typhoon.
FWIW if I spotted “locals” in what was believed to be a minefield that might suggest it could be a dummy…
I’d be interested to read how you get on with Midgard. I see lots of discussion about the game, but I’m not sure whether it’s for me.
Cheers,
Geoff
Thanks Geoff and for once the materiel advantage worked in the Brits favour. Whether it works in the next game remains to be seen...
DeletePoor old Francois stumbled into a real minefield but somehow managed not to set anything off!
I was unsure about Midgard too, but I watched some excellent videos on Youtube from the TFL chaps and the author, which showed they had enough to offer me to lead me into hitting the 'buy' button. Worth checking out if you're interested.
A splendid report and game, Steve! And good to see the right side won too. ;-)
ReplyDeleteThanks David! Normally the Brits take a bit of a kicking from the Boche, but so far, so good, which probably means next game things will go somewhat awry...
DeleteWhat a great battle report sir!
ReplyDeleteGlad you enjoyed it Michal!
DeleteI enjoyed that AAR too Steve. Good to see the old French tanks getting a run out. You're resisting the wargamer's urge to get the big cats out.
ReplyDeleteGood to hear you enjoyed it Chris:). Reading von Luck's memoire recently and I was struck by the fact that one command tank was a Pz IV kurz, so there was certainly plenty of old kit around in France. The big cats will arrive later, as they did historically, if the campaign ever reaches that point...
DeleteGood read and a lovely looking game, should be interesting to see how the next stage unfolds.
ReplyDeleteThanks Donnie! I'm pondering the next scenario already...
DeleteEntertaining AAR, didn't think it was going to turn out like that half way through! I'm picking up Midguard this week, I had a chat with the author a couple of Partizans ago when he was running a dark age demo game, I'd have bought it then to be honest! I liked your Frost Giants, it would be good to see your white dwarf get a run out with them!
ReplyDeleteBest Iain
Thanks Iain and I too thought that it wouldn't be as successful as it was after the slow first two Turns! As mentioned above, there are some great Youtube run throughs which really help get a feel of the game. I have the rulebook next to me, but I think I'll keep it as my Xmas 'surprise'...
DeleteThe aim it to have the White Dwarf and chums battling the Giants and their friends at some point. As always plenty of ideas, but am trying to be good and focus on WWII and this campaign!
A great read Steve and engaging campaign. Looking forward to the next installment... whenever that may be. What was really good was that, during reading, it all felt right. Well done.
ReplyDeleteMany thanks Richard and I'm glad you're finding it engaging and plausible too, which is always my aim. Oh and of course for the South Glos Fusiliers to win😉!
DeleteNice looking game Steve and once again, a very believable narrative. As you noted previously - not much fun to play the Germans in an FtF game - but for a solo campaign, its fine!
ReplyDeleteThanks Keith! The Germans had more chance in this game compared to the previous one, but the FAO's et al really kept them on the back foot for most of the game. If even one Turn of failed support had arrived, the Germans might have got a chance for a decent counter-punch...
ReplyDeleteI agree with your conclusions that the unfolding story felt right and the slightly beefier order of battle is to the liking of BKC. I do like the typhoon shots. I wouldn’t worry about the length of the campaign, it can rumble on while dipping in and out of other things that are played around it. It seems potentially to be the gift that keeps on giving at the moment.
ReplyDeleteThanks Norm and I agree that at Battalion level and above BKC really comes into its own. Always fun to try and get some nice shots of strafing runs, no matter the period of the War:). I can see the South Glos Battlegroup appearing more often moving forward, as I'm really enjoying the narrative potential it offers me, plus of course with them being my local force!
DeleteI spared you my comments on the last post Steve but would like to chip in here. The bases round the buildings look very nice by the way. I enjoyed the narrative of the battle very much and the campaign background really adds to the story. I was interested to see how many HQs you had as I felt that what I was allowed for a 1000 point trial game was a little restrictive even allowing for the fact that control shouldn't be total. Now I see that it is not necessary to have masses of figures to reach much higher points levels. Must try again.
ReplyDeleteThanks for dropping by Jim and glad you liked the BUA bases, plus the whole campaign milieu too:)! Mant years ago I ditched the HQ limits and went for one per Company/Kompanie, as I found this gave a much better game, plus it felt right using the Company/Kompanie as the main manouevre and fighting element. For most of my solo games a Battalion plus some support, armoured or otherwise, is more than enough for my 4' x 4' table. Also I found if the Battlegroup gets much bigger than this, I find it hard to keep track of all that's going on plus there's an exponential increase in time to finish a game. Sometimes less is more.
DeleteThanks for your helpful comment Steve. Your experience is useful.
DeleteYou're welcome Jim and glad you've found my musings useful:).
DeleteGreat game, really enjoyed it; interesting dynamic, that sense of losing slowly and then losing quickly - especially since it looked like it might just end up being a failed British armoured push.
ReplyDeleteGlad you enjoyed it John! I like it in a game where the dynamic can swing to and fro, as it did here, although it may seem that the Germans were on the back foot from the off. When playing the game those first few Turns felt a bit nervy for the Brits, but luckily they came through in the end:).
Delete