After given 'TMWWBK' a run out recently, I left the terrain set up to do a 'compare and contrast' game using the 'Rebels & Patriots' rules, again from Dan Mersey's stable. Having been heavily involved in the playtesting for these, I was hoping they would come back to me pretty quickly.
Background Fluff
The scenario is nominally set during the 1848 Hungarian Revolution, where forces from far and wide across Europe came to fight. Here we have a small Company allied to the Austrian cause coming to blows with an Italian Volunteer Force, fighting on behalf of the Hungarians. The Italians are after a small supply train that is having a rest in and around a ruined Roman temple, with the Austrians moving up to try and rescue said train.
Forces
I tried to keep the forces as close as possible to the previous games, but due to slight points differences, the Austrians gained a unit of Light Cavalry, the Italians a Light Artillery piece plus limber.
Austrians
3 x Light Infantry
1 x Jaegers
1 x Light Cavalry
Italians
2 x Line Infantry
1 x Light Infantry
1 x Light Cavalry
1 x Dragoons
1 x Light Artillery plus Limber
The Action
So with the forces deployed, it was time to kick off the action. The Austrians won the random dice roll to see who would move first. Annotated photos will hopefully give you a feel for the action.
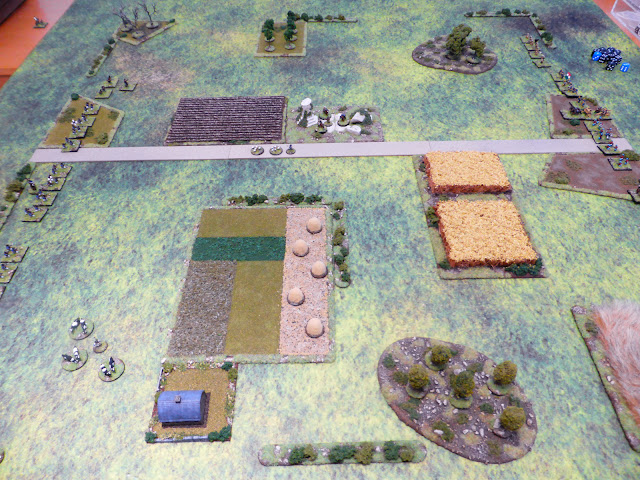 |
| An overview of the table, with the Austrians on the left, the Italians the right. |
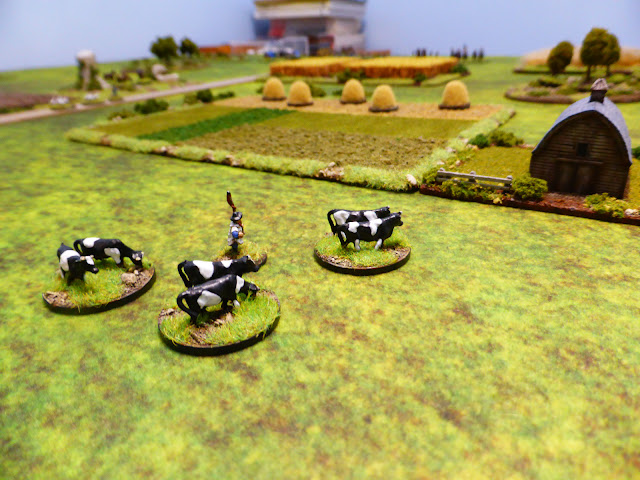 |
| The cows being moved to a milking shed. |
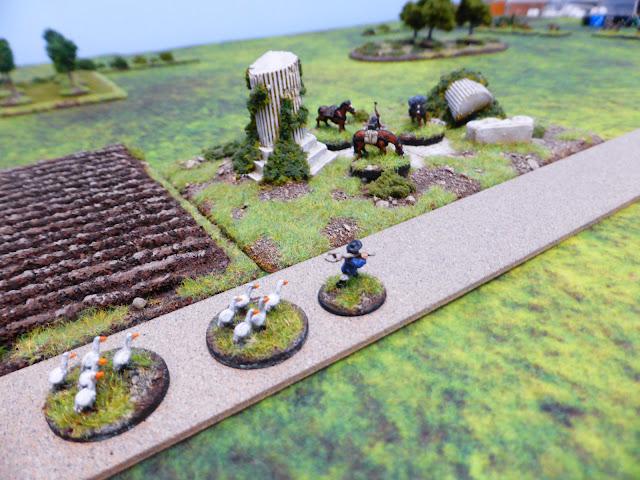 |
| Goose stepping forward, they approach the temple where the baggage train is resting. |
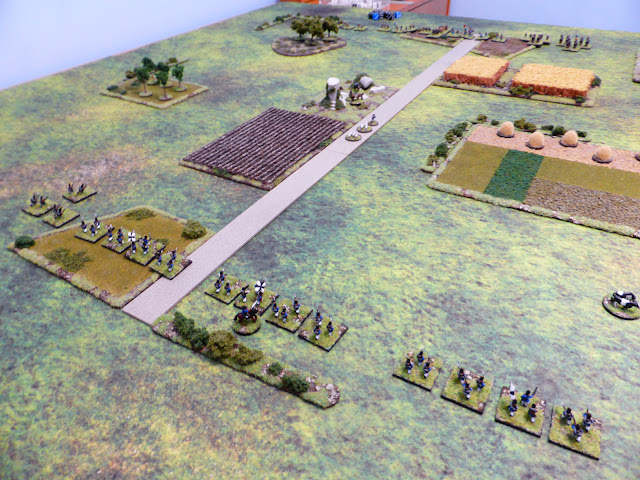 |
| The Austrian line, with the Jaegers on the left flank. |
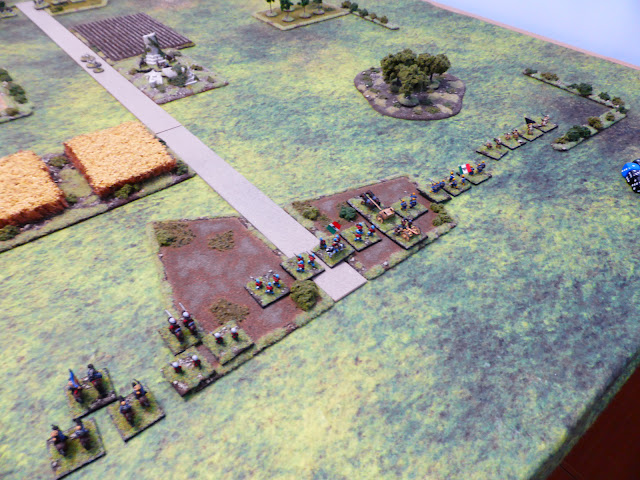 |
| The Italian line. |
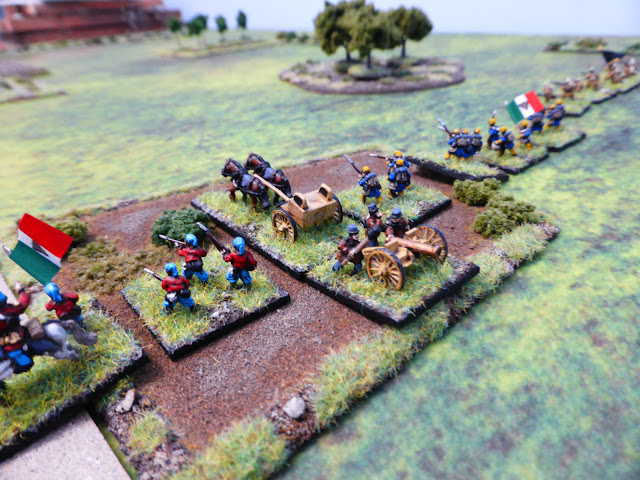 |
| The Light Artillery piece. |
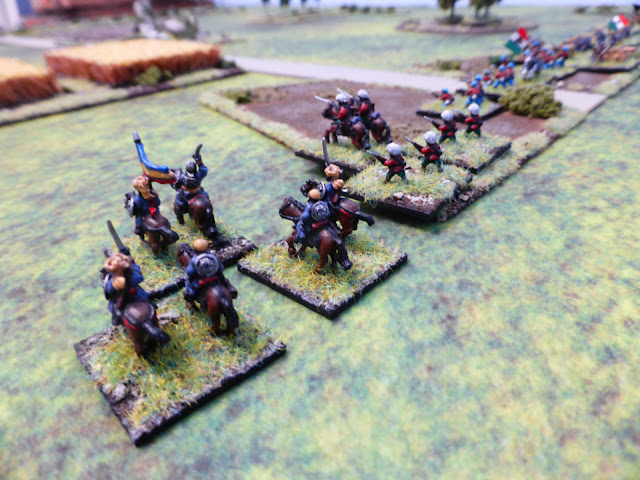 |
| Light Cavalry to the left, flanked by Dragoons on their right. |
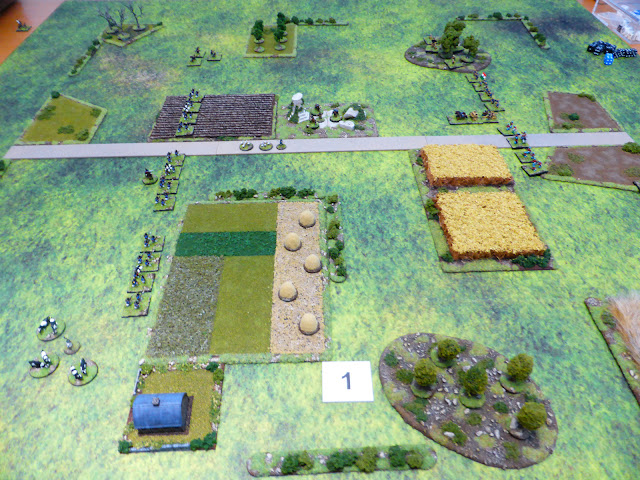 |
| The end of Turn 1. The Austrians moved forward in line (note I forgot to deploy the Light Cavalry!), whilst the Italians response was hampered by their Dragoons and Light Cavalry refusing to move. |
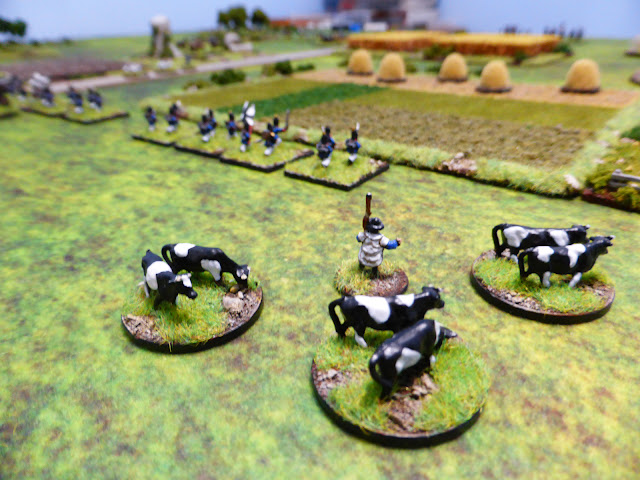 |
| The cowherd happy to see troops moving forward to protect him. |
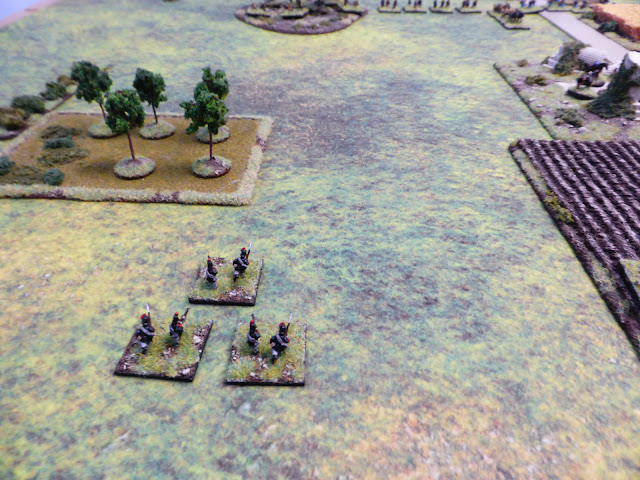 |
| Jaegers advance. |
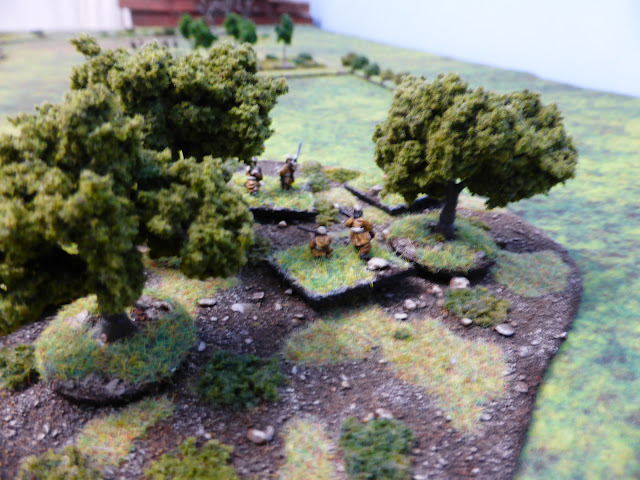 |
| Italian Light Infantry occupy the wood. |
 |
| The Light Artillery yet to deploy as their line advances. |
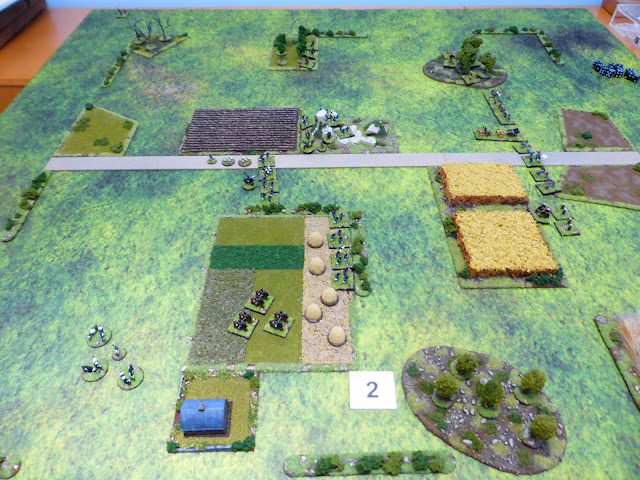 |
| The end of Turn 2. The Austrians advance and begin to open fire on the Italians, but to little effect. The Italians respond, but again their Light Cavalry fail to move. |
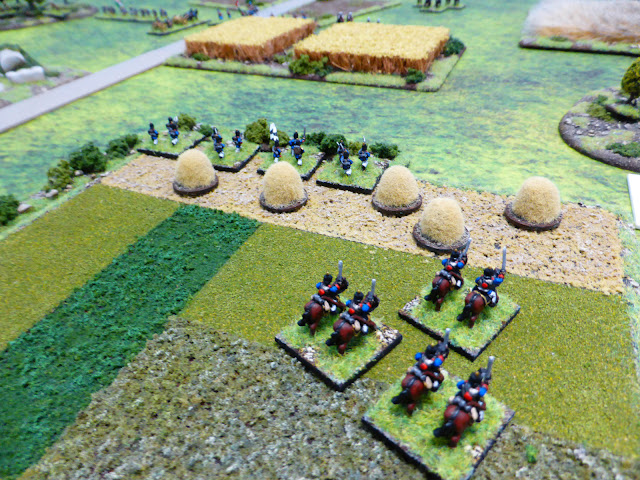 |
| Austrian Light Cavalry move up as Light Infantry line a hedgerow. |
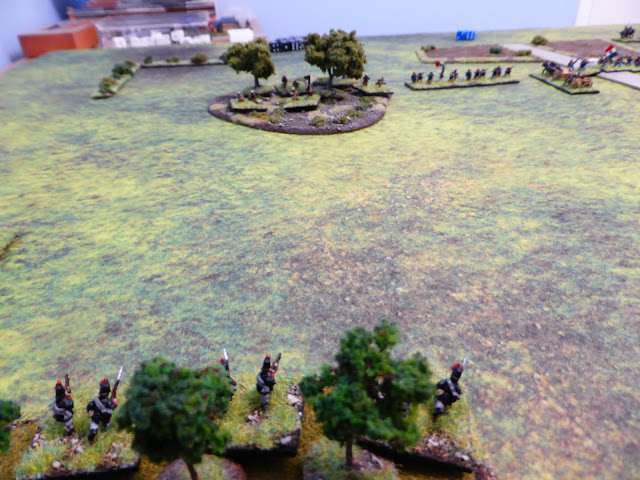 |
| Jaegers occupy the orchard. |
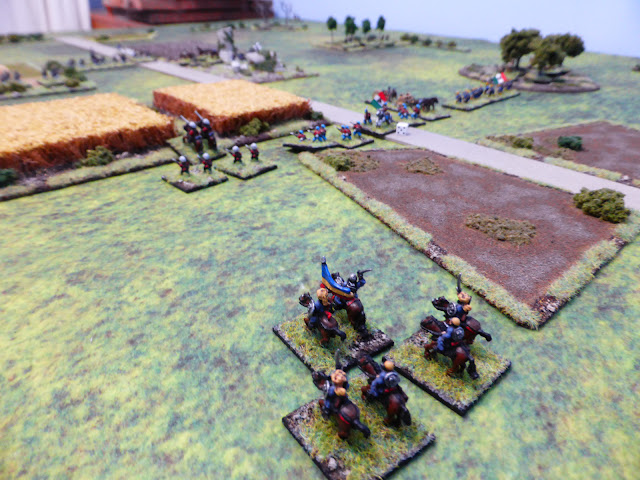 |
| The Italian Light cavalry still having a siesta? |
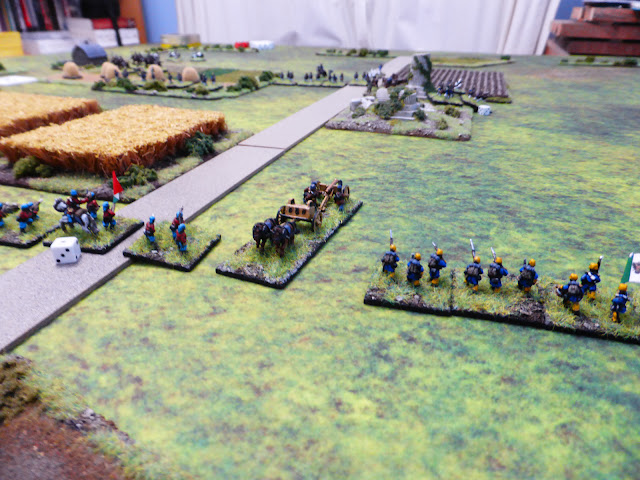 |
| As the Light Artillery deploys, the Line Infantry form Line to their right. |
 |
| Turn 3. The Italian and Austrian Light Cavalry clash... |
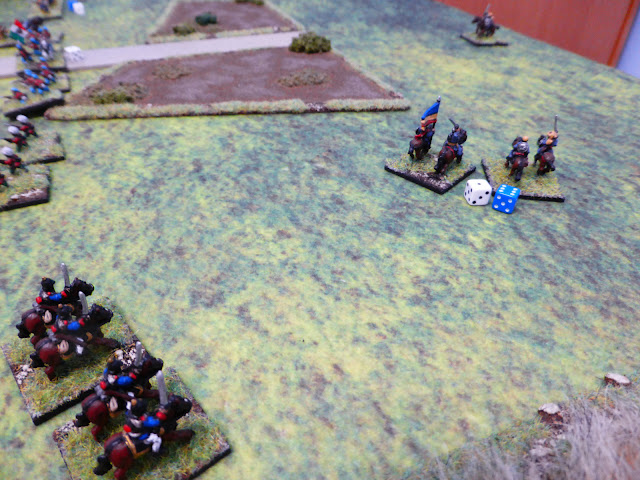 |
| ...with the Austrians coming out on top, leading to the Italians routing off the table. |
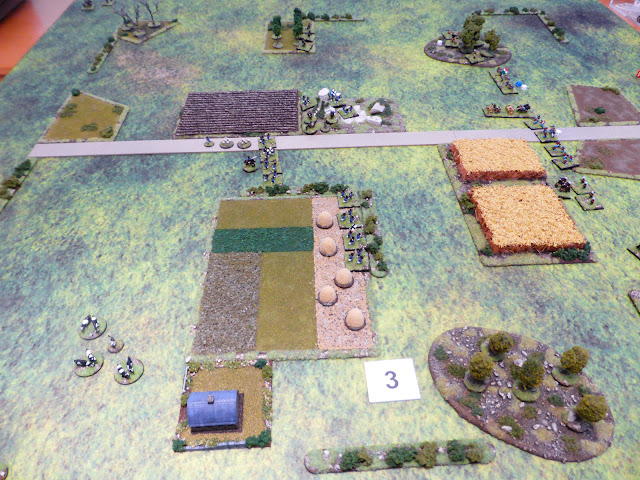 |
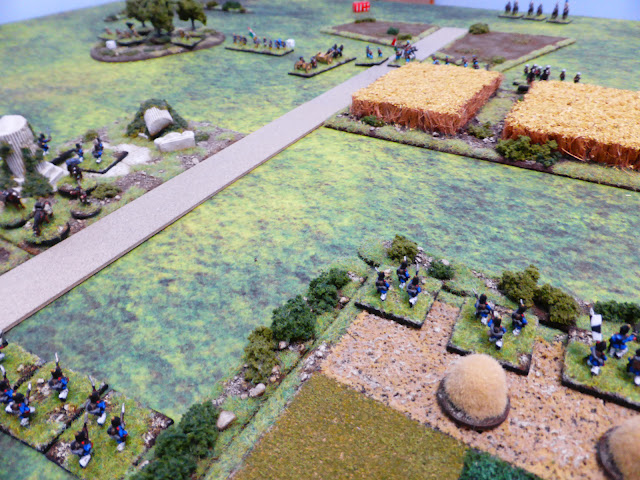
| The end of Turn 3. The Austrians get a slight advantage in shooting, inflicting some Disorder on the Italians, who do the same to the Austrians in the temple. |
 |
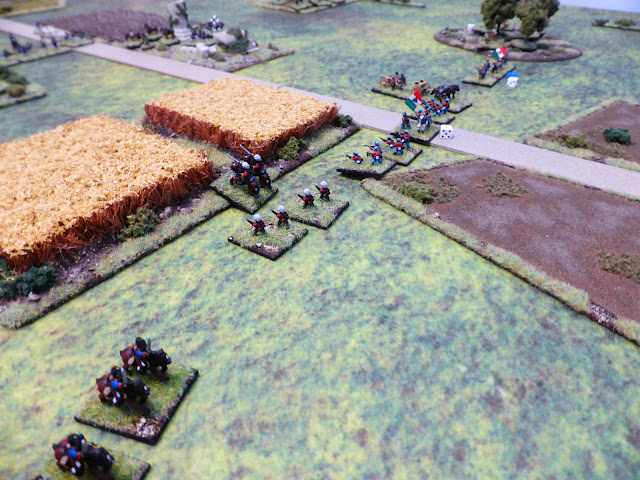
| The Austrians concentrate their fire towards the Italian centre, although the troops by the hedge fail to fire. |
 |
| The Italian Dragoons fail to respond to the threat to their flank from the Austrian Light Cavalry, which could cause some problems... |
 |
| The Light Artillery joins the fray, but to limited effect. |
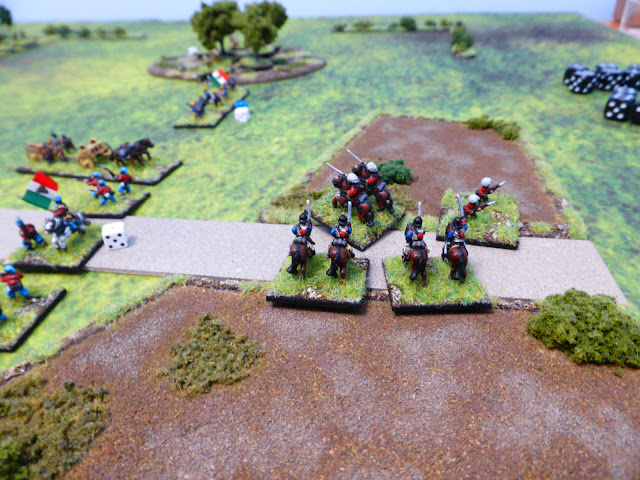 |
| Turn 4. The Austrian Light Cavalry charge the Dragoons, who try to evade, but are caught and destroyed... |
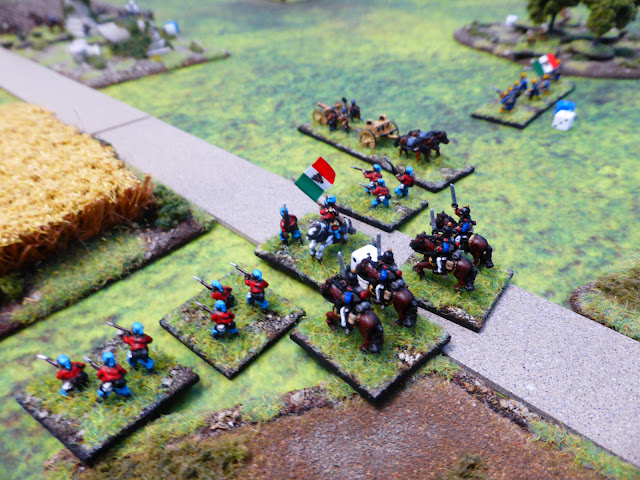 |
| ... leaving the Austrians to follow up into the Italian Line Infantry... |
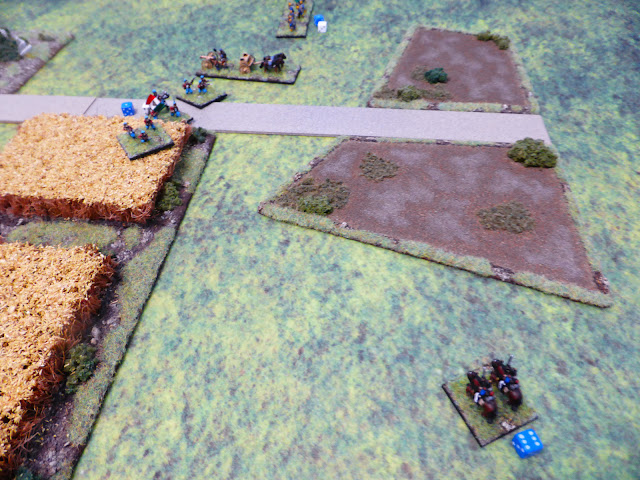 |
| ... causing damage and Disorder, but leading to them being forced to retreat. |
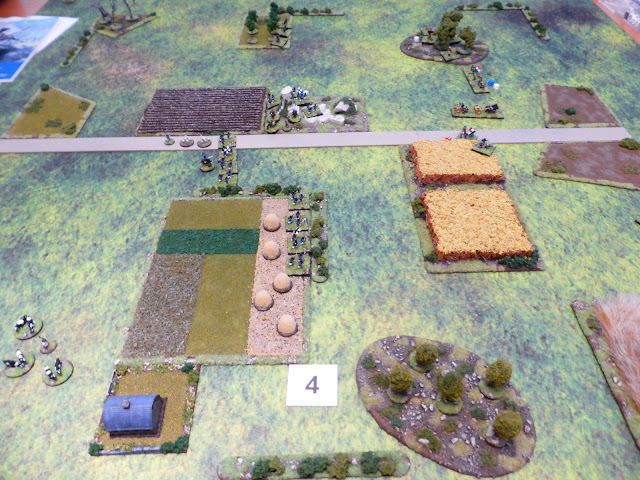 |
| The end of Turn 4. After the devastating charges by the Austrian Light Cavalry, the Austrian Light Infantry firing leads to the Italian Company commander and his unit routing off the table. |
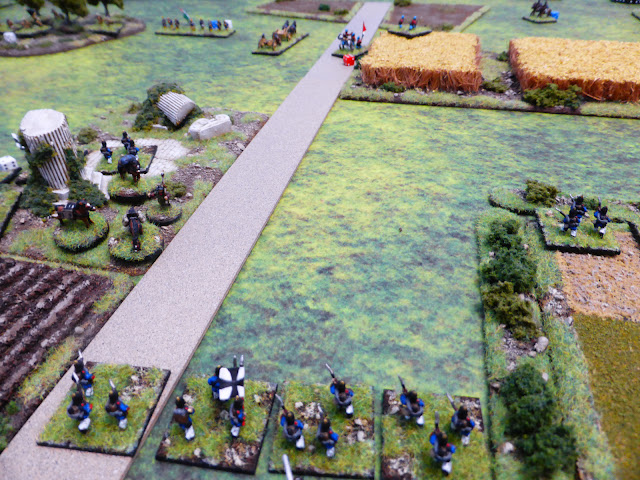 |
| The Austrians sense a chance of victory. |
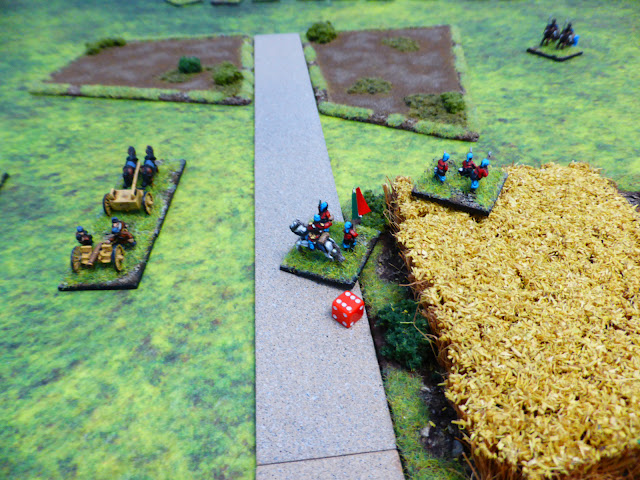 |
| The Italain commander and his unit break and rout. |
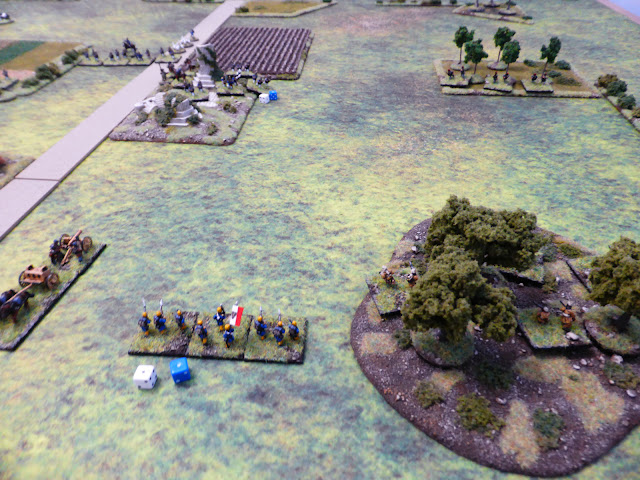 |
| All that is left of the Italian force, who wisely quit the field of battle. |
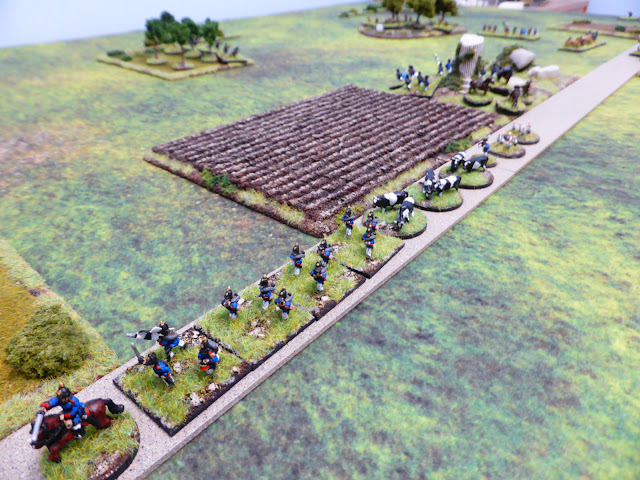 |
| The Austrians lead off the 'spoils of war'. |
End of the Battle
So after mid-way through Turn 4, the Italians had ceased to be an effective fighting force, with the sudden loss of so many units in quick succession, with the only viable option of them retreating to try and fight another day.
Post Game Thoughts
Well that was fast and furious and certainly lots of fun! Certainly being more au fait with the rules helped, but even so, I still made a few errors, but nothing major that affected the outcome of the game. The action was longer than before, lasting about an hour all told. As always a few musings:
- It may seem a minor thing, but the QRS I was using, had the page numbers for each section highlighted, so it was VERY easy to find the relevant section quickly to check on any queries I had, which certainly speeded up the game. I wish all rules and their QRS's did this!
- The ranges of the weapons and the less deadly nature of them (or so it felt), made for a much better game and felt more right for the period being gamed. I'm sure using some of the weapons options in TMWWBK would provide a similar game, but I will be sticking with R&P for this period.
- Having not been sure how useful Cavalry might be in these games, for this one they certainly turned the tide for the Austrians in the bat of an eyelid!
- Whilst the 3' x 3' table size worked well, I certainly will be moving up to a 4' x 4' from now on, as it just gives a bit more room for manouevre, as well as for space for units to retreat and reform.
- Reading the rules post-game, I noticed I had made a mistake on the attack movement distances, assuming that the normal move rates would apply, whereas in fact if is the 2D6 roll that dictates the distance. Upon reflection, I like the normal moves for Charges, as the Cavalry in Europe was used much more differently than in America. Ditto the Infantry often charged in until improved weapons meant this was not the best option by the 1860's
- In the rules the Commander is part and parcel of his unit, but I like the idea of him actually being able to rove around, to move to where he is most needed, being completely independent until he joins a unit if required. I need to think on this more but the idea appeals to be for sure.
What Next?
Firstly I want to sort out the background fluff for both forces and the setting in general, to help drive the narrative campaign I have in my mind. Once that is done, then I want to look at some linked scenarios from the book and maybe the OHW one, to give me a framework upon which to hand the campaign. Plenty to keep the old grey cells going for sure.
Alongside this some painting and terrain making is planned. I would like to play the next game in my BKCII mini-campaign, but need to paint up some more units first, but the desire to paint WWII stuff is not with me at present, but you never know...
Thanks for reading and I hope you enjoyed the AAR. As always any comments greatly appreciated!
TTFN.


Sounds like you have got a good plan there Steve. I like your reasoning on charge move distances. I have both the sets of rules you mentioned. Not done anything with them mind. But I like the way they read.
ReplyDeleteChris
Thanks Chris and more planning done this evening:). Dan's rules just clicked with me straight away, as I liked his appraoch to gaming, probably as we are a similar age and so had a shared experience of the rules we played growing up. A good core engine to the rules, that allow you just to have fun, without the need to lots of 'chrome' that other rule sets seem to favour.
DeleteInteresting Steve, I have TMWWBK ready to use for my Indian mutiny project. Would R&P be applicable as an alternative?
ReplyDeleteI think they would Mark. There is not much difference between the two sets, with the main one being the way C&C is handled. In TMWWBK, each unit has it's own commander, so can act a lot more independently than in R&P, where you have one Company commander who has a command radius benefit of 12". I feel that for early period games of say up to 1860, R&P's command system feels right for the period, with TMWWBK better for post 1860. Hope that helps?
DeleteInteresting assessment on command between the two rules and between the pre and post 1860 periods.
DeleteTMWWBK does go back to the 1840's looking at some sample lists in the book, but I feel the C&C system feels more in keeping with the latter part of the century. An easy fix though.
DeleteHi! Really interesting historical background. A little exotic :)
ReplyDeleteBit looking great!
The whole 1848 period is fascinating, with so many conflicts going on all across Europe, from Schleswig-Holstein, through to Switzerland, Hungary and down into Italy. I have a book to read on the whole period of the Revolutions, so I'm sure other ideas will spring from this. As for the Hungarian one, a Polish Legion was involved:).
DeleteSteve - it was helpful that your familiarity with the R&P rules helped speed things along. So what if you occasionally forget something or incorrectly apply a rule? That can be rationalised as “fog of war” - one of the benefits of playing solo.
ReplyDeleteCreating background fluff is a major part of the enjoyment when gaming solo, as it allows you to build a justification/reasoning as to why certain things will (or maybe don’t) happen.
Cheers,
Geoff
Solo gaming has many benefits for sure Geoff, as I can fudge things if required and only have myself to blame! The background fluff stuff I do enjoy, as it gives me a setting upon which to build the campaign and I find enriches the experience:).
DeleteI find solo gaming more prone to rules’ errors as there is no interested opponent to catch my mistakes or misinterpretations.
DeleteTrue Jon, very true. Luckily for me having play tested these rules, my 'mistakes' were down to having forgotten some of the mechanisms, rather than misinterpretation. Re-reading the rules at present has higlighted those 'mistakes' which should hopefully not be repeated...
DeleteGood looking game and an enjoyable read and an interesting weigh up of the respective rule systems, and you are spot on about the whole 1848 period, loads of things going on and some really fancy uniforms on show too!
ReplyDeleteGlad you enjoyed it Donnie:). Looking at my reference books last night, you have very Napoleonic looking uniforms at one end of the spectrum, right through to the fancy Volunteer uniforms from various Nations at the other, with of course the 'exotic' local dress from the Balkans and the Hungarians too. What's not to like?
DeleteLooked like a good little game, Steve...and the terrain was certainly much more pleasing to the eye than my rather barren table....so I will be following your lead there!
ReplyDeleteIt was a nice little game for sure Keith and all done and dusted in less than an hour, so perfect for 'Wargames Wednesday' games when time and space is limited. I look forward to see what you do on the terrain front. Looking back to when I first got back into gaming, I chose a GW mat for the table (which was the only real option then) and then worked up from that, chosing a flock that matched it as close as possible, which gave everything a cohesive look. Nowadays we are spoilt for choice with regards to mats and the materials they are printed on!
DeleteHandsome table as expected, Steve! I always enjoy seeing these armies out on maneuvers. I have played a lot of R&P but yet to try TMWWBK. Since all of my R&P experience had been in recreating AWI battles rather than skirmishes, TMWWBK seems to be set at a lower level of command.
ReplyDeleteThanks for your kind words Jon:)! Both rulesets are at a similar level of command IIRC, but I think TMWWBK would work better for 'bigger battles' than R&P, which is very much more reliant upon a good scenario IMHO.
DeleteGood to see this game out again and interesting to hear your comparison of the rules. Sounds like you have your set.
ReplyDeleteThanks Richard and I'm very happy with my choice of R&P for the forthcoming 1848 mini-campaign.
DeleteAn interesting setting for a game. The tabletop and figures look excellent.
ReplyDeleteI've been interested in the 1848 period for many a year now, but have never really gotten around to playing anything, until now:). Glad you liked the set up etc.
DeleteEnjoyable read, thank you. Didn't realise the 1848 revolutions actually resulted in open warfare - wargaming as history!
ReplyDeleteGlad you enjoyed it Sparker:). Yep, full blown war in Hungary through to smaller actions like the Swiss 'Three Weeks War', plus of course the clashes during the various revolutions too.
DeleteNice battle Steve , we normally allow the commander to be separate in our larger battles and play him as a small unit requiring activation like other units on the table. I enjoy the rules though, balance of course can be a challenge as shown by many of our AWI battles
ReplyDeleteThanks Matt and an interesting idea re: the sepearte commander activation. I agree balance can be an issue, but how much remains to be seen once I get my mini-campaign going!
DeleteGreat report Steve, I like the idea of the officer moving around his brigade, we are using 2-3 commands per side 18-24 points and command chits to decides once one moves first. Thanks the for nudge towards R&P it's a really fun rule set. Cheers Stu
ReplyDeleteThanks Stu! Dan is very open to people tweaking his rules as they see fit, as it is only a game afterall. They certainly are a fun set of rules, as are all of his 'Rampant' stable.
Deletenice looking game. and of course, the benefit of having a permanent table set up is that you can switch like this quickly.
ReplyDeleteThere can't be too many differences in the two games, aren't they both the DR mechanics? though I guess it's like children, they're the same genes but one has to be the favorite. 😁
Thanks Stew:)! It is easy to mix and match bits from the games, should you so wish, as they all share a very common engine.
DeleteLovely looking game, two of Mr Merseys rulesets I don't have but a super interesting period, what about Eds chocolate box wars? It's pretty much bang on for period and I think it's a free download from his blog Ed Ms wargaming meanderings?
ReplyDeleteBest Iain caveadsum1471
Thanks Iain! I love the rules and over the years, the 1848 period has really grown on me:). Whilst Ed's rules look good, the 'old dog, new tricks' means I'm quite happy sticking with BPII and using the GH! supplement tweaks as a guide.
DeleteInteresting and attractive game, Steve. Thanks. I have the rules and hope to use them eventually, once I sort my Crimean War armies out. :-)
ReplyDeleteGlad you liked it David:). A great set of rules IMHO and hope to see your Crimean forces in action in due course!
DeleteGreat game. I have played TMWWBK several times but never Rebels & Patriots. If the cows you fielded were Pendraken cows they might find themselves in difficulty if they ever reach the milking shed. All the Pendraken cows I have bought have turned out to be bullocks!
ReplyDeleteThanks Kim:). As mentioned both rules have much in common, but the subtle differences naturally suit each period being offered. The cows are 'N' Gauge railway ones, so are 'correct'.
Delete