It came as rather a surprise to me recently when I realised that I had not played a single game of BKCII all year. I had had plans to run a campaign during the Spring, but for various reasons that fell be the wayside. So after a lot of fun 18thC action of late, it was high time for a complete change and what better than a game of BKCII?
I had thought of digging out my AVBCW collection, but during a sort out inspired after reading Jon Freitag's Blog post on unpainted miniatures, I came across a Battalion of WWII German Infantry that I simply forgot I had painted! So aside from this getting my butt into gear to sort my various piles of toys out (currently well underway), it was high time that they saw some action on the table.
Looking through my notes for the proposed campaign, I decided to do a very simple little action due to the usual time and space constraints, based around a British Recce force covering a bridge and some fords, with the German Recce force advancing to contact and trying to seize it intact. It would also allow me to re-acquaint myself with the rules, my ideas for the campaign and also to try out how both sides forces played on the table.
So without further ado, the usual annotated photos to show how the game played out:
 |
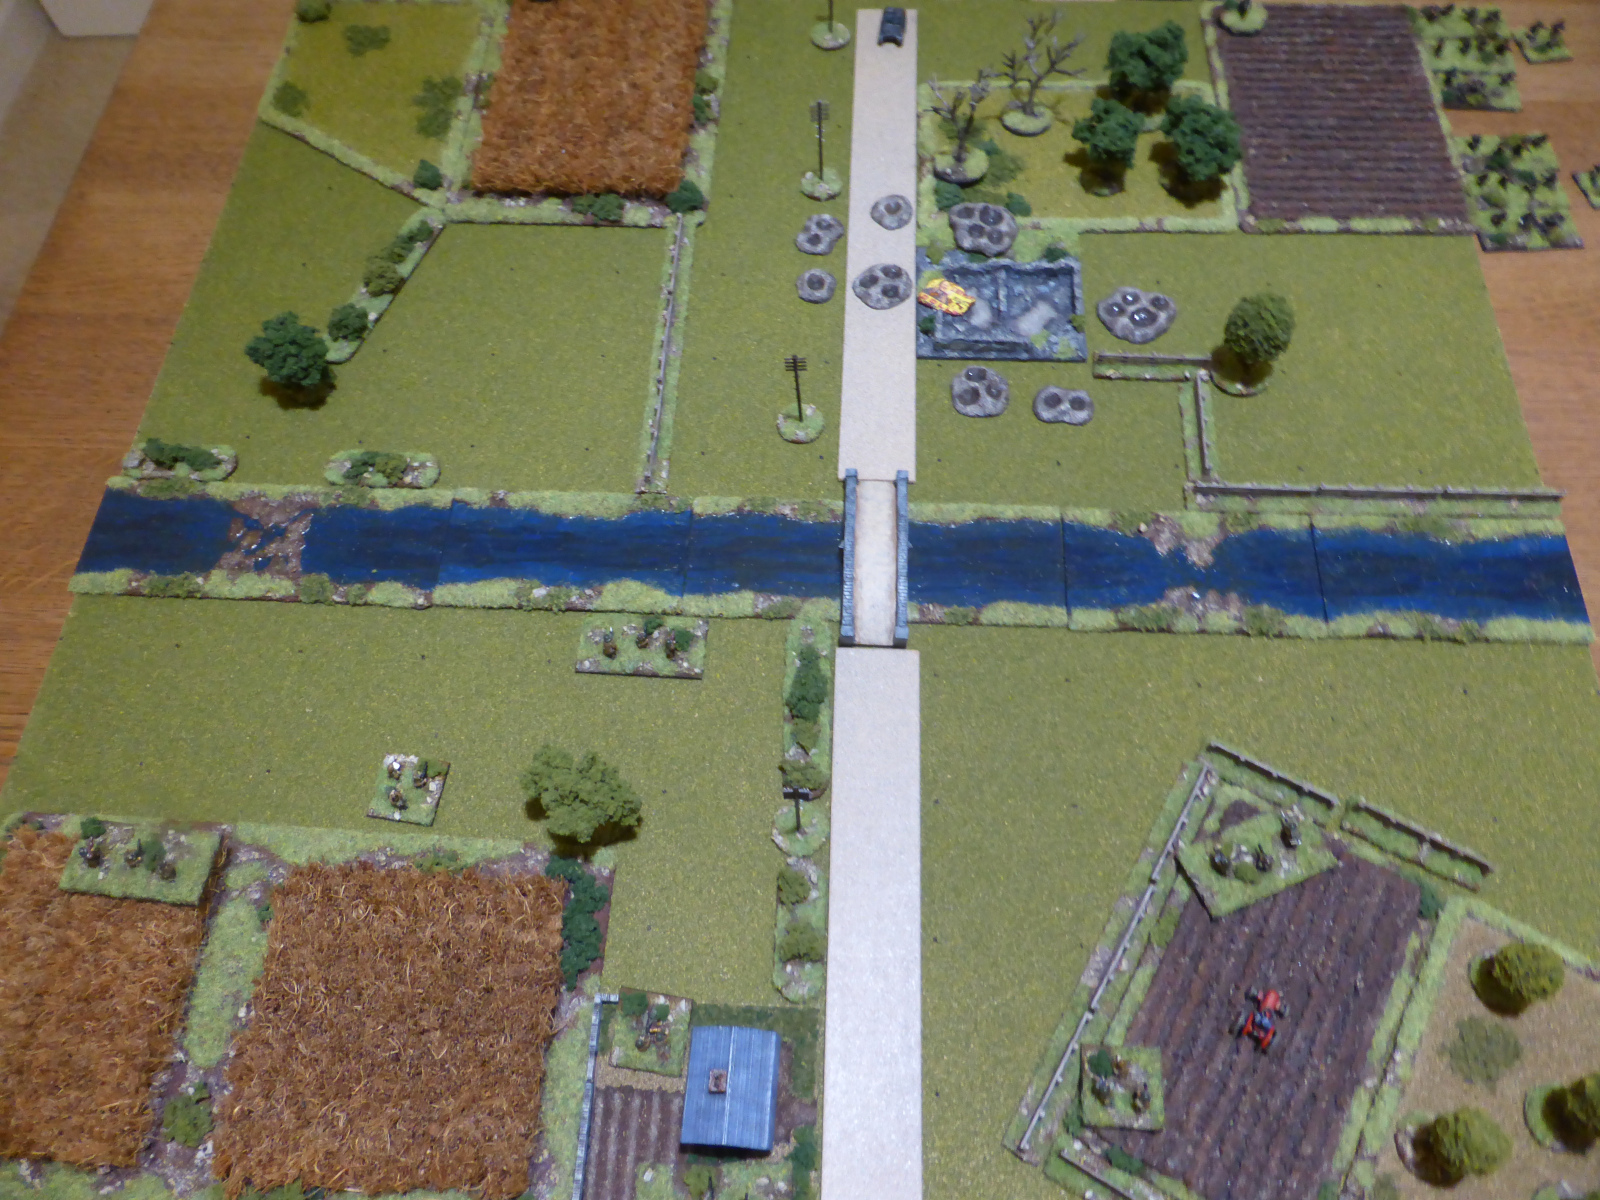
| An overview of the 2' x 2' table, with the British defending South of the river. |
 |
| Dug-in British troops await the Germans as the Belgian farmer carries on ploughing. |
 |
| Another unit dug-in covering the bridge. |
 |
| German AFV's ready to advance down the road, with Cavalry on either flank. |
 |
| An overnight bombing raid misses the bridge, but ruins a Belgium house. |
 |
| The pot pourri of British AFV's will come on as reinforcements. |
 |
| An overview at the end of Turn 1. The Germans push forward quickly unaware of the British troops covering the bridge. They come under fire, forcing the Cavalry to dismount and the Armoured Cars are engaged with Boys ATR's. |
 |
| Opportunity fire sees the 221 Armoured Car just avoid being knocked out. |
 |
| The German left flank advances, but is screened from view by the fence line. |
 |
| A German Cavalry unit if suppressed as it came under fire whilst mounted, leading to them all dismounting. |
 |
| Early on in Turn 2. A good start for the Germans as two British Recce Infantry unit are knocked out in quick succession. |
 |
| The German Armoured Cars push over the bridge and avoid the rather ineffective Boys ATR fire. |
 |
| The knocked out British Recce Infantry unit. The British left flank is rather exposed... |
 |
| The German left flank has pushed forward and the dismounted Cavalry begin to cross the ford. |
 |
| The German Armoured Cars ready to support the troops crossing at the ford. |
 |
| The end of Turn 2. With the British situation appearing desperate to say the least, the timely arrival of the British Armoured Cars help restore the situation somewhat. |
 |
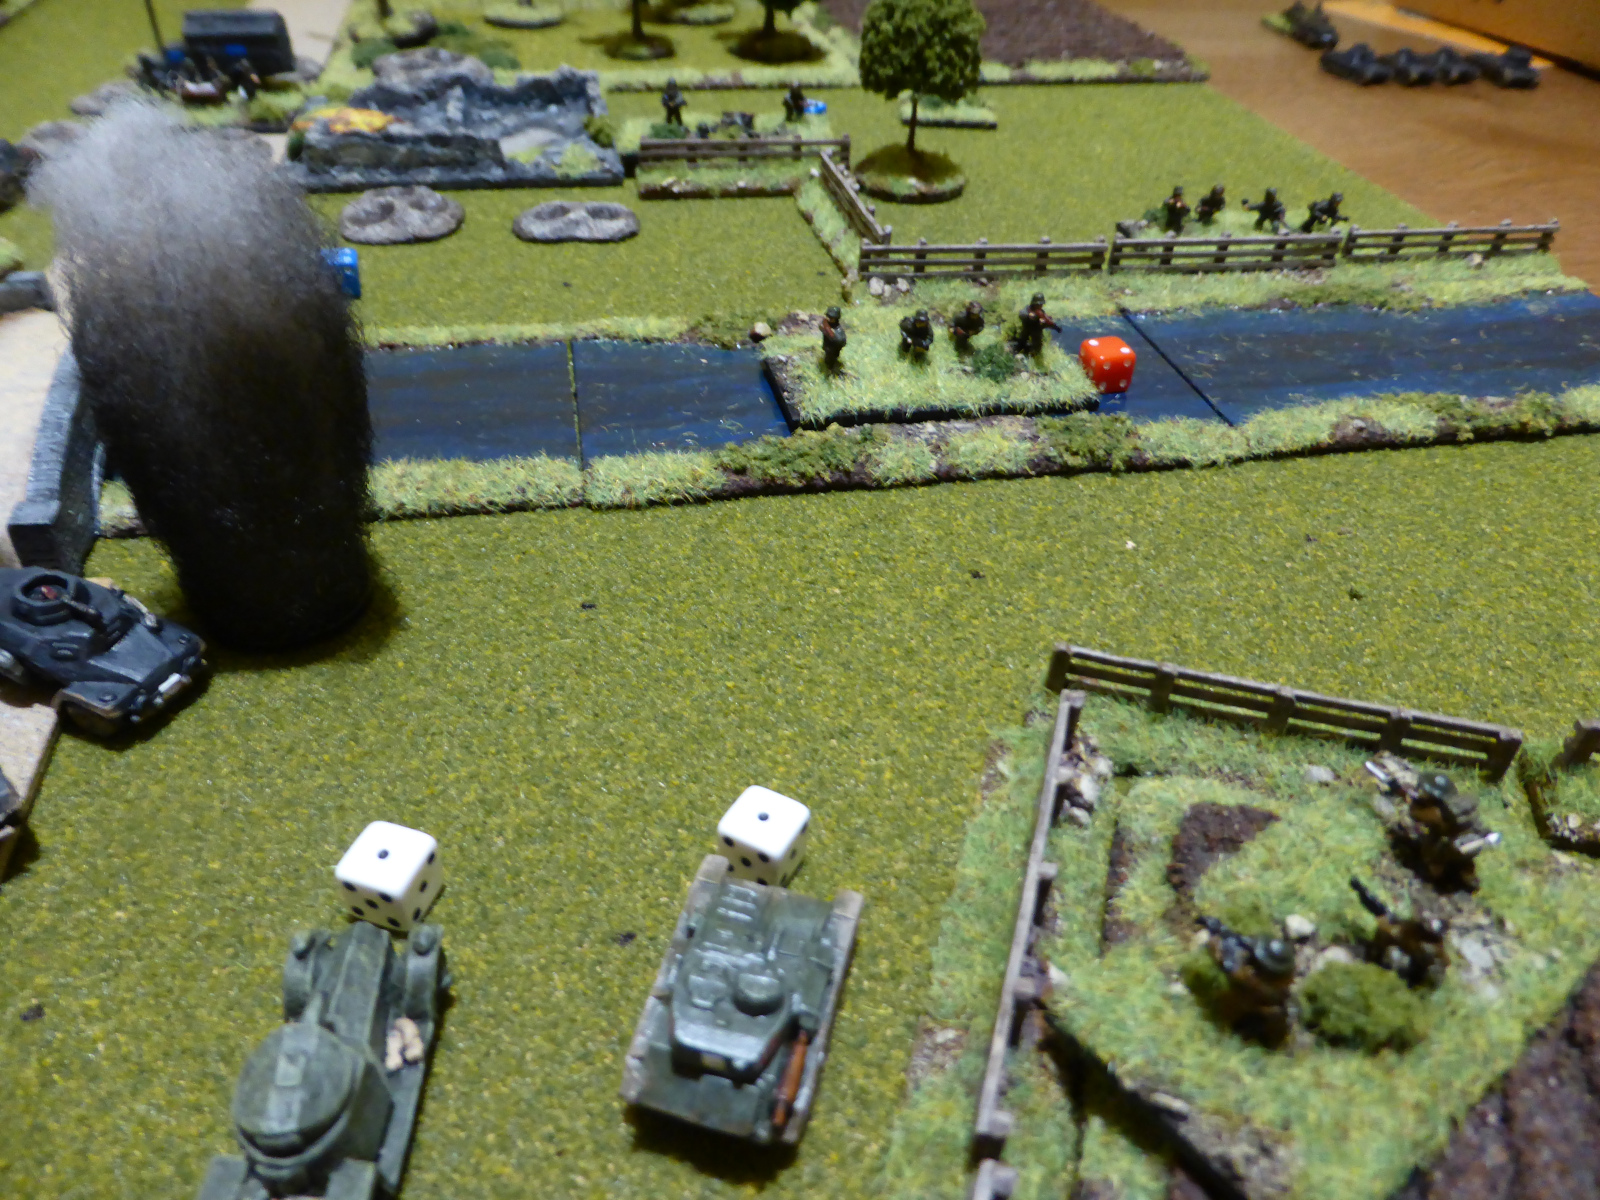
| Combined ATR fire sees both the 221 and 222 Armoured Cars brewed up in quick succession. |
 |
| The German troops are suppressed as they try to ford the river. |
 |
| The view from the German side of the mayhem unfolding across the bridge. |
 |
| The end of Turn 3. The German attack stalls on their right flank, but at least they manage to knock out the British Recce Infantry unit that was dug-in in the ploughed field, as well as a Vickers MkVI Light Tank. |
 |
| The British right flank is open and they lose a Vickers MkVI there too. The Morris CS9 Armoured Car advances to duel with the German 232 Armoured Car, but to no avail. |
 |
| The Germans do not have it all there own way and lose a Cavalry Infantry unit that had their ATR, which is a bit of a blow. |
 |
| The stalled German right flank when the way is open for them. |
 |
| If only the 232 Armoured Car can knocked out the British CS9, then the way would be open too to cross the bridge. |
 |
| The end of Turn 4. As the German right flank pushed over the river and to the edge of the cornfields, their left flank pulled back to the relative safety of the fence line. The 232 Armoured Car managed to hit the British CS9 and suppress it. What was left of the British force failed to activate. |
 |
| The remaining British Recce Infantry look on from the farmhouse towards the burning wreacks by the bridge. |
 |
| The British attached MG unit is unable to see the German troops as they push forward to try and turn the flank. |
 |
| The CS9 Armoured Car unable to take the fight to the Germans due it being suppressed. |
End of Game
There was still a slim chance for the British if they could knock out the German 232 Armoured Car, but at the start of Turn 5 the 232 armoured Car rather easily dispatched the CS9 Armoured Car. So with that and the losses they had already taken, the British were not in a position to contest the crossing any longer and so withdrew. Although a win for the Germans, it did come at a price and would slow their advance down as they needed to re-group before pushing on again.
Post Game Thoughts
Well it was great to be playing BKCII again after so long and despite a rather simple scenario with quickly knocked together forces, it made for a fun game and as always, nice to have some armour on the table! A few post game thoughts in no particular order:
- The higher German CV's and their flexible tactical doctrine did help and as one would expect, felt right for this period of the War. I did bump up the British to CV's of 8 to make it more of a game and to reflect the possibly higher training etc of the Recce units.
- MG only armed tanks or armoured cars are really of little use against each other, with the 'strength' coming against infantry or ATG's etc in the open. Any troops dug-in or in BUA's have little to fear from them to be honest.
- In this game the 20mm armed German armoured car and the Boys ATR's were the 'big hitters', which is not something you get to say everyday!
- I had not used cavalry for a long time and although they are pretty speedy, naturally they are rather vulnerable to direct of indirect fire, so need to be used with care.
- Despite the British infantry being dug-in, they did not last long due to some rather good shooting by the Germans. I need to double check I played it right for BKCII and checking last night on BKCIV errata, it is played somewhat differently.
- Recce troops are less durable than normal infantry, which certainly speeded things up, but not helped by the fact that I was using too many die when shooting!
- As always after a first game for a while, I need to re-read some sections just to double check on a few things. However the game flowed well and I really only needed to use the QRS for most of the game. BKCIV has some units not seen in BKCII, such as the CS9 armoured car, so will again check these moving forward.
And In Other News
Not a lot else going on at present for a variety of reasons. My painting has ground to a halt, but at least I am starting to have a thorough clear out and organisation of my leadpile and mixed boxes of troops, to try and make some order out of the chaos. This has felt very cathartic and frankly has been long overdue!
Moving forward I fancy playing some more BKCII games, but it's unlikely I will get some units I need for the France 1940 campaign painted before Xmas. So I have some fall back ideas, with one campaign roughed out and some one off games too. Time for a ponder as which to go for...
TTFN.