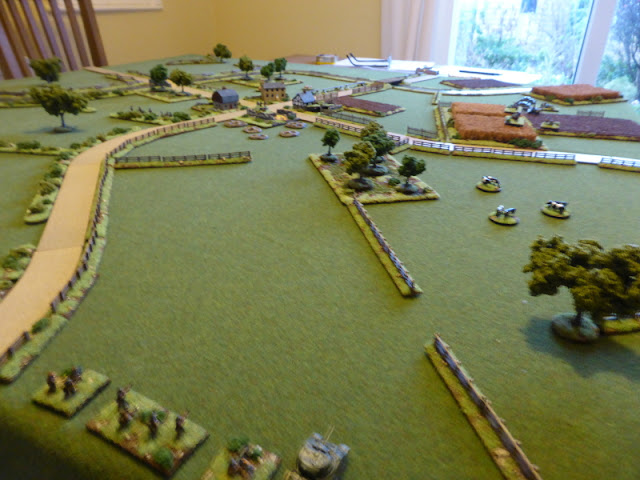
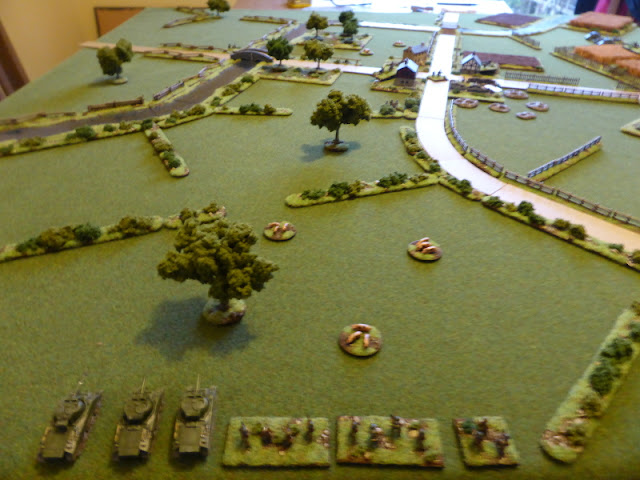
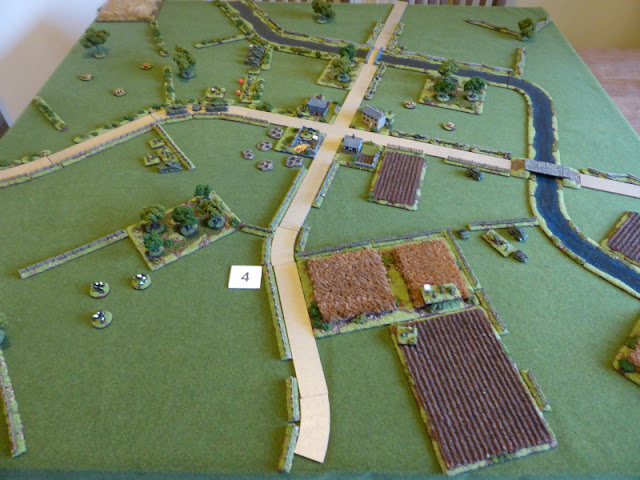
With the conclusion of the Battle for Tremleurr, it was time to get back to the Campaign and further movement by both sides:
Night Moves
As the remnants of the 1st FJ Kompanie retreat North over the bridge, they made their way towards the road junction in 14. The 3rd Recce Sqdn pushed forward over the same bridge and halted for the night to secure the approaches to Tremleurr. In the village itself the 'C' Coy 7th SLI and 'C' Sqdn Sherwood Rangers set about securing their positions and a small group was sent out to destroy the bridge to the SE to help secure their flank from possible counter-attack.
Under the cover of darkness to avoid possible air attack, more German units arrived at 2, 11 & 16.
 |
| Positions during the night on Day One. |
Day Two Turn 1 - Weather Fair
The 1st Recce Sqdn held its position to the South of Wuppertell (12) to observe any enemy movement. They spotted the unit that had arrived at 11, which proved to be a blank, but not the unit at 16. The 2nd Recce Sqdn pushed forward into 8 but failed to spot the German unit in 7. On the right the 3rdRecce Sqdn moved off from near Tremleurr and soon spotted the remnants of the 1st FJ Kompanie. Radioing their position back to base, they continued their advance, pushing forward to the road junction and bridge at 9. From there they spotted the German units to the North of the bridge at 8, revealing them to be a Heer Kompanie and a Stug III Kompanie.
'A' & 'B' Coys 7th SLI with their attached Shermans from the Sherwood Rangers moved to the edge of 8, close to the 2nd Recce Sqdn. 'D' Coy followed up to secure the road junction and to help cover any attack from Wuppertell. 'C' moved out of Tremleurr and pushed the 1st FJ Kompanie back from the crossroads in 14. The AVRE's and Artillery moved back onto Club Route to help support the main advance.
The German unit in 16 moved into Wuppertell to support the existing FJ's that were in the village. The German unit that had arrived in the night at 2 moved to the bridge at 1 as the terrain precluded them from crossing into 3. The German units in 3 & 4 both moved into Pemba to help support the Heer & Stug III Kompanie's to the South by the bridge. The German unit in 7 stayed put and occupied the farm and woods either side of the road.
 |
| The end of Turn 1 moves on Day Two. The British are pushing forward well but have a significant threat to their left flank and what looks to be a strong defensive position to their front over the bridge. |
Day Two Turn 2 - Weather Fair
The 1st Recce Sqdn spots the newly arrived German unit in Wuppertell, which turns out to be another FJ unit, this time the Heavy Weapons Kompanie. Once again the 2nd Recce Sqdn fails to spot the enemy to their left in 7, whilst the 3rd Recce Sqdn move over the wooden bridge in 4 and manage to spot some German Artillery in Pemba.
'A' & 'B' Coys move forward to cover the bridge whilst the 2nd Recce Sqdn covers their left flank. To their rear 'D' Coy dig-in as the Artillery and AVRE's move up to support. On the right 'C' Coy pushes forward to the bridge at 9, with the aim of supporting any attack by advancing into the flank of the German positions.
The German units in Pemba and by the bridge to the South of it hold their positions and begin to dig-in. The German unit in 1 moves into 6 with the aim of moving East to support the other unit in 7, which decides to fire upon the 2nd Recce Sqdn and is revealed to be a Volkstuurm Kompanie. what is left of the 1st FJ Kompanie moves into 10, hoping that German reinforcements might arrive from the East, to which they can attach themselves.
The FJ units in Wuppertell, seeing the British advance somewhat strung out, decide to make a spoiling attack, with the aim of disrupting any build up for the attack on the bridge in 8.
 |
| The end of Turn 2 moves on Day Two. |
 |
| The FJ move off to mount a strong spoiling attack against 'D' Coy. |
 |
| The British begin to move into position for what might be a multi-pronged attack on the German Heer & Stug III Kompanies, but with a Volkstuurm Kompanie to the flank which be problematic.. |
Campaign Thoughts
Well some more interesting decisions had to be made over these two Turns, for both sides as it turned out. For the British do they continue to push on towards the bridge at 8, before the German defences can possibly build up, or do they deal with the threat from Wuppertell? For 'C' Coy, do they move back to support Club Route or try and push round on the right flank to turn the German positions? For the Germans do the FJ stay in Wuppertell and hope for some armoured support arriving, or do they take a gamble and attack the 'D' Coy whilst they have limited support available?
As you can see from the above which options I chose and this has resulted in the next battle to be played out, namely the FJ attack on 'D' Company. I'm hoping to get this played out soonish but given that half-term is upon us and with the ongoing decorating, this might be easier said than done. Add in some repairs from Storm Eunice damage that need to be done and my plans might take longer than hoped.
So until then stay safe and keep healthy!